Introduzione
Problem: The amplifier doesnt switch on.
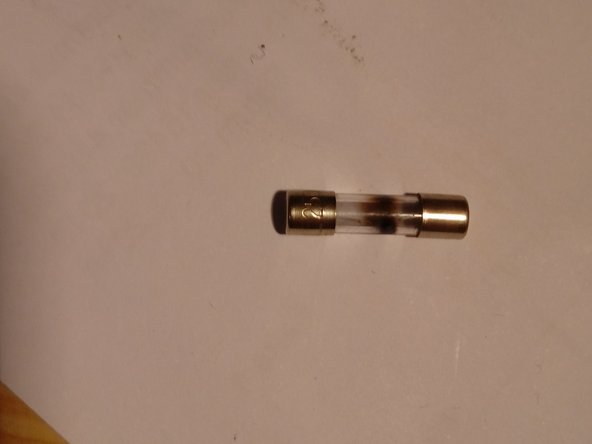
The reason can be a broken fuse which can be easily replaced.
Cosa ti serve
-
-
Before opening you can check if the Power button in the back of the amplifier is in correct position. I think it is not obvious to see, so it may be the problem that the device is not switching on.
-
-
-
-
Check the code on the Fuse: it is "T1A L250V". Explanation can be found on this page: https://www.swe-check.com.au/pages/learn...
-
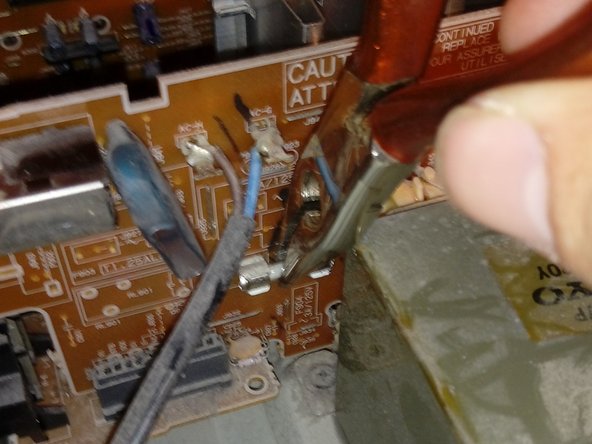
The new fuse must have similar properties to ensure a safe operation. Otherwise the risk of fire occurs due to high currents.
-
The new fuse can be easily put into the holding metals with the pliers
-
Put on the cover again and fix the screws
-


To reassemble your device, follow these instructions in reverse order.
To reassemble your device, follow these instructions in reverse order.