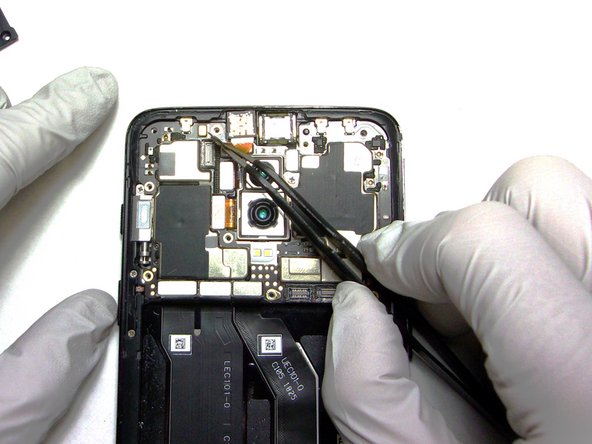
Salta al contenuto principale

OnePlus 6 Front Facing Camera Replacement

Cosa ti serve

  1. OnePlus 6 Front Facing Camera Replacement, Front Facing Camera: passo 1, immagine 1 di 2 OnePlus 6 Front Facing Camera Replacement, Front Facing Camera: passo 1, immagine 2 di 2
    • Use a heat gun to gently heat the back edges of the phone to loosen the adhesive.

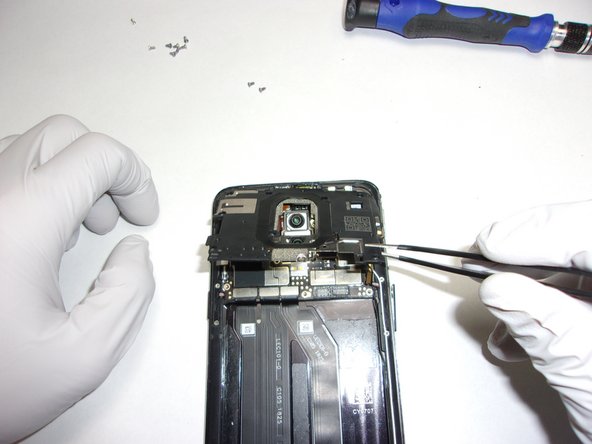
    • Use a plastic opening tool to pry the back cover up.

    • Start from one of the left corners and work your way around the phone using the plastic opening tool.

    • Carefully lift the back cover off.

    • Be careful not to damage or unseat the camera cable while removing the back cover.

  2. OnePlus 6 Front Facing Camera Replacement: passo 2, immagine 1 di 2 OnePlus 6 Front Facing Camera Replacement: passo 2, immagine 2 di 2
    • Use tweezers to disconnect the red pull-away tab up from the motherboard.

    • Detach the orange camera ribbon cable, below the red tab, using the tweezers.

    • Grip the green tab and lift the battery up and out of the chassis.

  3. OnePlus 6 Front Facing Camera Replacement: passo 3, immagine 1 di 2 OnePlus 6 Front Facing Camera Replacement: passo 3, immagine 2 di 2
    • Use a Phillips #000 screwdriver to remove the ten screws from the motherboard harness.

    • Pull the motherboard harness up using the tweezers

  4. OnePlus 6 Front Facing Camera Replacement: passo 4, immagine 1 di 2 OnePlus 6 Front Facing Camera Replacement: passo 4, immagine 2 di 2
    • Use the pointed tip of a spudger to lift the front-facing camera's pin connection, gently prying on the plug vertically until it completely releases.

    • Lift the front-facing camera up and out using tweezers.

Conclusione

To reassemble your device, follow these instructions in reverse order.

Altre 2 persone hanno completato questa guida.

0 Commenti

Aggiungi Commento

Visualizza Statistiche:

Ultime 24 Ore: 2

Ultimi 7 Giorni: 2

Ultimi 30 Giorni: 14

Tutti i Tempi: 458