Salta al contenuto principale
One Education Infinity:One Camera Assembly Replacement

One Education Infinity:One Camera Assembly Replacement

Taylor Bratsch

Taylor Bratsch e 2 altri collaboratori

Ultimo aggiornamento il 7 mag 2024

20 - 35 minuti
Moderato

Introduzione

Vai al passo 1

In the One Education Infinity:One laptop, the front and rear facing cameras are one component. If you are experiencing performance issues with either camera this guide will help you replace them.

Cosa ti serve

Strumenti

Mostra di più…

  1. One Education Infinity:One Camera Assembly Replacement, Battery: passo 1, immagine 1 di 2 One Education Infinity:One Camera Assembly Replacement, Battery: passo 1, immagine 2 di 2
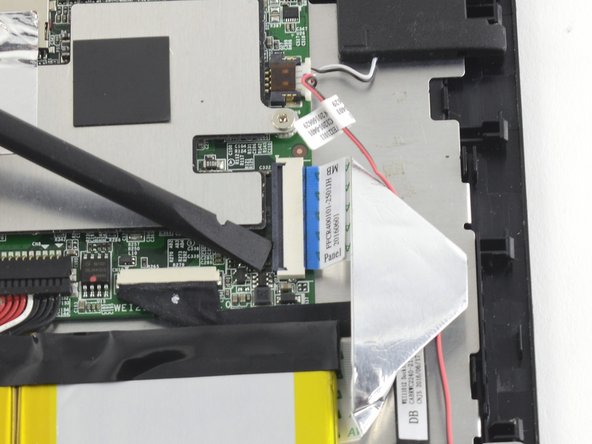
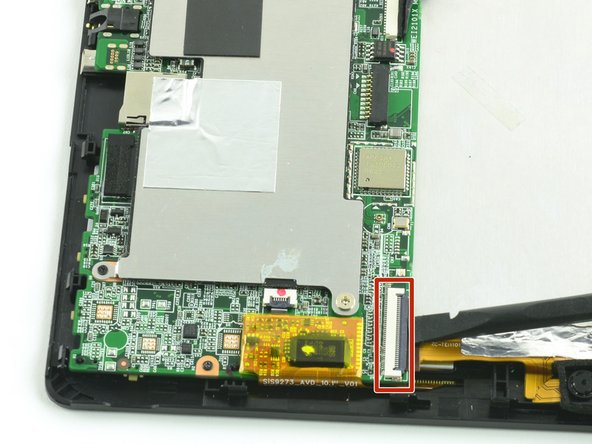
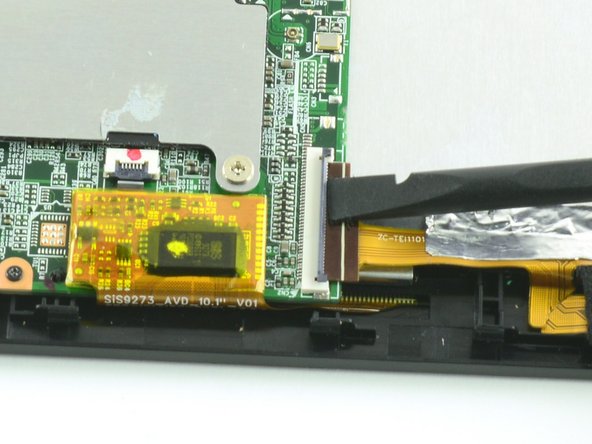
    • Use a spudger to disconnect the black bundled cable connector from the motherboard.

  2. One Education Infinity:One Camera Assembly Replacement: passo 2, immagine 1 di 3 One Education Infinity:One Camera Assembly Replacement: passo 2, immagine 2 di 3 One Education Infinity:One Camera Assembly Replacement: passo 2, immagine 3 di 3
    • Use a spudger to lift the black tab on top of the ZIF connector.

    • Slide the ribbon cable out of the connector.

  3. One Education Infinity:One Camera Assembly Replacement: passo 3, immagine 1 di 3 One Education Infinity:One Camera Assembly Replacement: passo 3, immagine 2 di 3 One Education Infinity:One Camera Assembly Replacement: passo 3, immagine 3 di 3
    • Use a spudger to flip up the black retaining flap on the ZIF connector.

    • Pull the folded ribbon cable straight out of the connector.

    • This ribbon cable must be disconnected before removing the battery because it is attached to the battery with adhesive.

  4. One Education Infinity:One Camera Assembly Replacement: passo 4, immagine 1 di 1
    • Use a spudger to pry the battery away from the device.

    • Always use ESD safe tools when working with delicate electrical components.

  5. One Education Infinity:One Camera Assembly Replacement, Camera Assembly: passo 5, immagine 1 di 3 One Education Infinity:One Camera Assembly Replacement, Camera Assembly: passo 5, immagine 2 di 3 One Education Infinity:One Camera Assembly Replacement, Camera Assembly: passo 5, immagine 3 di 3
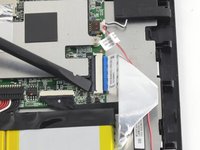
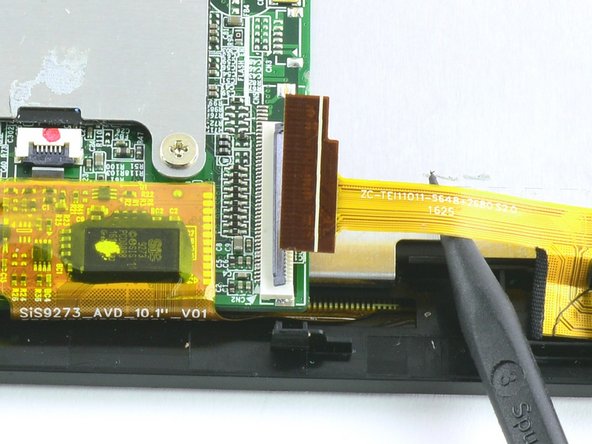
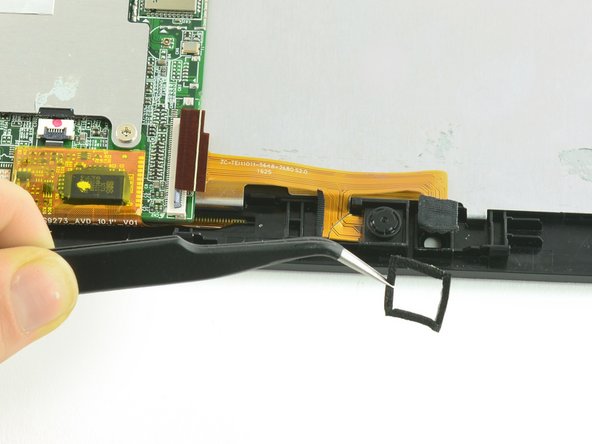
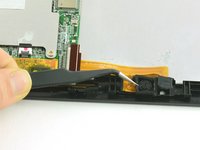
    • Use a spudger to flip up the black flap on the camera's ZIF connector.

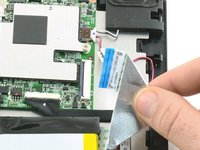
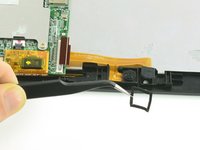
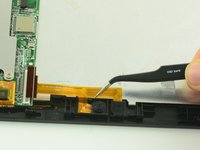
    • Pull the ribbon cable straight out of the connector.

  6. One Education Infinity:One Camera Assembly Replacement: passo 6, immagine 1 di 2 One Education Infinity:One Camera Assembly Replacement: passo 6, immagine 2 di 2
    Attrezzo utilizzato in questo passaggio:
    Tweezers
    $4.99
    • Use tweezers to remove the black cushion surrounding the camera lens.

  7. One Education Infinity:One Camera Assembly Replacement: passo 7, immagine 1 di 2 One Education Infinity:One Camera Assembly Replacement: passo 7, immagine 2 di 2
    • Use tweezers to lift the camera assembly away from the device.

    • Lift straight up to avoid tearing the delicate ribbon cable on the retaining wall.

Conclusione

To reassemble your device, follow these instructions in reverse order.

Un'altra persona ha completato questa guida.

Taylor Bratsch

Membro da: 09/06/16

5.993 Reputazione

14 Guide realizzate

0Commenti sulla guida

Aggiungi Commento

Visualizza Statistiche:

Ultime 24 Ore: 0

Ultimi 7 Giorni: 0

Ultimi 30 Giorni: 3

Tutti i Tempi: 223