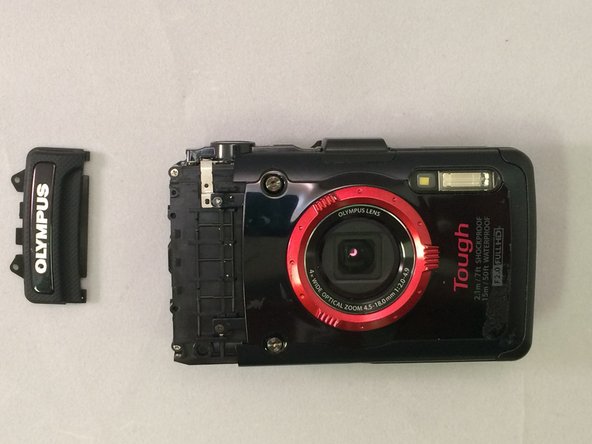
Salta al contenuto principale

Olympus Stylus Tough TG-2 iHS Back Panel & Buttons Replacement

Cosa ti serve

  1. Olympus Stylus Tough TG-2 iHS Back Panel & Buttons Replacement, Connector Port Casing: passo 1, immagine 1 di 1
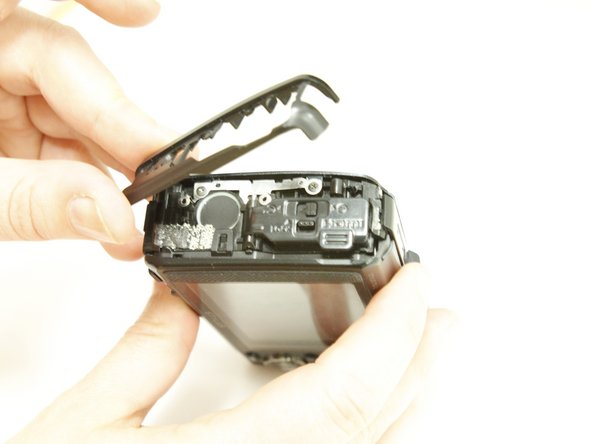
    • Locate the side of the camera with the connector cover.

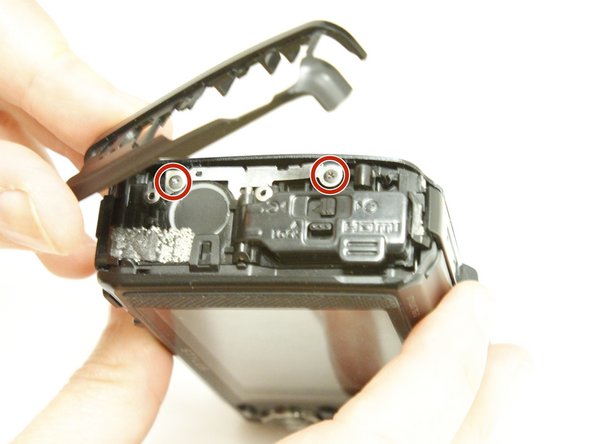
    • Remove the 2 Phillips #00 4.6mm casing screws.

  2. Olympus Stylus Tough TG-2 iHS Back Panel & Buttons Replacement: passo 2, immagine 1 di 2 Olympus Stylus Tough TG-2 iHS Back Panel & Buttons Replacement: passo 2, immagine 2 di 2
    • Open the connector cover by sliding the tab labeled lock to revile orange.

    • Slide the connector cover lock to revile orange and the door will spring open.

    • Remove the single internal Phillips #00 3.77mm screw.

  3. Olympus Stylus Tough TG-2 iHS Back Panel & Buttons Replacement: passo 3, immagine 1 di 3 Olympus Stylus Tough TG-2 iHS Back Panel & Buttons Replacement: passo 3, immagine 2 di 3 Olympus Stylus Tough TG-2 iHS Back Panel & Buttons Replacement: passo 3, immagine 3 di 3
    • Close the door to gain access to the casing.

    • Use your fingers to remove the black plastic casing that surrounds the connector door.

    • Use your fingers to remove the next black plastic piece .

    • Remove the two screws revealed

  4. Olympus Stylus Tough TG-2 iHS Back Panel & Buttons Replacement, Strap Eyelet Casing: passo 4, immagine 1 di 3 Olympus Stylus Tough TG-2 iHS Back Panel & Buttons Replacement, Strap Eyelet Casing: passo 4, immagine 2 di 3 Olympus Stylus Tough TG-2 iHS Back Panel & Buttons Replacement, Strap Eyelet Casing: passo 4, immagine 3 di 3
    • Locate the strap eyelet side of the camera and remove the 2 Phillips #00 5.3mm screws in the handle.

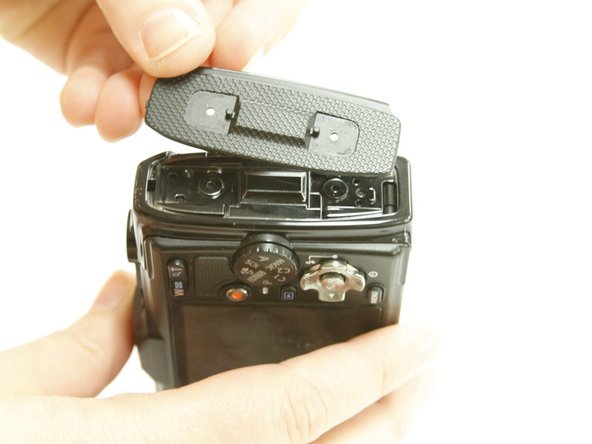
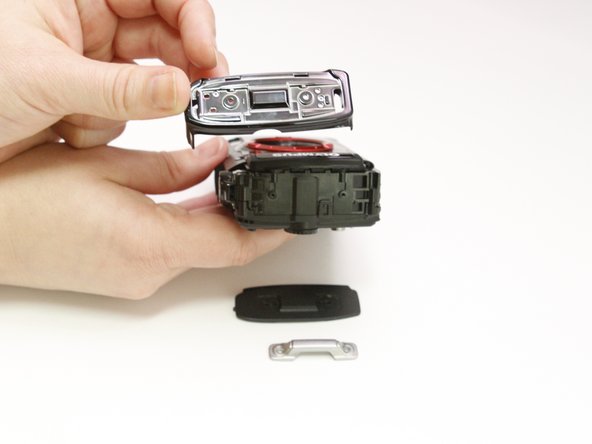
    • Using your fingers, take off the handle, the black casing underneath, and gently wiggle out the shiny black casing below that.

  5. Olympus Stylus Tough TG-2 iHS Back Panel & Buttons Replacement: passo 5, immagine 1 di 3 Olympus Stylus Tough TG-2 iHS Back Panel & Buttons Replacement: passo 5, immagine 2 di 3 Olympus Stylus Tough TG-2 iHS Back Panel & Buttons Replacement: passo 5, immagine 3 di 3
    • On the bottom of the camera, remove the single Phillips #00 3.5mm screw from the casing below the grip.

    • Using a plastic opening tool, gently pry the Olympus grip up and remove it.

  6. Olympus Stylus Tough TG-2 iHS Back Panel & Buttons Replacement, Front Case: passo 6, immagine 1 di 2 Olympus Stylus Tough TG-2 iHS Back Panel & Buttons Replacement, Front Case: passo 6, immagine 2 di 2
    • Remove the red ring surrounding the lens by twisting it counter-clockwise

  7. Olympus Stylus Tough TG-2 iHS Back Panel & Buttons Replacement: passo 7, immagine 1 di 2 Olympus Stylus Tough TG-2 iHS Back Panel & Buttons Replacement: passo 7, immagine 2 di 2
    • Remove the 2 Phillips #00 3.4mm screws that secure the faceplate just reveled by the grip.

    • On the bottom of the camera, remove the single Phillips #00 3.4mm screw by the tripod socket securing the face plate.

  8. Olympus Stylus Tough TG-2 iHS Back Panel & Buttons Replacement: passo 8, immagine 1 di 3 Olympus Stylus Tough TG-2 iHS Back Panel & Buttons Replacement: passo 8, immagine 2 di 3 Olympus Stylus Tough TG-2 iHS Back Panel & Buttons Replacement: passo 8, immagine 3 di 3
    • Use a plastic prying tool to lift and remove the faceplate .

    • There will be some resistance from a sticker just under the GPS logo.

    • The black plastic ring around the flash may fall as it is no longer secure.

  9. Olympus Stylus Tough TG-2 iHS Back Panel & Buttons Replacement, Display Assembly: passo 9, immagine 1 di 3 Olympus Stylus Tough TG-2 iHS Back Panel & Buttons Replacement, Display Assembly: passo 9, immagine 2 di 3 Olympus Stylus Tough TG-2 iHS Back Panel & Buttons Replacement, Display Assembly: passo 9, immagine 3 di 3
    • To detach the monitor screen, remove the following 7 screws:

    • Locate the flash and remove the 2 Phillips #00 9.23mm & 14.87mm screws.

    • Locate the battery door and remove the single Phillips #00 3.37mm screw.

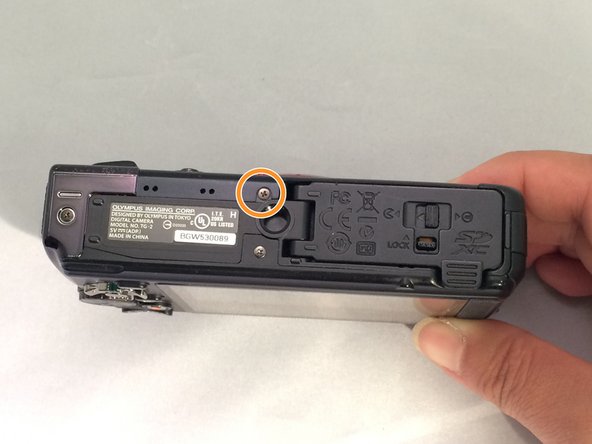
    • On the bottom of the camera, remove the single Phillips 3.58mm screw near the tripod socket.

  10. Olympus Stylus Tough TG-2 iHS Back Panel & Buttons Replacement: passo 10, immagine 1 di 3 Olympus Stylus Tough TG-2 iHS Back Panel & Buttons Replacement: passo 10, immagine 2 di 3 Olympus Stylus Tough TG-2 iHS Back Panel & Buttons Replacement: passo 10, immagine 3 di 3
    • On the face plate, locate and remove the 2 eyelet strap side Phillips #00 9.2mm corner screws and the lower battery corner Phillips #00 14.87mm screw.

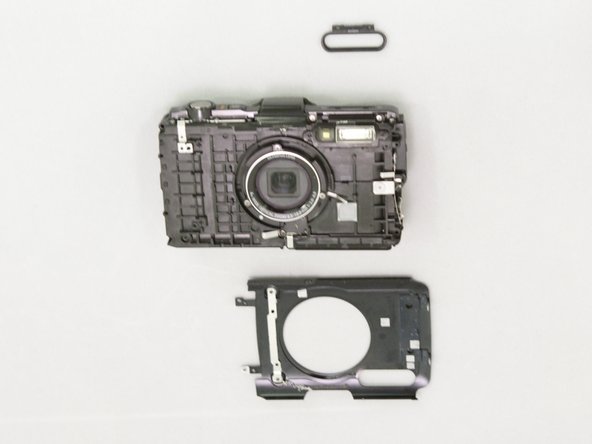
    • Use your fingers to unclasp the casing clips on either side of the camera and pull down the monitor casing.

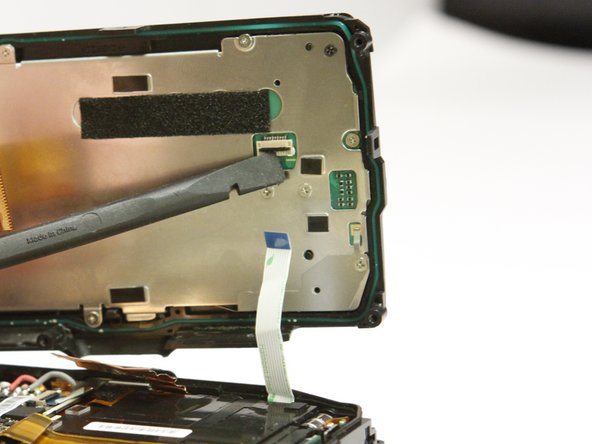
    • Using the spudger to gently pry the screen away from the body of the camera.

  11. Olympus Stylus Tough TG-2 iHS Back Panel & Buttons Replacement: passo 11, immagine 1 di 2 Olympus Stylus Tough TG-2 iHS Back Panel & Buttons Replacement: passo 11, immagine 2 di 2
    • Locate the clasp for the white ribbon.

    • Use the spudger to lift the clasp releasing the ribbon

  12. Olympus Stylus Tough TG-2 iHS Back Panel & Buttons Replacement: passo 12, immagine 1 di 2 Olympus Stylus Tough TG-2 iHS Back Panel & Buttons Replacement: passo 12, immagine 2 di 2
    • Locate the clasp for the orange ribbon in between the motherboard and lens box.

    • Use the spudger to lift the clasp releasing the ribbon.

  13. Olympus Stylus Tough TG-2 iHS Back Panel & Buttons Replacement: passo 13, immagine 1 di 2 Olympus Stylus Tough TG-2 iHS Back Panel & Buttons Replacement: passo 13, immagine 2 di 2
    • Next pry up on the white connector using the spudger to free the screen from the device.

    • The housing and monitor will be separated.

  14. Olympus Stylus Tough TG-2 iHS Back Panel & Buttons Replacement, Back Panel & Buttons: passo 14, immagine 1 di 3 Olympus Stylus Tough TG-2 iHS Back Panel & Buttons Replacement, Back Panel & Buttons: passo 14, immagine 2 di 3 Olympus Stylus Tough TG-2 iHS Back Panel & Buttons Replacement, Back Panel & Buttons: passo 14, immagine 3 di 3
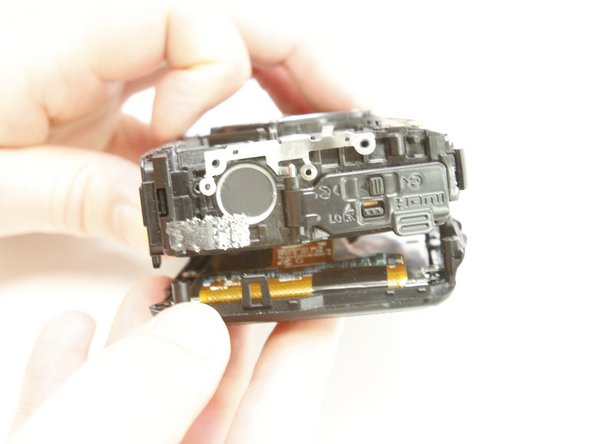
    • On the back of the separated monitor, remove the 10 silver Phillips #00 4.4mm screws and the 1 black Phillips #00 3.26mm screw.

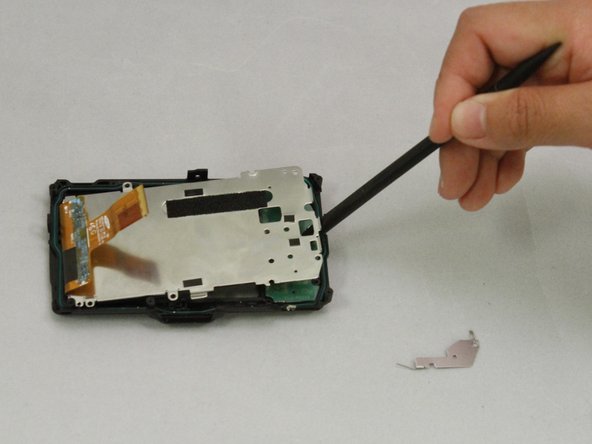
    • Use your fingers to remove the small corner metal triangle.

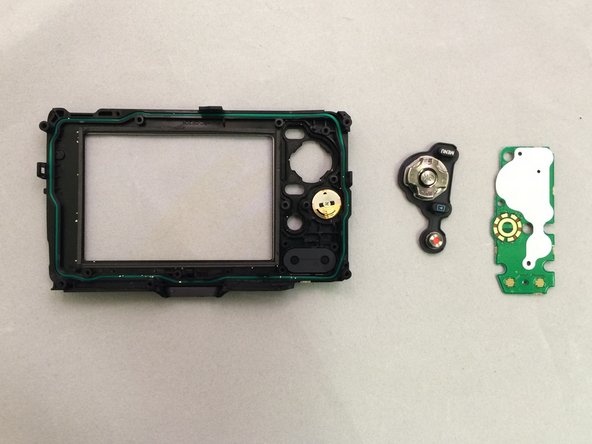
    • Using the spudger on the edge of the screen to lift it and remove the metal insert.

  15. Olympus Stylus Tough TG-2 iHS Back Panel & Buttons Replacement: passo 15, immagine 1 di 2 Olympus Stylus Tough TG-2 iHS Back Panel & Buttons Replacement: passo 15, immagine 2 di 2
    • Use your fingers to lift the green circuit board and buttons out of the case.

Conclusione

To reassemble your device, follow these instructions in reverse order.

Altre 3 persone hanno completato questa guida.

Un commento

Any advice on where to buy a replacement back panel for the TG-2?

epaulan - Replica

Aggiungi Commento

Visualizza Statistiche:

Ultime 24 Ore: 0

Ultimi 7 Giorni: 1

Ultimi 30 Giorni: 6

Tutti i Tempi: 2,055