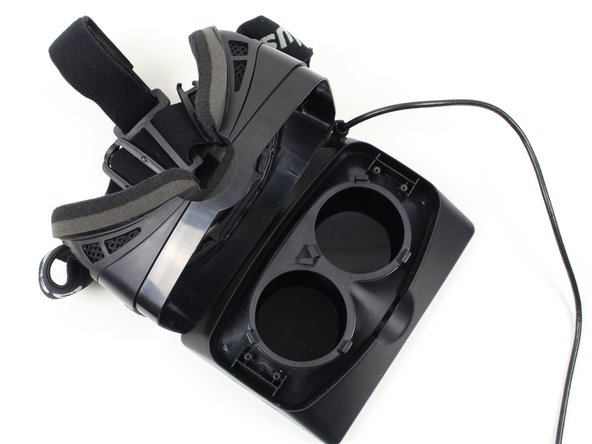
Salta al contenuto principale

Oculus Rift Tracker V2 Board Replacement

Cosa ti serve

  1. Oculus Rift Tracker V2 Board Replacement, Lens: passo 1, immagine 1 di 2 Oculus Rift Tracker V2 Board Replacement, Lens: passo 1, immagine 2 di 2
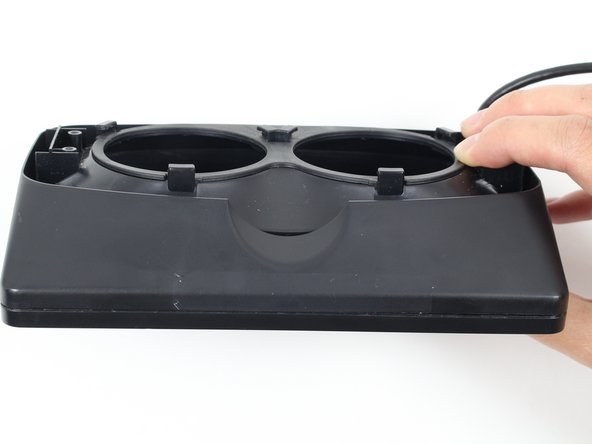
    • To remove the lenses, turn the right lens clockwise a quarter turn and the left lens counter-clockwise a quarter turn.

  2. Oculus Rift Tracker V2 Board Replacement, Display: passo 2, immagine 1 di 2 Oculus Rift Tracker V2 Board Replacement, Display: passo 2, immagine 2 di 2
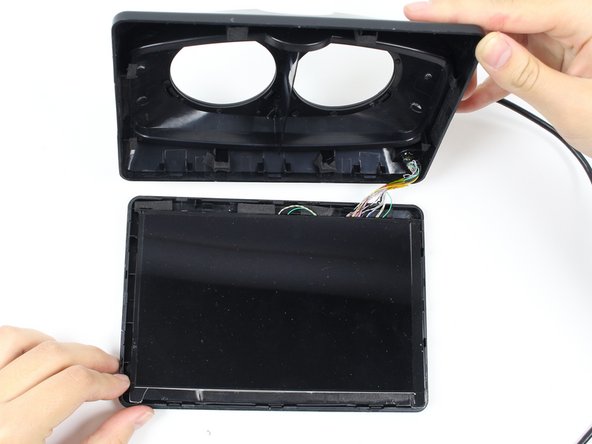
    • Use a Phillips #01 screwdriver to unscrew the four 9 mm Phillips #01 screws. (Two screws are shown in the picture, and two more screws are on the left side across from the right screws.)

  3. Oculus Rift Tracker V2 Board Replacement: passo 3, immagine 1 di 3 Oculus Rift Tracker V2 Board Replacement: passo 3, immagine 2 di 3 Oculus Rift Tracker V2 Board Replacement: passo 3, immagine 3 di 3
    • Carefully lift the headstrap from the display. The two parts should separate easily enough with some force.

    • Once the headstrap assembly and display box are separated, the headstrap assembly can be set aside. You will be working with the display box for the rest of this guide!

  4. Oculus Rift Tracker V2 Board Replacement: passo 4, immagine 1 di 2 Oculus Rift Tracker V2 Board Replacement: passo 4, immagine 2 di 2
    • Using the plastic opening tool, pry open the display box to reveal the LCD (Liquid Crystal Display) screen. Run the plastic opening tool around all four edges. Prying open the box may take a good amount of force.

  5. Oculus Rift Tracker V2 Board Replacement: passo 5, immagine 1 di 3 Oculus Rift Tracker V2 Board Replacement: passo 5, immagine 2 di 3 Oculus Rift Tracker V2 Board Replacement: passo 5, immagine 3 di 3
    • Run the plastic opening tool along the bottom edge under the LCD screen to separate the adhesive holding the LCD to the display box.

    • Lift the screen up to reveal the wires and circuit board.

    • Ensure that all wires are in the right place upon reassembly.

  6. Oculus Rift Tracker V2 Board Replacement: passo 6, immagine 1 di 2 Oculus Rift Tracker V2 Board Replacement: passo 6, immagine 2 di 2
    • Remove the wires from the circuit board on the LCD display using your fingernail or a plastic opening tool. This may take some pushing and pulling of the plastic piece.

    • Don't pull on the wires! Be sure to only pry the plastic part.

    • You can now completely separate the LCD screen from the rest of the device!

  7. Oculus Rift Tracker V2 Board Replacement, Oculus Tracker V2 Board: passo 7, immagine 1 di 1
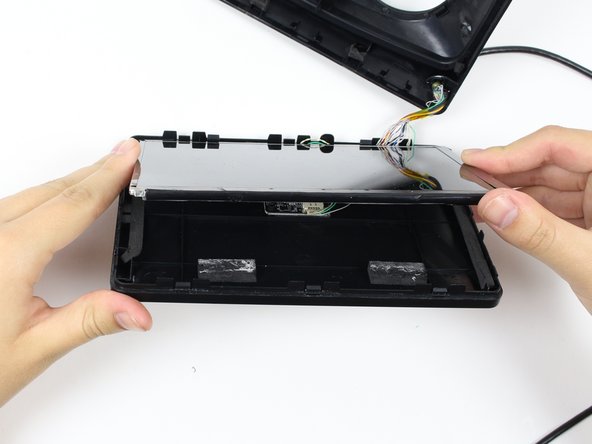
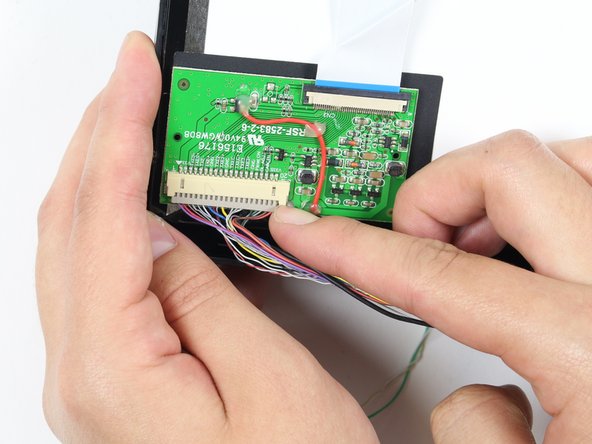
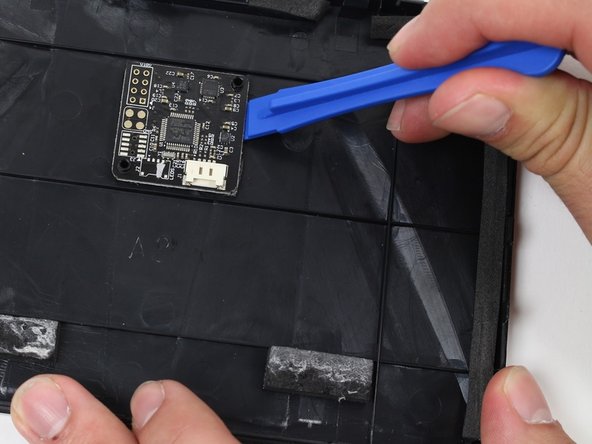
    • Remove wires from the Tracker V2 Board using your fingernail or a plastic opening tool.

  8. Oculus Rift Tracker V2 Board Replacement: passo 8, immagine 1 di 3 Oculus Rift Tracker V2 Board Replacement: passo 8, immagine 2 di 3 Oculus Rift Tracker V2 Board Replacement: passo 8, immagine 3 di 3
    • On the front cover of the Oculus Headset, locate the Tracker V2 Board.

    • Using the Plastic Opening Tool, pry the board from the adhesive. You will need to lift from both sides of the board.

Conclusione

To reassemble your device, follow these instructions in reverse order.

Un'altra persona ha completato questa guida.

Jake Finelt

Membro da: 01/15/15

131 Reputazione

1 Guida realizzata

Team

Cal Poly, Team 70-5, Forte Winter 2015 Membro di Cal Poly, Team 70-5, Forte Winter 2015

CPSU-FORTE-W15S70G5

4 Membri

6 Guide realizzate

0 Commenti

Aggiungi Commento

Visualizza Statistiche:

Ultime 24 Ore: 0

Ultimi 7 Giorni: 0

Ultimi 30 Giorni: 1

Tutti i Tempi: 1,055