Introduzione
The spring inside your ORFELD EV-660’s power button may need to be replaced if pushing the power button fails to turn on the vacuum or causes the button to get stuck. This guide will show you how to replace the power button’s old spring.
This guide requires you to disassemble your vacuum. Work in a clear area to avoid losing detached parts.
Before you begin this repair, make sure the vacuum is powered off and unplugged from the charger.
Cosa ti serve
-
-
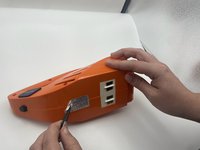
Separate the dust cover and the motor from the vacuum body by pressing the eject button.
-
-
-
Attrezzo utilizzato in questo passaggio:Tweezers$4.99
-
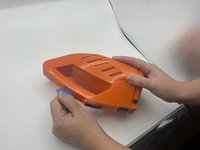
Using tweezers, remove the sticker connecting the two halves.
-
Use the opening pick to gently separate the top half and the bottom half of the vacuum.
-
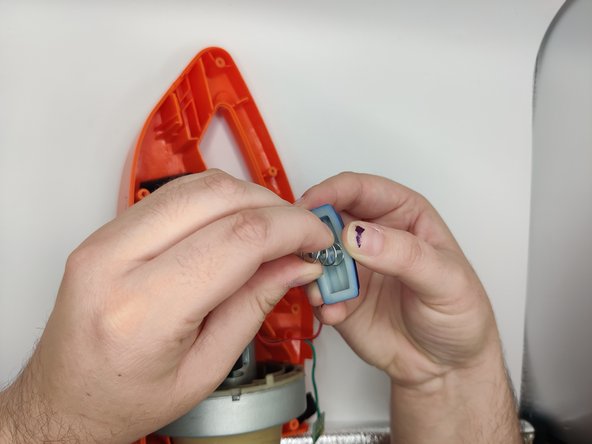
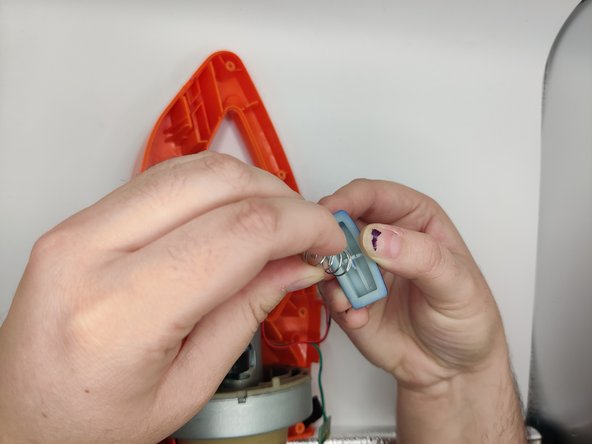
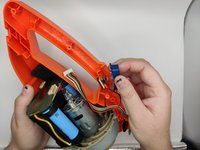
Press the blue buttons near the sides of the battery LEDs to remove the top half.
-


To reassemble your device, follow these instructions in reverse order.

Team

University of North Texas, Team 2-4, Harold Fall 2023 Membro di University of North Texas, Team 2-4, Harold Fall 2023
UNT-HAROLD-F23S2G4
4 Membri
5 Guide realizzate