Questa guida ha delle modifiche più recenti. Passa all'ultima versione non verificata.
Introduzione
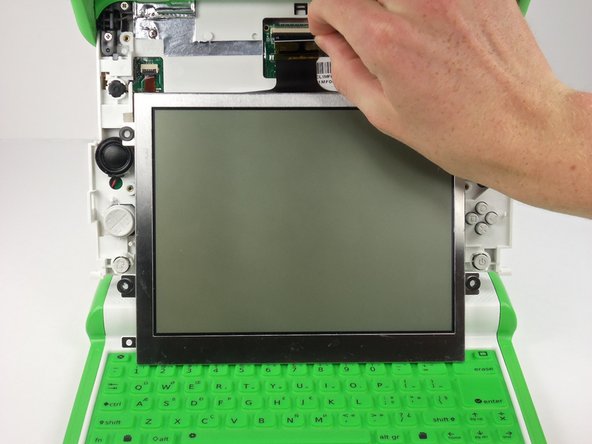
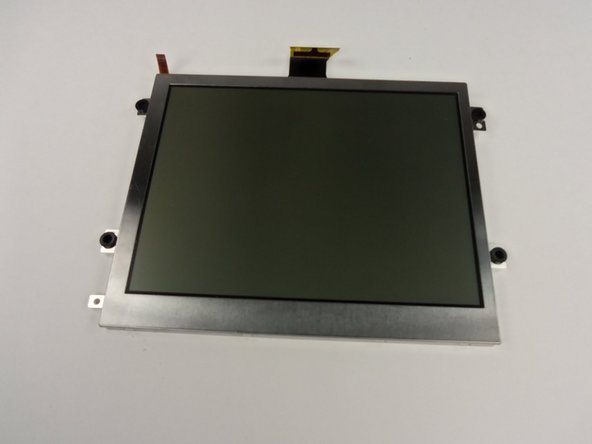
This guide will show you how to access the screen on your OLPC XO 1.5.
Cosa ti serve
-
-
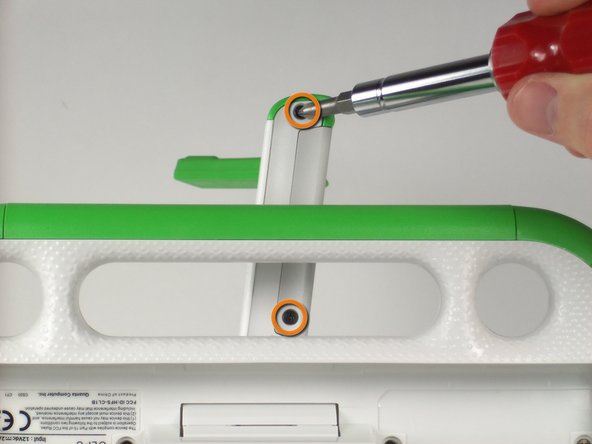
Turn the laptop so it is resting on its bottom.
-
Open the laptop by rotating the green wings on the side up, then lifting the top half of the laptop.
-
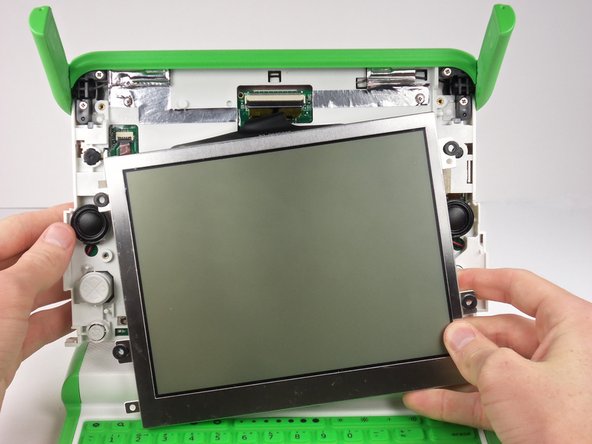
Rotate the top half of the laptop about 90 degrees.
-
-


Quasi finito!
To reassemble your device, follow these instructions in reverse order.
Conclusione
To reassemble your device, follow these instructions in reverse order.
Team

Cal Poly, Team 3-19, Amido Fall 2012 Membro di Cal Poly, Team 3-19, Amido Fall 2012
CPSU-AMIDO-F12S3G19
6 Membri
10 Guide realizzate