Salta al contenuto principale
Unisciti alla Community delle riparazioni - Crea un account

NuVision 10.1 Atom Battery Replacement

Cosa ti serve

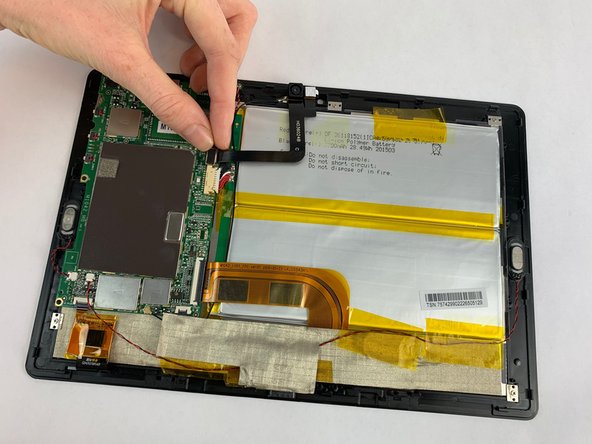
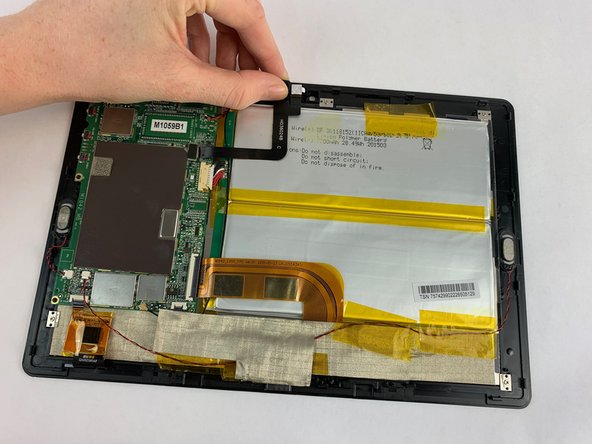
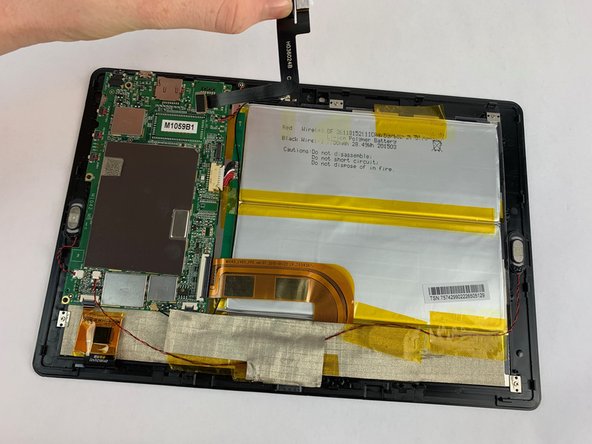
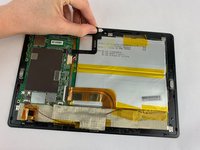
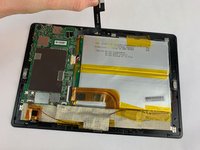
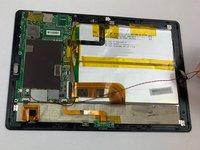
  1. NuVision 10.1 Atom Battery Replacement, Camera: passo 1, immagine 1 di 3 NuVision 10.1 Atom Battery Replacement, Camera: passo 1, immagine 2 di 3 NuVision 10.1 Atom Battery Replacement, Camera: passo 1, immagine 3 di 3
    • Turn the device screen side down.

    • Carefully remove the back piece with the iFixit opening tool.

    Chiedi a FixBot
  2. NuVision 10.1 Atom Battery Replacement: passo 2, immagine 1 di 1
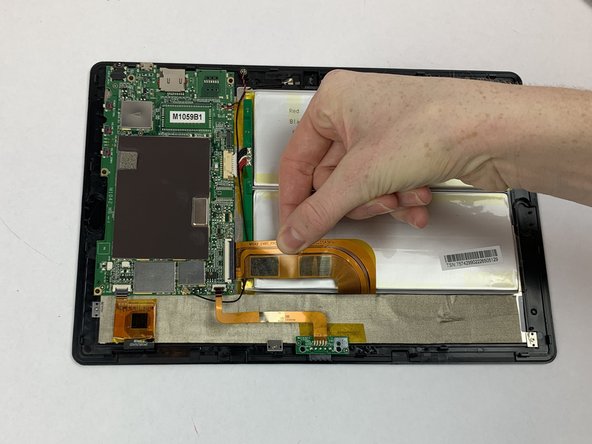
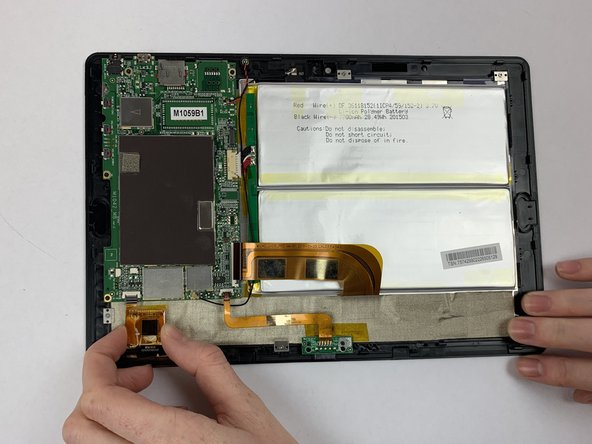
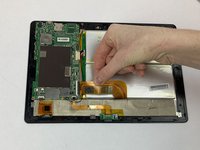
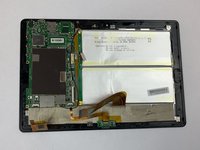
    • Remove the yellow tape covering the motherboard gently with your fingers.

    Chiedi a FixBot
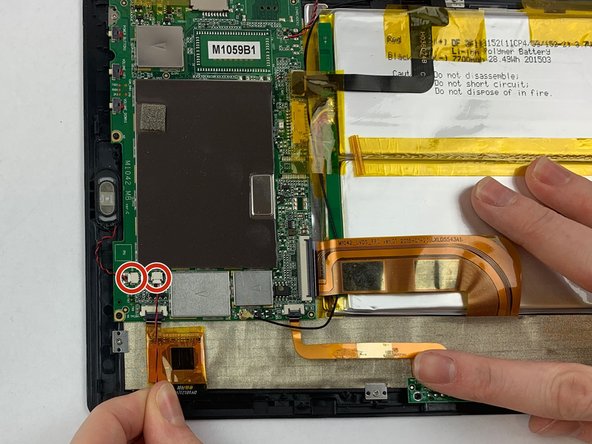
  3. NuVision 10.1 Atom Battery Replacement: passo 3, immagine 1 di 3 NuVision 10.1 Atom Battery Replacement: passo 3, immagine 2 di 3 NuVision 10.1 Atom Battery Replacement: passo 3, immagine 3 di 3
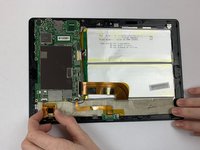
    • Pull the camera plug upward and away from the motherboard with your fingers.

    • Gently pull the camera from the device. The camera is held by tension.

    Chiedi a FixBot
  4. NuVision 10.1 Atom Battery Replacement, Speaker: passo 4, immagine 1 di 1
    • Carefully remove silver tape with your fingers.

    Chiedi a FixBot
  5. NuVision 10.1 Atom Battery Replacement: passo 5, immagine 1 di 2 NuVision 10.1 Atom Battery Replacement: passo 5, immagine 2 di 2
    • Remove speakers gently using your fingers, they pop out easily.

    • Disconnect cords attached to the speaker from white pod.

    Chiedi a FixBot
  6. NuVision 10.1 Atom Battery Replacement, Motherboard: passo 6, immagine 1 di 1
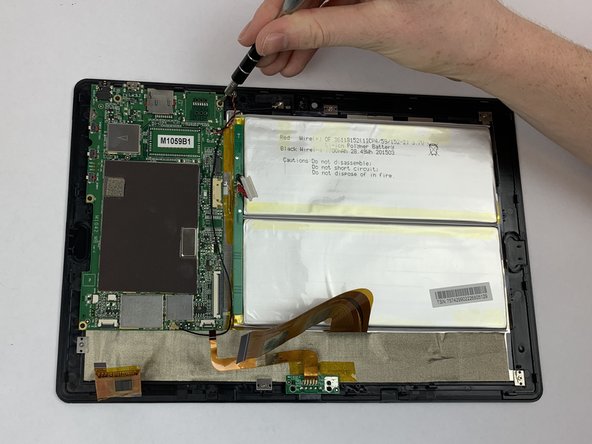
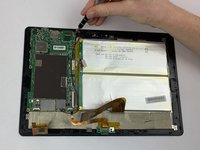
    • Disconnect the press-fit black and red curly wire from where it connects on the motherboard.

    Chiedi a FixBot
  7. NuVision 10.1 Atom Battery Replacement: passo 7, immagine 1 di 3 NuVision 10.1 Atom Battery Replacement: passo 7, immagine 2 di 3 NuVision 10.1 Atom Battery Replacement: passo 7, immagine 3 di 3
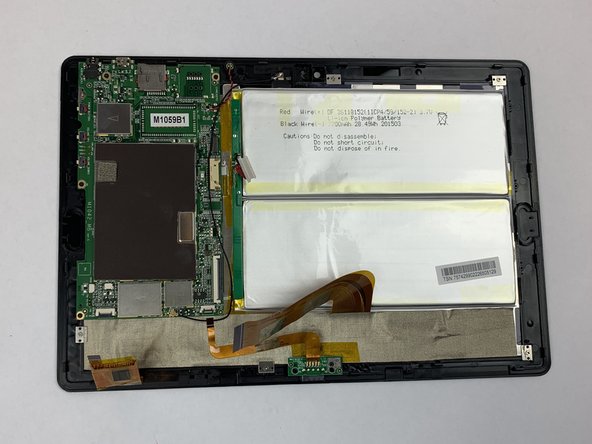
    • Gently remove the battery's three ZIF connectors from the motherboard. Use your fingers.

    • Be careful not to puncture the battery.

    Chiedi a FixBot
  8. NuVision 10.1 Atom Battery Replacement: passo 8, immagine 1 di 2 NuVision 10.1 Atom Battery Replacement: passo 8, immagine 2 di 2
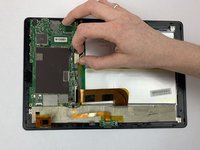
    • Disconnect the battery's bundled cable connector from the motherboard with fingers.

    Chiedi a FixBot
  9. NuVision 10.1 Atom Battery Replacement: passo 9, immagine 1 di 3 NuVision 10.1 Atom Battery Replacement: passo 9, immagine 2 di 3 NuVision 10.1 Atom Battery Replacement: passo 9, immagine 3 di 3
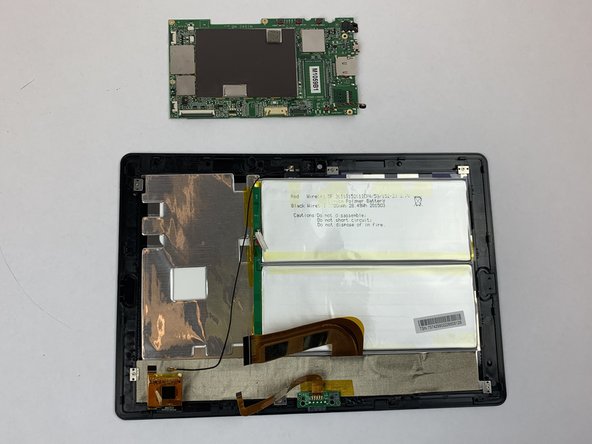
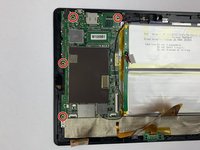
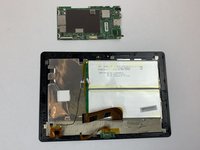
    • Remove the four black 3.32mm screws on the corners of the motherboard using the Phillips #000 screwdriver. The motherboard should come out easily.

    Chiedi a FixBot
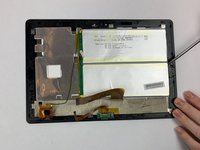
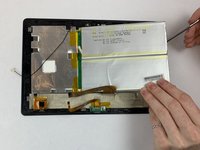
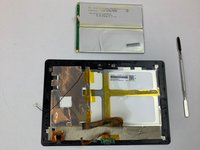
  10. NuVision 10.1 Atom Battery Replacement, Battery: passo 10, immagine 1 di 3 NuVision 10.1 Atom Battery Replacement, Battery: passo 10, immagine 2 di 3 NuVision 10.1 Atom Battery Replacement, Battery: passo 10, immagine 3 di 3
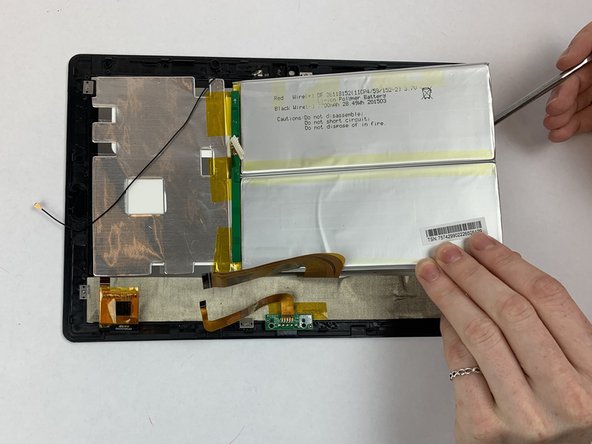
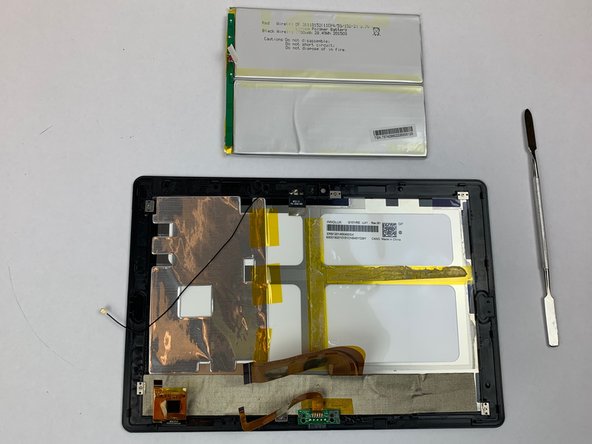
    • Pry the battery away from the display screen gently using a nylon spudger or the plastic opening tools.

    • Using a metal spudger may bend or puncture the battery. Lithium batteries are prone to explode.

    • There is a lot of adhesive, take your time and be careful.

    Chiedi a FixBot
Conclusione

To reassemble your device, follow these instructions in reverse order.

Team

USF Tampa, Team S1-G5, Leahy Spring 2019 Membro di USF Tampa, Team S1-G5, Leahy Spring 2019

USFT-LEAHY-S19S1G5

5 Membri

6 guide realizzate

0Commenti sulla guida

Aggiungi Commento

Visualizza statistiche:

Ultime 24 ore: 1

Ultimi 7 giorni: 6

Ultimi 30 giorni: 39

Tutti i Tempi: 1,452