Salta al contenuto principale
Nostalgia GCM200 Power Button Replacement

Nostalgia GCM200 Power Button Replacement

Xingdi Zhou

Xingdi Zhou e 4 altri collaboratori

Ultimo aggiornamento il January 22, 2018

10 minuti
Facile
Passi mancanti

Introduzione

Vai al passo 1

It's a simple process to replace the parts of this device. Once you have the device opened, these items can be changed: power button, power cable, heating bowl, and heating coil/pan Etc.

Cosa ti serve

Ricambi

Strumenti

  1. Nostalgia GCM200 Power Button Replacement, Nostalgia GCM200 Disassembly: passo 1, immagine 1 di 2 Nostalgia GCM200 Power Button Replacement, Nostalgia GCM200 Disassembly: passo 1, immagine 2 di 2
    • Remove the two 1.3 mm Phillips #2 screws.

    • Remove the S6 spanner screw.

    • Carefully place these three screws somewhere safe to use later in reassembly.

  2. Nostalgia GCM200 Power Button Replacement: passo 2, immagine 1 di 1
    • Split the device in half to expose the internal parts of the device.

    • Again, there are two more Phillips screws to remove.

  3. Nostalgia GCM200 Power Button Replacement: passo 3, immagine 1 di 1
    • Remove the two screws from both sides of the heating coil.

  4. Nostalgia GCM200 Power Button Replacement, Power Button: passo 4, immagine 1 di 1
    • Split the device into 2 parts to change the power button.

    • Power button hold the other parts, so be careful.

  5. Nostalgia GCM200 Power Button Replacement: passo 5, immagine 1 di 1
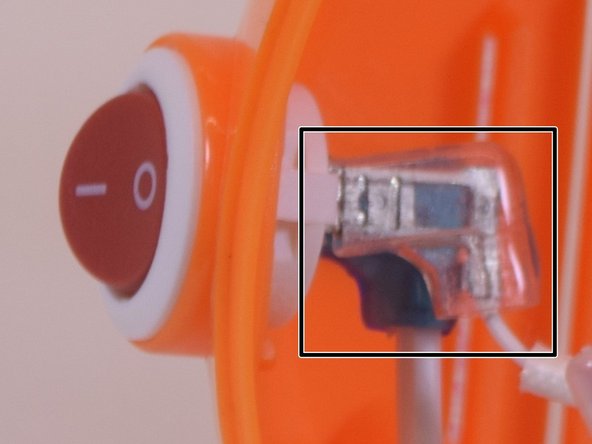
    • Remove (flexible) plastic sleeves from the inside end of the power cable.

    • You might want to use force, pull out while shaking it.

    • Inside the product, ensure you look at the power button and try to understand this step before you take action. There are two notches, push them at the same time on both sides to push the button out of the device.

  6. Nostalgia GCM200 Power Button Replacement: passo 6, immagine 1 di 1
    • Depress the little tab inside the top portion of the device to remove the On/Off switch.

  7. Nostalgia GCM200 Power Button Replacement: passo 7, immagine 1 di 1
    • Replace the power button, and put the plastic sleeves in the original position.

    • Great, you just finished replacing power button

  8. Nostalgia GCM200 Power Button Replacement: passo 8, immagine 1 di 1
    • To reassemble your device, follow these instructions in reverse order.

Conclusione

This guide will help you to replace the power button

Altre 3 persone hanno completato questa guida.

Xingdi Zhou

Membro da: 06/27/17

466 Reputazione

3 Guide realizzate

Team

UW Tacoma, Team S1-G4, Liner Summer 2017 Membro di UW Tacoma, Team S1-G4, Liner Summer 2017

UWT-LINER-SU17S1G4

4 Membri

5 Guide realizzate

0Commenti sulla guida

Aggiungi Commento

Visualizza Statistiche:

Ultime 24 Ore: 0

Ultimi 7 Giorni: 0

Ultimi 30 Giorni: 13

Tutti i Tempi: 223