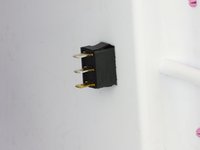
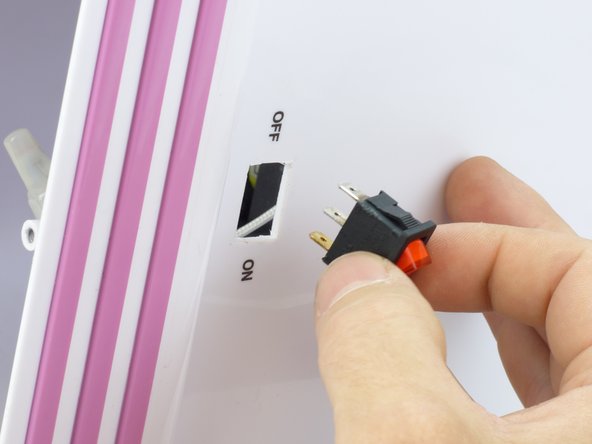
Salta al contenuto principale

Nostalgia Electrics PCM805 Power Switch Replacement

Cosa ti serve

  1. Nostalgia Electrics PCM805 Power Switch Replacement, Unscrewing the base: passo 1, immagine 1 di 2 Nostalgia Electrics PCM805 Power Switch Replacement, Unscrewing the base: passo 1, immagine 2 di 2
    • Unplug the device before following this guide.

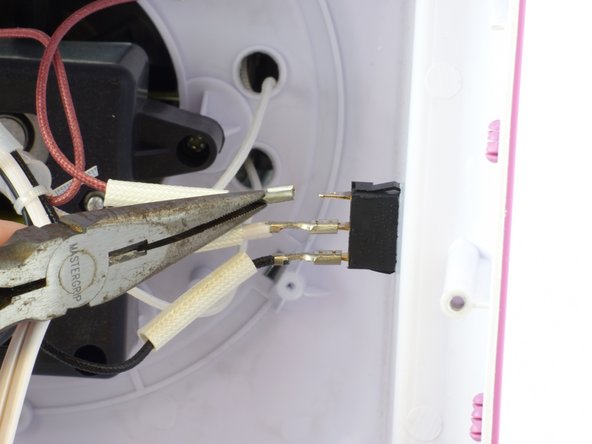
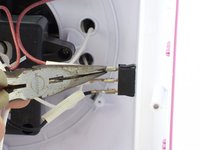
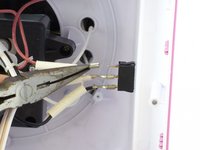
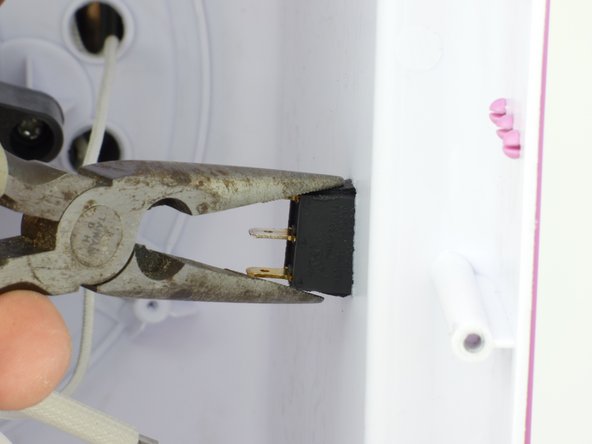
    • First, place the device on its side, making sure the switch is not facing down.

    • Remove the eight 12mm Phillips #02 screws from the base.

  2. Nostalgia Electrics PCM805 Power Switch Replacement: passo 2, immagine 1 di 1
    • Gently separate the panel from the device.

    • Be sure not to tug at the wires that are still connected.

  3. Nostalgia Electrics PCM805 Power Switch Replacement, Power Switch: passo 3, immagine 1 di 1
    • Locate the switch/wire assembly inside the device.

  4. Nostalgia Electrics PCM805 Power Switch Replacement: passo 4, immagine 1 di 1
    • Pull back the insulation sleeves to expose the connector heads.

  5. Nostalgia Electrics PCM805 Power Switch Replacement: passo 5, immagine 1 di 2 Nostalgia Electrics PCM805 Power Switch Replacement: passo 5, immagine 2 di 2
    • Note the color of each wire and the order you remove them.

    • Using a pair of pliers, firmly grip the base of the wire.

    • Be sure to grip where the connector meets the wire and not where the connector covers the switch prong.

    • Pull the wire straight out of the switch.

    • Repeat this step for each wire.

  6. Nostalgia Electrics PCM805 Power Switch Replacement: passo 6, immagine 1 di 2 Nostalgia Electrics PCM805 Power Switch Replacement: passo 6, immagine 2 di 2
    • Using pliers, pinch tabs at the top and bottom of switch.

    • While pinching the tabs, push the switch until the tabs are on the outside of the device.

  7. Nostalgia Electrics PCM805 Power Switch Replacement: passo 7, immagine 1 di 2 Nostalgia Electrics PCM805 Power Switch Replacement: passo 7, immagine 2 di 2
    • Remove the switch from the device.

Conclusione

To reassemble your device, follow these instructions in reverse order.

Carlton

Membro da: 01/13/15

672 Reputazione

5 Guide realizzate

Team

USF Tampa, Team 3-5, Hickman Winter 2015 Membro di USF Tampa, Team 3-5, Hickman Winter 2015

USFT-HICKMAN-W15S3G5

5 Membri

8 Guide realizzate

Un commento

The red light turns on but the disk isnt spinning or heating up and when the out let has power

Manuela Velez - Replica

Aggiungi Commento

Visualizza Statistiche:

Ultime 24 Ore: 0

Ultimi 7 Giorni: 2

Ultimi 30 Giorni: 8

Tutti i Tempi: 1,942