Questa versione può contenere modifiche errate. Passa all'ultima istantanea verificata.
Cosa ti serve
-
Questo passaggio è privo di traduzione. Aiuta a tradurlo
-
The damage to the digitizer is clearly visible. Nokia refers to the glass/digitizer combo as the "touch window"
-
Turn the phone over,
-
and release the back cover by pushing it off the phone from the top
-
-
Questo passaggio è privo di traduzione. Aiuta a tradurlo
-
With the back cover removed, the battery becomes visible.
-
Lift up the battery from the bottom and remove it.
-
Unscrew the five Torx+4 screws.
-
-
Questo passaggio è privo di traduzione. Aiuta a tradurlo
-
These five screws are 5mm in length
-
Next remove the three Torx+4 screws
-
Those screws are machine screws M1.5x3
-
The Nokia 521 has a 4th screw in the lower left corner of the battery compartment.
-
-
-
Questo passaggio è privo di traduzione. Aiuta a tradurlo
-
Release the two clips on the bottom of the phone by using a guitar pick or similar opening tool
-
Simply insert the tool in the gap between the case halves and slightly rotate the tool to free the clips.
-
Continue to work the tool all the way round.
-
-
Questo passaggio è privo di traduzione. Aiuta a tradurlo
-
The last clip should be on the top of the phone.
-
Once those are released, the case will simply open up. With the cover (Nokia calls it the D-cover) removed, the logic board will be visible.
-
-
Questo passaggio è privo di traduzione. Aiuta a tradurlo
-
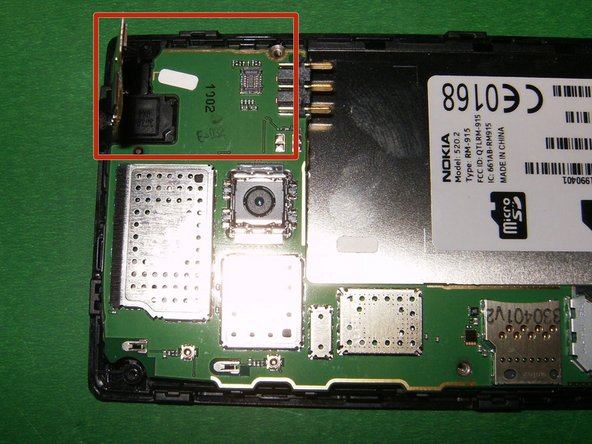
Remove the digitizer flex cable by using an opening tool, or spudger, from the connector
-
Here is the flex cable removed from the connector
-
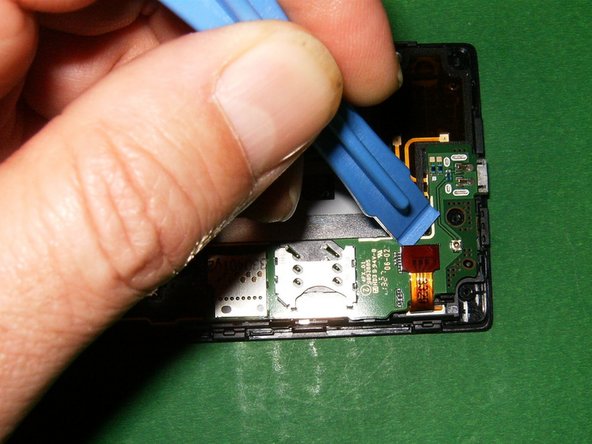
Next remove the display flex with an opening tool, or spudger, from the connector.
-
-
Questo passaggio è privo di traduzione. Aiuta a tradurlo
-
Display flex removed from the connector
-
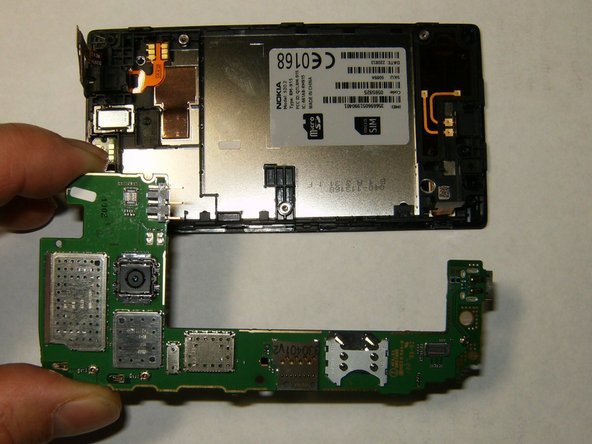
Use an opening tool, or a spudger, to remove the logic board from the case. It is simply held in by two clips.
-
Remove the logic board from the front assembly
-
-
Questo passaggio è privo di traduzione. Aiuta a tradurlo
-
Use a guitar pick or similar opening tool to unsnap the touch window assembly from the support frame.
-
This will separate the touch window from the rest of the phone.
-


Annulla: non ho completato questa guida.
Altre 101 persone hanno completato questa guida.

Team

20 Commenti
I used a t5 screwdriver and it worked perfectly :D
tnx for the guide!!
Probably one of the easiest repairs i have ever done, tip pay, an extra few pounds and get the digitizer with the frame.
Hi Adrian, where did you buy the Touch Windows? I asked Nokia but they do not sell it..
Thanks.
Rod
The last and hardest step is missing---separating the digitizer from the surround. They are glued together and you basically have to destroy the glass to get it off. (See the teardown for details.) Other than that, a great guide, thanks.
Well... you're trying to replace the glass in the first place, so it's technically already destroyed.
Also, I broke my Lumia 520 screen and I'm waiting for the replacement screen to arrive. If you use your thumbnail or something very thin but strong, you can separate the glass from the frame without causing more damage to the glass by running it underneath the edges of the glass, all the way around.
Granted, it took a couple of goes to separate them because of the glue, but it did come off without breaking either the frame or the glass.