Salta al contenuto principale

Questa guida ha delle modifiche più recenti. Passa all'ultima versione non verificata.

Nokia 8390 Power Button Replacement

Cosa ti serve

  1. Nokia 8390 Power Button Replacement, Back Cover: passo 1, immagine 1 di 1
    • Locate the button on the bottom of the back cover.

  2. Nokia 8390 Power Button Replacement: passo 2, immagine 1 di 3 Nokia 8390 Power Button Replacement: passo 2, immagine 2 di 3 Nokia 8390 Power Button Replacement: passo 2, immagine 3 di 3
    • Depress the button with your finger.

    • While the button is depressed, slide the back cover off of the phone.

  3. Nokia 8390 Power Button Replacement, Outer Case: passo 3, immagine 1 di 3 Nokia 8390 Power Button Replacement, Outer Case: passo 3, immagine 2 di 3 Nokia 8390 Power Button Replacement, Outer Case: passo 3, immagine 3 di 3
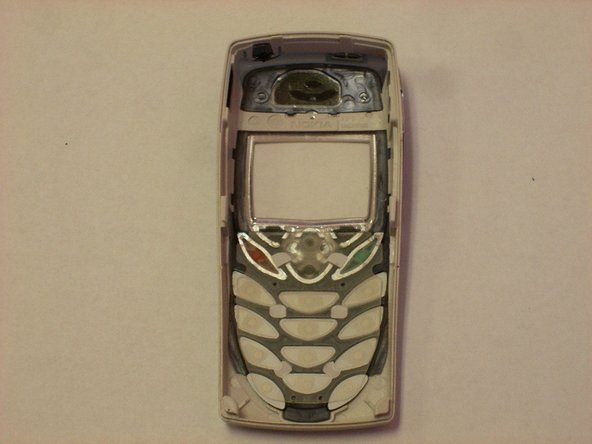
    • Grasp the top and bottom of the front cover.

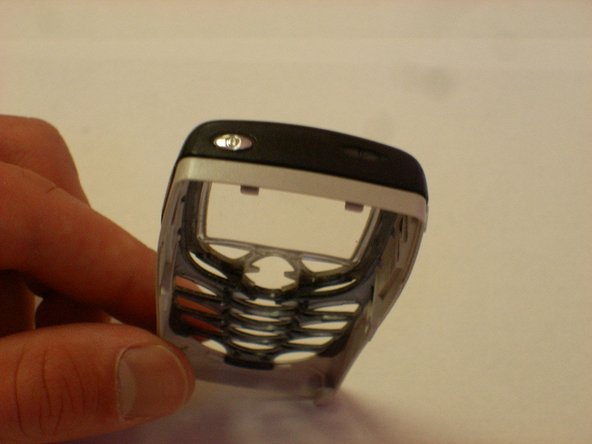
    • Grasp the phone body with your other hand.

    • Lightly pull the casing off of the phone.

  4. Nokia 8390 Power Button Replacement, Power Button: passo 4, immagine 1 di 3 Nokia 8390 Power Button Replacement, Power Button: passo 4, immagine 2 di 3 Nokia 8390 Power Button Replacement, Power Button: passo 4, immagine 3 di 3
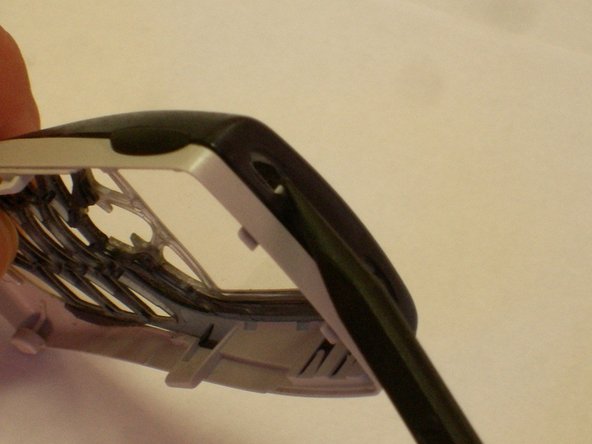
    • The casing should be separated into two parts now.

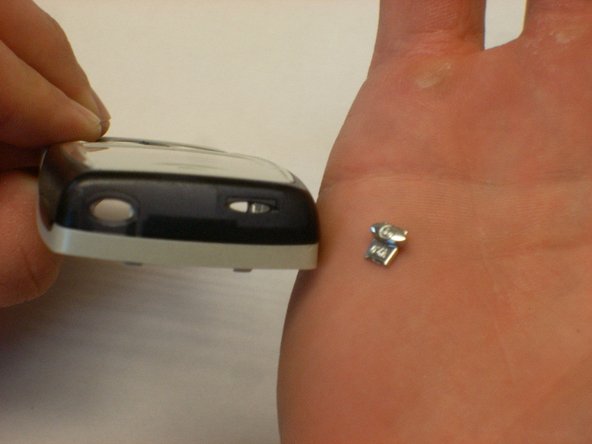
    • Locate the power button at the very top of the front casing.

  5. Nokia 8390 Power Button Replacement: passo 5, immagine 1 di 3 Nokia 8390 Power Button Replacement: passo 5, immagine 2 di 3 Nokia 8390 Power Button Replacement: passo 5, immagine 3 di 3
    • Use the spudger to push the power button through the casing.

Conclusione

To reassemble your device, follow these instructions in reverse order.

Keith

Membro da: 10/21/12

41 Reputazione

1 Guida realizzata

Team

Clemson, Team 14-5, Benson Fall 2012 Membro di Clemson, Team 14-5, Benson Fall 2012

CLEM-BENSON-F12S14G5

3 Membri

16 Guide realizzate

0 Commenti

Aggiungi Commento

Visualizza Statistiche:

Ultime 24 Ore: 0

Ultimi 7 Giorni: 3

Ultimi 30 Giorni: 15

Tutti i Tempi: 360