Questa versione può contenere modifiche errate. Passa all'ultima istantanea verificata.
Cosa ti serve
-
Questo passaggio è privo di traduzione. Aiuta a tradurlo
-
Pull up on both of the clips near the bottom of the phone as shown.
-
Lift off the front plate.
-
-
-
Questo passaggio è privo di traduzione. Aiuta a tradurlo
-
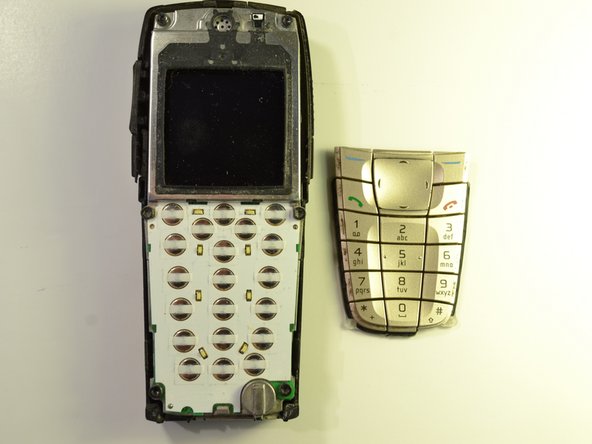
Separate the keypad from the phone and place aside.
-
Wipe off any excess dust from where the keypad was attached to the phone.
-
-
Questo passaggio è privo di traduzione. Aiuta a tradurlo
-
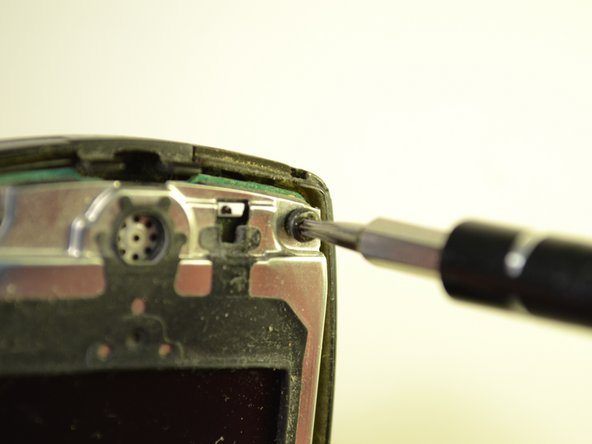
Remove the 6 - 7.9 mm screws highlighted by the markers using the T-6 head on the screwdriver.
-
-
Questo passaggio è privo di traduzione. Aiuta a tradurlo
-
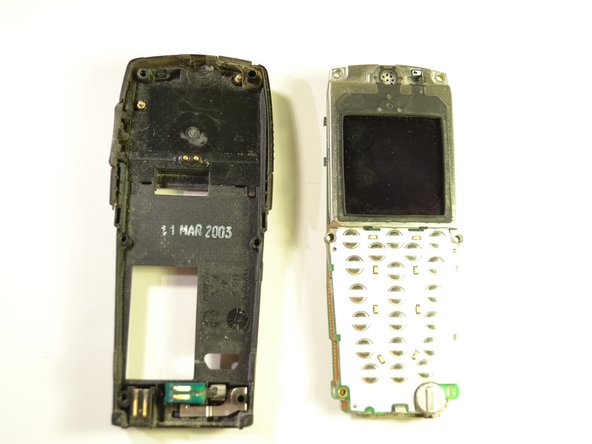
Separate the inside of the phone from the back of the phone.
-
-
Questo passaggio è privo di traduzione. Aiuta a tradurlo
-
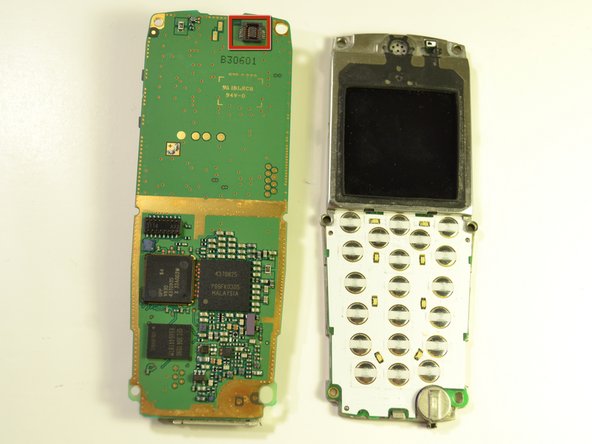
Gently pull apart the circuit board from the rest of the phone.
-


Team

Clemson, Team 15-5, Benson Fall 2012 Membro di Clemson, Team 15-5, Benson Fall 2012
CLEM-BENSON-F12S15G5
3 Membri
7 Guide realizzate