Introduzione
This guide provides instructions on how to locate the inner LCD display on a Nokia 6085h phone for removal, replacement, and/or repair.
This project is intended for Nokia 6085h users who need to replace the inner LCD display on the phone if it is found to be defective or is causing some malfunctions on the LCD display. Users who encounter similar issues can look for the inner LCD display on the phone and replace it by following the instructions provided in this guide. Fixing the LCD display on your own can help you save on repair costs, and this guide will cover everything you need to know to do that.
In order to successfully perform all the tasks described below, some specific equipment and prerequisites are needed to safely handle the delicate parts of the phone. Please keep in mind that this guide requires close attention to detail and caution when performing the tasks to avoid damaging the delicate components of the phone and to prevent injuries. Make sure to power off your phone completely and disconnect from any external power source prior to beginning this guide.
Cosa ti serve
-
-
Flip over the phone so that the back is facing up.
-
Pressing your thumb against the back cover, slide the cover off of the phone.
 Chiedi a FixBot
-
-
-
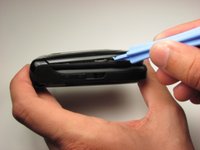
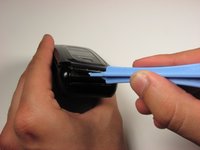
With the phone closed, run a plastic opening tool along the seam of the top half of the phone.
-
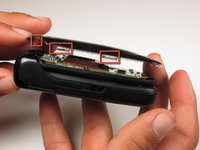
Make sure to disconnect each of the five clips before proceeding to the next step.
-
-
-
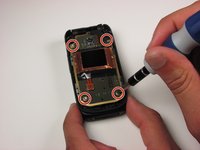
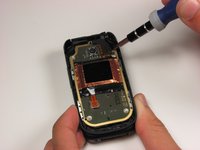
Remove the four 3.2 mm screws from the front panel using a T6 Torx screwdriver.
-
-
-
-
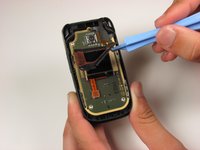
Starting in the lower right corner, slowly begin to lift the tape that is holding down the front LCD and cables.
-
Lift the tape from the board.
-
-
-
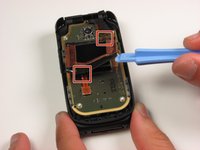
Using a plastic opening tool, lift the ribbon cable connection below the front LCD.
-
-
-
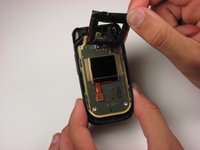
Using a plastic opening tool, slowly pry the LCD display from the bottom, releasing it from the glue that is holding it to the board.
-
-
-
Locate the ribbon cable connection in the upper right hand corner of the board.
-
Using a plastic opening tool, lift off the cable from the board.
-
-
-
Using a plastic opening tool, slowly work the board off the mounts holding it to the frame.
-
Flip the board over to reveal the main display.
-
-
-
Locate the ribbon cable for the main display on the bottom of the board.
-
Slowly lift off the ribbon connector from its housing using a plastic opening tool.
-
-
-
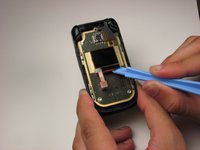
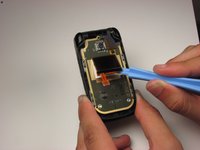
Slowly wedge the plastic opening tool under the bottom of the main display.
-
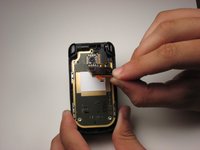
Separate the display from the glue lifting it off the board.
-










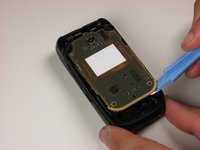
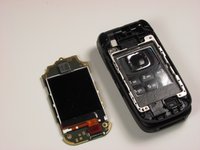


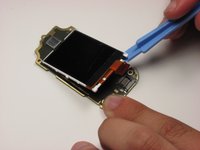
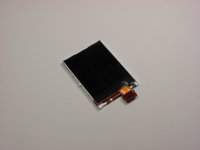
To reassemble your device, follow these instructions in reverse order.

Team

Cal Poly, Team 4-46, Amido Fall 2010 Membro di Cal Poly, Team 4-46, Amido Fall 2010
CPSU-AMIDO-F10S4G46
4 Membri
14 guide realizzate
