Introduzione
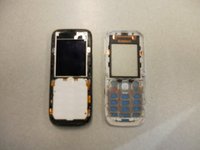
In this guide, we outline how to unscrew and remove the front case from the Nokia 2630b. This grants access to the LCD screen cover and the keyboard.
Cosa ti serve
-
-
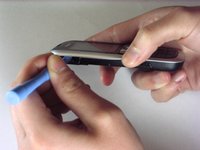
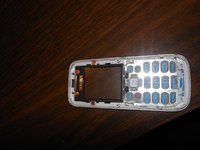
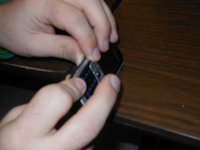
Press and the release button on both sides of the battery cover. While holding down the release buttons pull the battery cover away from the phone
-
-
-
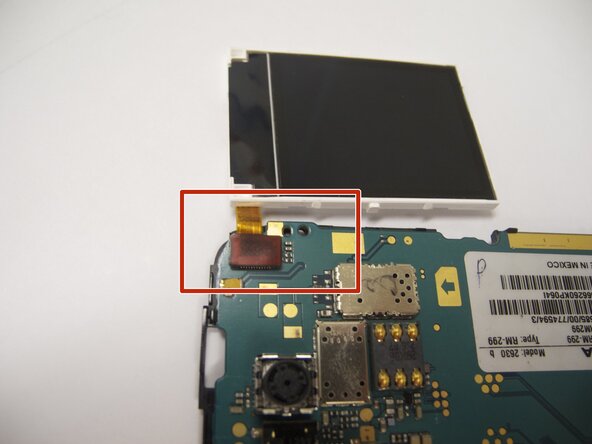
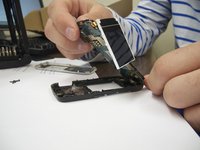
Remove the two screws on either side of the battery case using the microscrewdriver using the T5 bit
-
NOTE: Keep the screws in a safe place while you continue working.
-


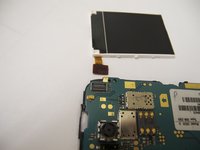


To reassemble your device, follow these instructions in reverse order. Make sure to snap the new screen / front case securely into place.
Team

Cal Poly, Team 9-61, Walters Spring 2011 Membro di Cal Poly, Team 9-61, Walters Spring 2011
CPSU-WALTERS-S11S9G61
5 Membri
6 Guide realizzate
2Commenti sulla guida
Great guide :-) I have a Nokia 2630 too and people can no longer hear me on calls, even though I can hear them. Do you know what could be wrong? Do you think this is something I could fix myself? Thanks!
You could try getting a neodymium magnet and run it across the earpiece grill. In my father's case, a lot of metal powder was in there, pressing in the speaker membrane; the alternative is cleaning it (which does require opening the phone using Eric's very nice guide). The alternative to those is ordering an earpiece online - but usually those are really bad quality, so trying to fix the original one would be advisable
Darie H -