Introduzione
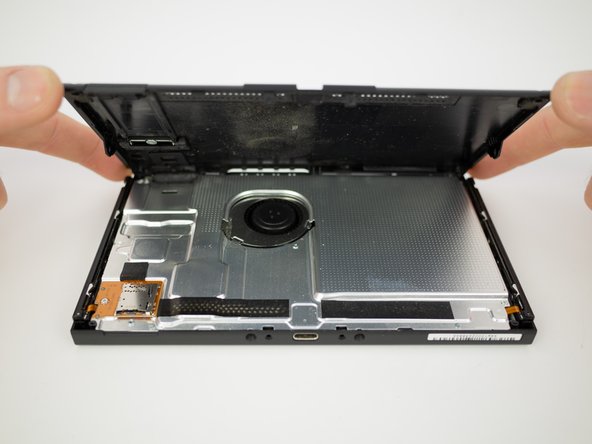
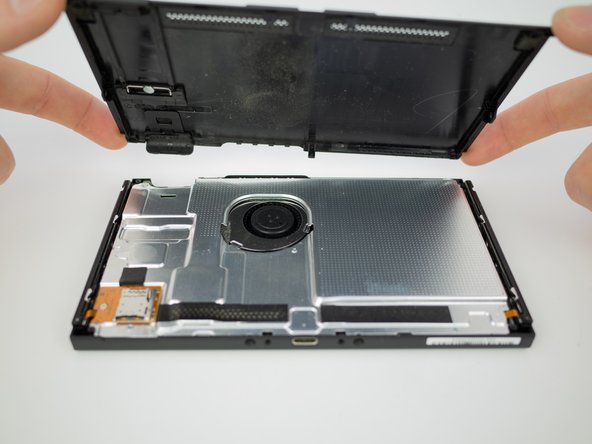
Follow this guide to remove the rear panel from a Nintendo Switch.
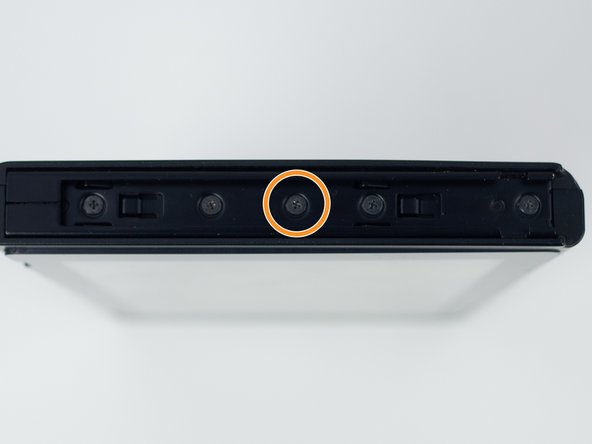
A single screw is hidden underneath the kickstand.
Cosa ti serve


To reassemble your device, follow these instructions in reverse order.
To reassemble your device, follow these instructions in reverse order.
Annulla: non ho completato questa guida.
Altre 75 persone hanno completato questa guida.

10 Commenti
Excellent and concise guide.
The new panel doesn’t come with the sticky grille pieces x 2 on the bottom. Is it supposed to be a straight transfer between the old and the new?
You can transfer the grill to the new back plat
Just did this replacement and there are a few things to keep in mind that this review does not mention. There are x2 square foam pieces that can be transferred to the new panel located at the bottom backside of the old. Also, the game cartridge shield hardware and the kickstand holder hardware have to be taken off the back of the old panel and transferred to the new panel. The kickstand has 2 Phillips #000 screws and the game cartridge shield has 1 Phillips #000 screw
Is the casing the same between the HAC model and the HAD model? This guide doesn’t specify
I had trouble removing the outermost screws, I think they’re actually Y00 as opposed to Y00. Not sure if I’m the only one who’s had an easier time with Y000, if they are I’ll update the wiki
Detailed guides like this are so helpful!
Swapped the backplates in less than 20 minutes with no issues. I recommend that you press on the screw firmly and turn slowly. Do this and check as you turn and you shouldn't strip any screws.
I wanted to support ifixit, and was ok with it being over 3x as expensive as Amazon as it's probably better parts ($13 vs $45). But Amazon had next day delivery whereas here standard is 5-10 days and express is 3-5. I really want to support you guys but you've got to be competitive somehow...