Salta al contenuto principale

Nintendo Switch Motherboard Replacement

Guida Archiviata
Questa guida è mantenuta solo per scopi storici. Usa la versione aggiornata della guida per eseguire la riparazione.

Cosa ti serve

  1. Nintendo Switch Motherboard Replacement, Motherboard: passo 1, immagine 1 di 2 Nintendo Switch Motherboard Replacement, Motherboard: passo 1, immagine 2 di 2
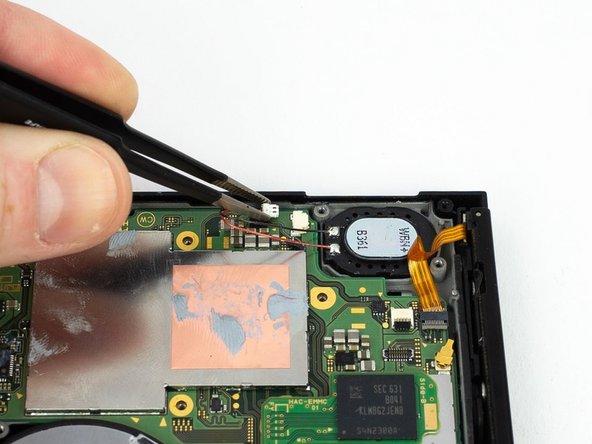
    • Disconnect the right loudspeaker from the motherboard.

  2. Nintendo Switch Motherboard Replacement: passo 2, immagine 1 di 2 Nintendo Switch Motherboard Replacement: passo 2, immagine 2 di 2
    • Disconnect the left speaker from the motherboard.

  3. Nintendo Switch Motherboard Replacement: passo 3, immagine 1 di 2 Nintendo Switch Motherboard Replacement: passo 3, immagine 2 di 2
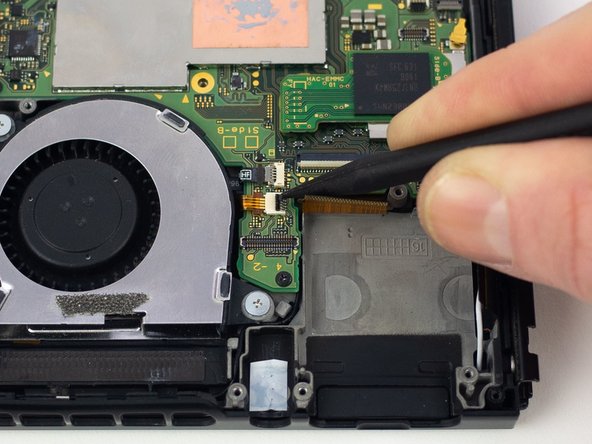
    • Use a spudger to flip up the small beige locking flap on the display ZIF connector.

  4. Nintendo Switch Motherboard Replacement: passo 4, immagine 1 di 2 Nintendo Switch Motherboard Replacement: passo 4, immagine 2 di 2
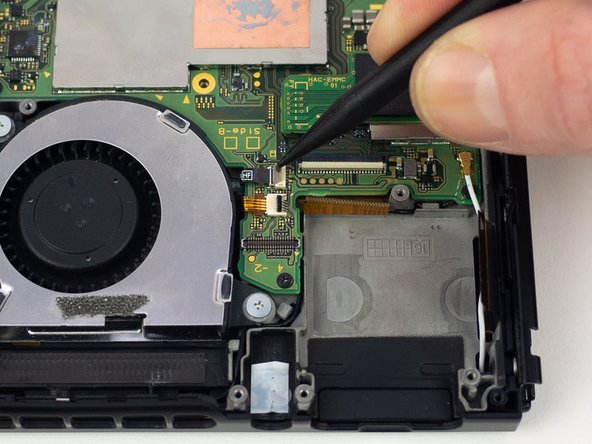
    • Use the pointed end of a spudger to slide the display ribbon cable out of the ZIF connector.

  5. Nintendo Switch Motherboard Replacement: passo 5, immagine 1 di 2 Nintendo Switch Motherboard Replacement: passo 5, immagine 2 di 2
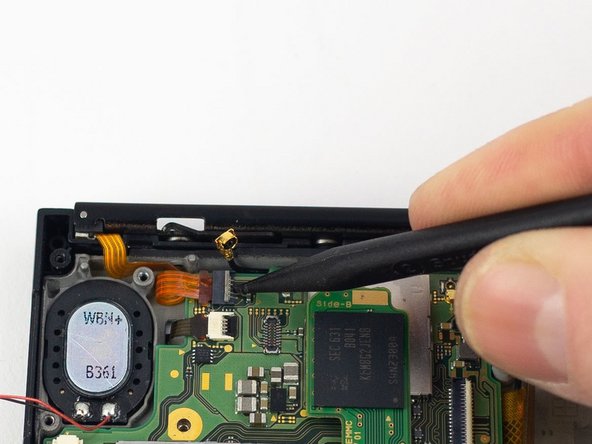
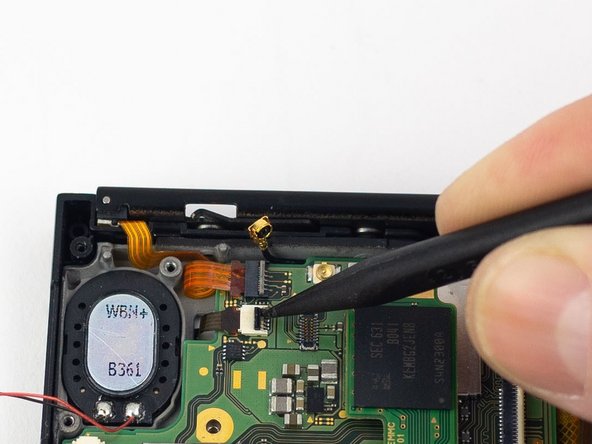
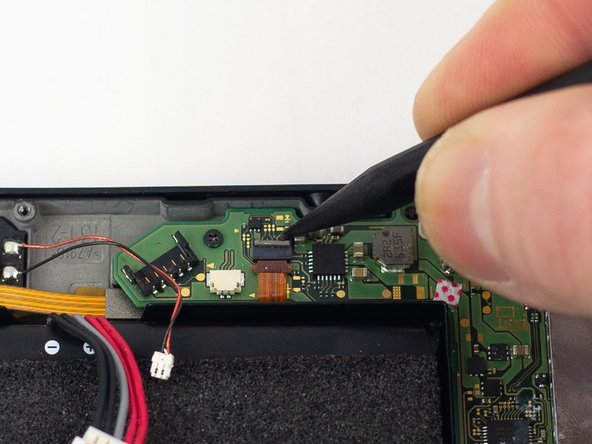
    • Use a spudger to flip up the small black locking flap on the power/volume button ZIF connector.

  6. Nintendo Switch Motherboard Replacement: passo 6, immagine 1 di 2 Nintendo Switch Motherboard Replacement: passo 6, immagine 2 di 2
    • Use a spudger to flip up the small gray locking flap on the fan ZIF connector.

  7. Nintendo Switch Motherboard Replacement: passo 7, immagine 1 di 2 Nintendo Switch Motherboard Replacement: passo 7, immagine 2 di 2
    • Use the flat end of a spudger to disconnect the white coaxial antenna cable from the motherboard.

  8. Nintendo Switch Motherboard Replacement: passo 8, immagine 1 di 2 Nintendo Switch Motherboard Replacement: passo 8, immagine 2 di 2
    • Use the flat end of a spudger to disconnect the black coaxial antenna cable from the motherboard.

  9. Nintendo Switch Motherboard Replacement: passo 9, immagine 1 di 2 Nintendo Switch Motherboard Replacement: passo 9, immagine 2 di 2
    • Use a spudger to flip up the small gray locking flap on the right Joy-Con rail ZIF connector.

  10. Nintendo Switch Motherboard Replacement: passo 10, immagine 1 di 2 Nintendo Switch Motherboard Replacement: passo 10, immagine 2 di 2
    • Use a spudger to flip up the small black locking flap on the ZIF connector.

  11. Nintendo Switch Motherboard Replacement: passo 11, immagine 1 di 2 Nintendo Switch Motherboard Replacement: passo 11, immagine 2 di 2
    • Use a spudger to flip up the small gray locking flap on the left Joy-Con rail ZIF connector.

  12. Nintendo Switch Motherboard Replacement: passo 12, immagine 1 di 1
    • Remove the four 2.50 mm JIS #000 screws from the motherboard.

    • Remove the two 3.14 mm JIS #000 screws from the USB-C port.

  13. Nintendo Switch Motherboard Replacement: passo 13, immagine 1 di 1
    • Gently lift and wiggle the motherboard to remove.

Conclusione

To reassemble your device, follow these instructions in reverse order.

Blake Klein

Membro da: 01/29/17

70.531 Reputazione

50 Guide realizzate

0 Commenti

Aggiungi Commento

Visualizza Statistiche:

Ultime 24 Ore: 0

Ultimi 7 Giorni: 0

Ultimi 30 Giorni: 0

Tutti i Tempi: 26