Introduzione
Are you experiencing trouble with your controller not working? This may contribute to the system not recognizing the controller input or a broken controller port. With this guide, we will help you replace the port in efforts to fix this problem. You will need a 4.5mm Gamebit screwdriver and a 1.25mm white ribbon cable for this guide as well. Happy fixing!
Cosa ti serve
-
-
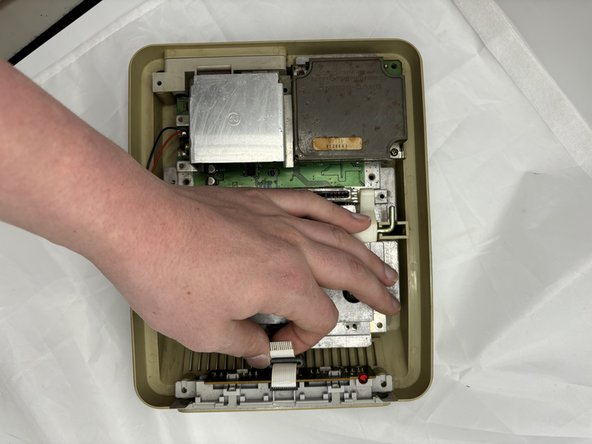
Remove the six 13.5 mm screws on the lower case with a 4.5 mm Gamebit screwdriver.
-
-
-
-
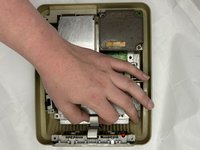
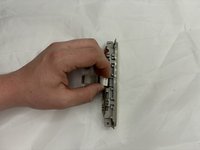
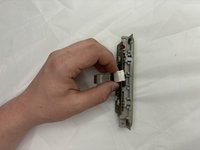
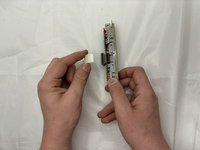
Carefully disconnect the ribbon cable that is attached to the controller board and the main board.
-


To reassemble your device, follow these instructions in reverse order.
To reassemble your device, follow these instructions in reverse order.

Team

University of North Texas, Team 2-3, Kilpatrick Spring 2024 Membro di University of North Texas, Team 2-3, Kilpatrick Spring 2024
UNT-KILPATRICK-S24S2G3
4 Membri
10 Guide realizzate
Un commento
The B button only works but the rest of the controller is not pressing. Can you help?