Introduzione
Use this guide to replace your DSi's power board. Replacing the power board will give you a new battery connector and new electronic switches for the D-pad as well as the power button.
Cosa ti serve
-
-
Unscrew the two Phillips screws securing the battery cover to the lower case.
-
Grasp the battery cover and lift it out of the lower case.
-
-
-
Using a spudger tool (or your fingernail), lift up the battery from the top.
-
Grasp the battery and remove it from the DSi.
-
-
-
Two screws are hidden underneath two rubber feet highlighted in red.
-
Use the tip of a spudger to pry the rubber feet out of the lower case.
-
-
-
-
Insert the spudger in between the lower casing and lower panel near the top right corner of the DSi.
-
Carefully run the spudger along the edge of the outer casing, creating an opening between the body and the casing.
-
Continue running the spudger around the body of the DSi until the majority of the lower case has been separated.
-
-
-
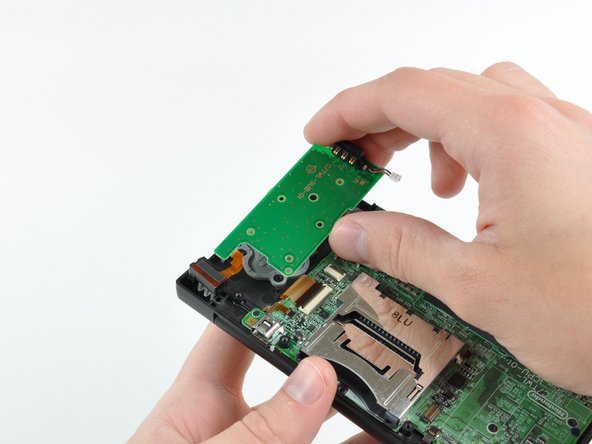
Use the tip of a spudger to pry the power board connector out of its socket on the motherboard.
-
-
-
Use your fingernail or the edge of a plastic opening tool to flip up the retaining flap on power board ZIF connector.
-
After flipping up the locking tab on the socket, use your fingers or a pair of tweezers to gently pull the cable straight out of its socket.
-


To reassemble your device, follow these instructions in reverse order.
To reassemble your device, follow these instructions in reverse order.
Annulla: non ho completato questa guida.
Altre 9 persone hanno completato questa guida.

3 Commenti
So when I was attempting to repair my DSI, the red cable became unplugged and now my system won’t turn on. What can I do to fix this before I go the option of getting replaced or ordering replacement parts?
I need help. I busted off the connection of the power board to the mother board. Is there any way I can solder the red and black wires directly? Because the white piece is broken and gone now.
Hi I would like to ask about the buttons because in my case a plastic like bubble appeared on top of the contact gray button and it doesn’t make the pop sound anymore like the others that also means that it doesn’t work anymore could you help me?