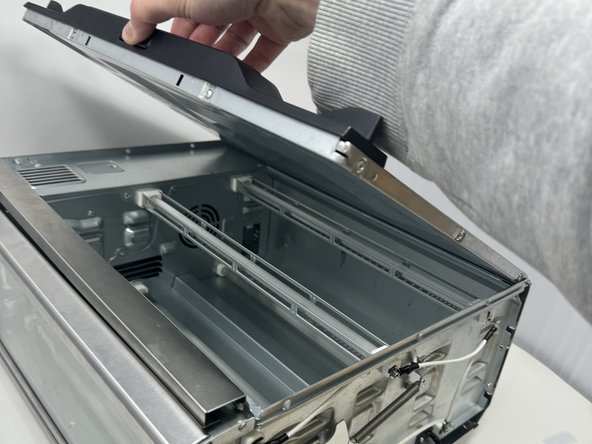
Salta al contenuto principale

Ninja Foodi SP101 Bottom Panel Replacement

Cosa ti serve

  1. Ninja Foodi SP101 Bottom Panel Replacement, Feet: passo 1, immagine 1 di 2 Ninja Foodi SP101 Bottom Panel Replacement, Feet: passo 1, immagine 2 di 2
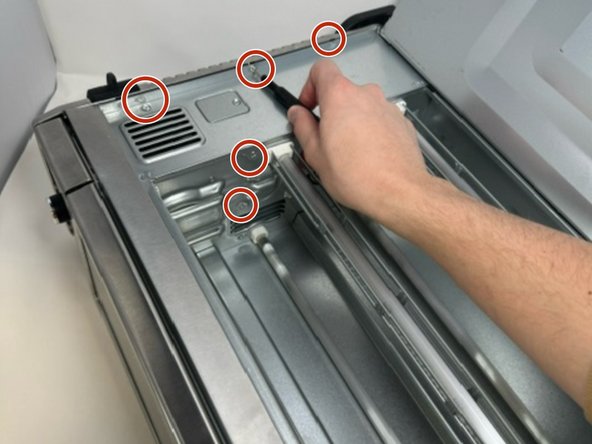
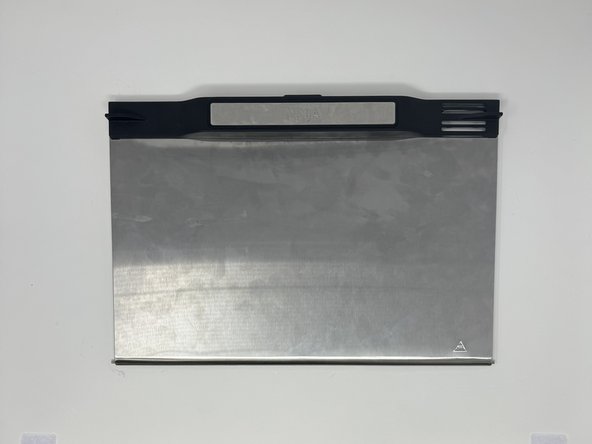
    • Use a TR10 screwdriver to remove the four 11mm screws holding the black lever bar in place.

  2. Ninja Foodi SP101 Bottom Panel Replacement: passo 2, immagine 1 di 1
    • Remove the black lever bar.

  3. Ninja Foodi SP101 Bottom Panel Replacement, Side Panels: passo 3, immagine 1 di 1
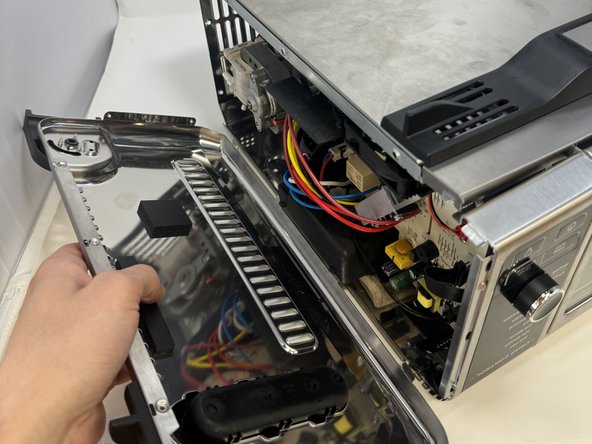
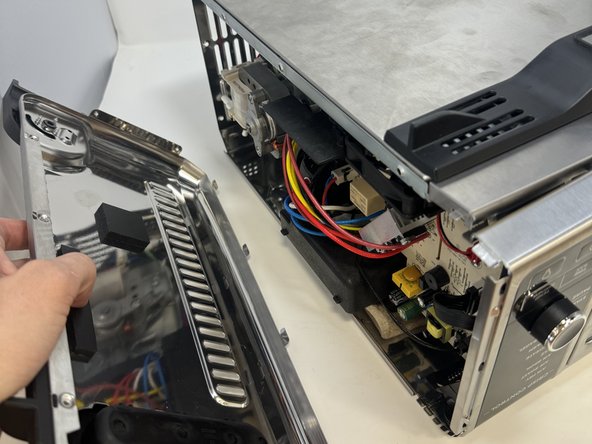
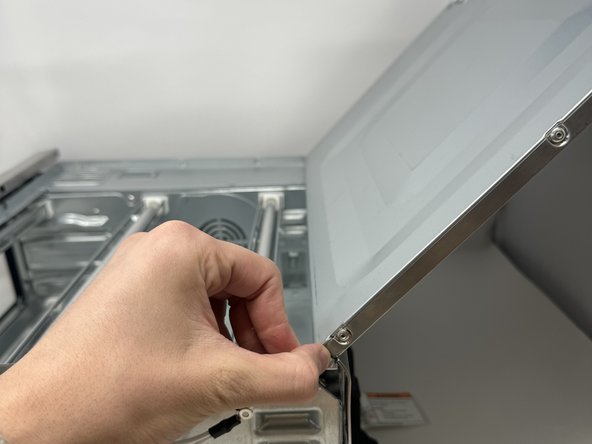
    • Use a Phillips #1 screwdriver to remove the three 8mm screws on each side of the back panel.

  4. Ninja Foodi SP101 Bottom Panel Replacement: passo 4, immagine 1 di 2 Ninja Foodi SP101 Bottom Panel Replacement: passo 4, immagine 2 di 2
    • Flip the device upside down and open the bottom panel.

    • Remove the five 8 mm screws on each side of the interior using a Phillips #1 screwdriver.

  5. Ninja Foodi SP101 Bottom Panel Replacement: passo 5, immagine 1 di 3 Ninja Foodi SP101 Bottom Panel Replacement: passo 5, immagine 2 di 3 Ninja Foodi SP101 Bottom Panel Replacement: passo 5, immagine 3 di 3
    • Remove the control side panel.

    • Lift the siding outward to remove the metal tab connection on the bottom.

  6. Ninja Foodi SP101 Bottom Panel Replacement: passo 6, immagine 1 di 2 Ninja Foodi SP101 Bottom Panel Replacement: passo 6, immagine 2 di 2
    • Lift the handle and pull the side panel out.

    • Remove the handle side panel.

  7. Ninja Foodi SP101 Bottom Panel Replacement, Bottom Panel: passo 7, immagine 1 di 3 Ninja Foodi SP101 Bottom Panel Replacement, Bottom Panel: passo 7, immagine 2 di 3 Ninja Foodi SP101 Bottom Panel Replacement, Bottom Panel: passo 7, immagine 3 di 3
    • Open the bottom panel, and face the handle side of the oven.

  8. Ninja Foodi SP101 Bottom Panel Replacement: passo 8, immagine 1 di 2 Ninja Foodi SP101 Bottom Panel Replacement: passo 8, immagine 2 di 2
    • Press the pin holding in the door inwards, allowing the door to come free.

  9. Ninja Foodi SP101 Bottom Panel Replacement: passo 9, immagine 1 di 2 Ninja Foodi SP101 Bottom Panel Replacement: passo 9, immagine 2 di 2
    • Remove the door completely by lifting the pin out of the other side.

Conclusione

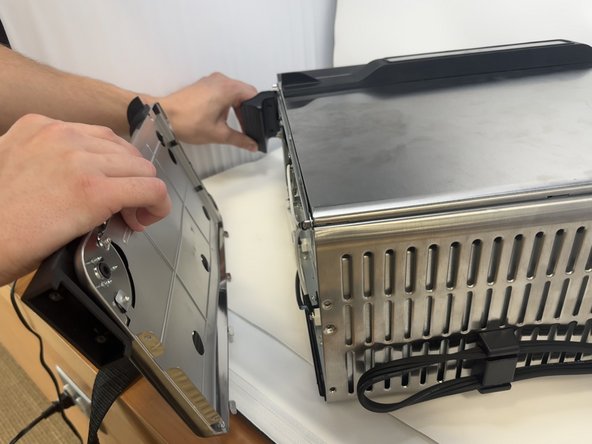
To reassemble your device, follow these instructions in reverse order.

ben

Membro da: 01/30/24

419 Reputazione

3 Guide realizzate

0 Commenti

Aggiungi Commento

Visualizza Statistiche:

Ultime 24 Ore: 0

Ultimi 7 Giorni: 5

Ultimi 30 Giorni: 25

Tutti i Tempi: 48