Introduzione
The bottom casing of the Nikon D90 can sometimes be scuffed up and damaged. This guide shows how to replace the bottom casing of the Nikon D90. Be forewarned, the screws can be easily be stripped so be careful.
Cosa ti serve
-
-
-
Next, use a PH00 screwdriver to remove the screws from the bottom casing.
-
Remove the four 5.3 mm Phillips screws.
-
Remove the three other 6.3 mm Phillips screws.
-
-
-
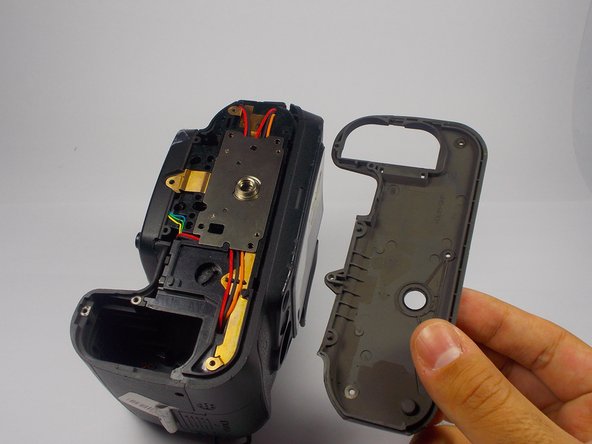
Next, use a plastic opening tool and carefully pop off the bottom case.
-
Then, lift and remove the bottom case.
-


To reassemble your device, follow these instructions in reverse order.
To reassemble your device, follow these instructions in reverse order.
Annulla: non ho completato questa guida.
Altre 4 persone hanno completato questa guida.
Team

UMass Dartmouth, Team 1-7, Duarte Fall 2014 Membro di UMass Dartmouth, Team 1-7, Duarte Fall 2014
UMASSD-DUARTE-F14S1G7
3 Membri
6 Guide realizzate