Introduzione
This guide will demonstrate the steps required to replace a problematic motherboard on your Nikon D610.
Cosa ti serve
-
-
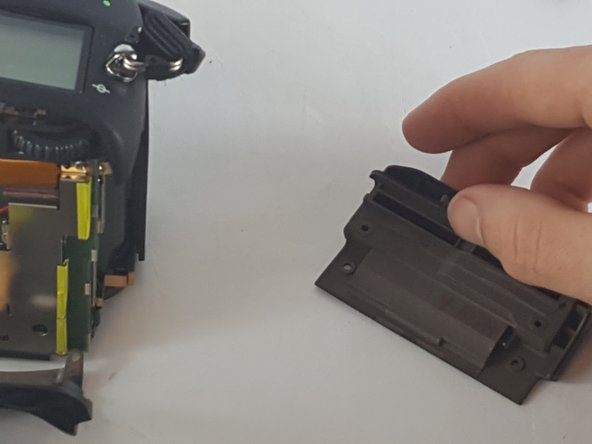
After removal of the battery. Pull the battery compartment door away from the lens.
-
There are eleven Philips head screws that hold the bottom cover on, including a few inside the battery compartment.
-
Remove all the screws and the bottom face should pop off easily.
-
-
-
-
Then next step is removing the seven Philips #00 screws that hold the rear face plate on.
-
There are screws hidden in three separate spots.
-
One is under the rubber doors on the left side of the camera. the next one at the eye hole.
-
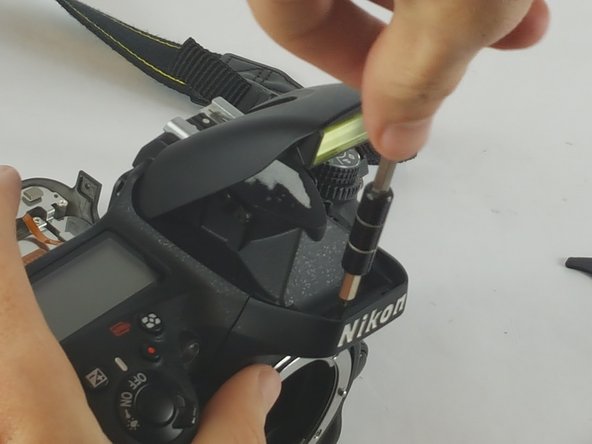
The final one involves taking off the small dial that is about half an inch to the right of the eye hole.
-
Removing this dial involves putting a spungder tool behind it and applying a gradual amount of pressure.
-
-
-
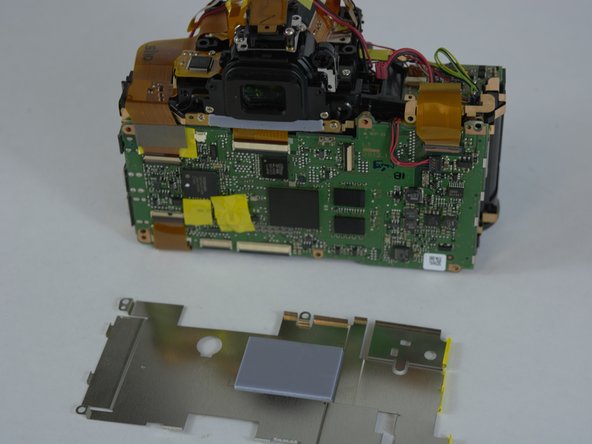
The rear side of the camera is where the motherboard is located. It is visible after you have taken off the rear face plate.
-
Remove the shield that protects it from static first.
-
This shield has six Philips #00 screws that are positioned around the edge of the shield.
-
After removal of the screws the shield will come free from the motherboard.
-


To reassemble your device, follow these instructions in reverse order.
To reassemble your device, follow these instructions in reverse order.
Annulla: non ho completato questa guida.
Altre 2 persone hanno completato questa guida.
Team

USF Tampa, Team 4-4, Lacy Spring 2016 Membro di USF Tampa, Team 4-4, Lacy Spring 2016
USFT-LACY-S16S4G4
3 Membri
6 Guide realizzate