Salta al contenuto principale

Nikon Coolpix S3500 Rear Buttons Replacement

Cosa ti serve

  1. Nikon Coolpix S3500 Rear Buttons  Replacement, Back Panel Disassembly: passo 1, immagine 1 di 2 Nikon Coolpix S3500 Rear Buttons  Replacement, Back Panel Disassembly: passo 1, immagine 2 di 2
    • With the battery door facing upward, take your PH000 screwdriver and remove the 4 mm screws from the bottom of the device.

  2. Nikon Coolpix S3500 Rear Buttons  Replacement: passo 2, immagine 1 di 2 Nikon Coolpix S3500 Rear Buttons  Replacement: passo 2, immagine 2 di 2
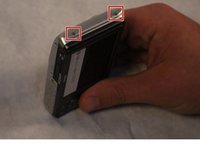
    • After removing the screws, rotate the device to where the micro USB port is facing up.

    • Now, take your PH000 screwdriver and remove the two 4 mm screws from the device.

  3. Nikon Coolpix S3500 Rear Buttons  Replacement: passo 3, immagine 1 di 2 Nikon Coolpix S3500 Rear Buttons  Replacement: passo 3, immagine 2 di 2
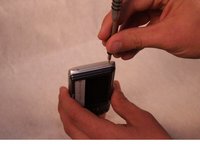
    • Rotate the device 180 degrees so that the opposite side of the device is now facing upwards.

    • Now, take your PH000 screwdriver and remove the two 4 mm screws from the device.

  4. Nikon Coolpix S3500 Rear Buttons  Replacement: passo 4, immagine 1 di 2 Nikon Coolpix S3500 Rear Buttons  Replacement: passo 4, immagine 2 di 2
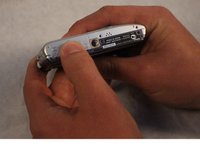
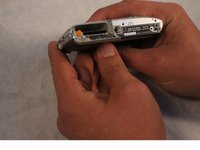
    • After all of the screws are removed, rotate the device so that the bottom of the device is now facing upward.

    • With your index finger, press down and slide open the memory card/battery door.

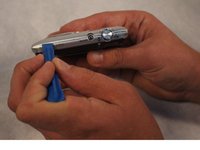
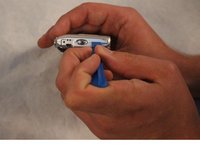
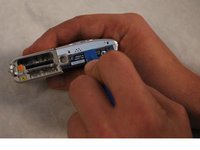
  5. Nikon Coolpix S3500 Rear Buttons  Replacement: passo 5, immagine 1 di 3 Nikon Coolpix S3500 Rear Buttons  Replacement: passo 5, immagine 2 di 3 Nikon Coolpix S3500 Rear Buttons  Replacement: passo 5, immagine 3 di 3
    • Now take the plastic opening tool, and place it in the seam of the device.

    • Now, work the tool around the seam of the device until you can safely pry open the device.

  6. Nikon Coolpix S3500 Rear Buttons  Replacement: passo 6, immagine 1 di 2 Nikon Coolpix S3500 Rear Buttons  Replacement: passo 6, immagine 2 di 2
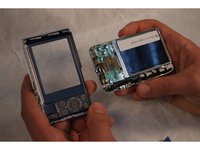
    • Be careful when removing the back piece of your device.

    • Using your free hand, finish prying off the back piece of the device.

  7. Nikon Coolpix S3500 Rear Buttons  Replacement, Rear Buttons: passo 7, immagine 1 di 1
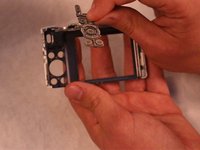
    • Take the rear panel of the device in the palm of your hand with the buttons facing downward.

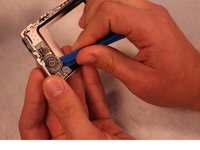
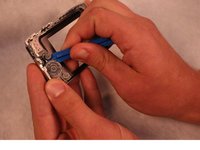
  8. Nikon Coolpix S3500 Rear Buttons  Replacement: passo 8, immagine 1 di 3 Nikon Coolpix S3500 Rear Buttons  Replacement: passo 8, immagine 2 di 3 Nikon Coolpix S3500 Rear Buttons  Replacement: passo 8, immagine 3 di 3
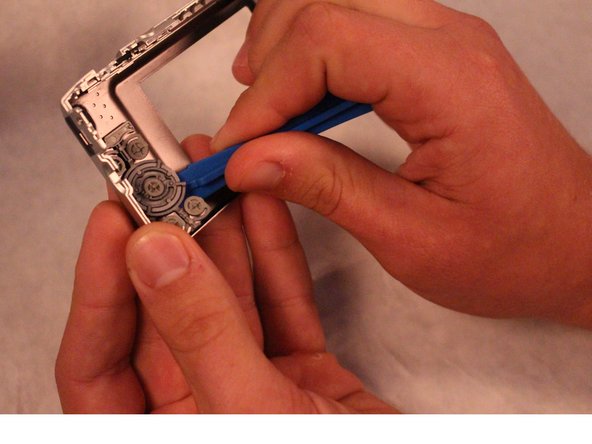
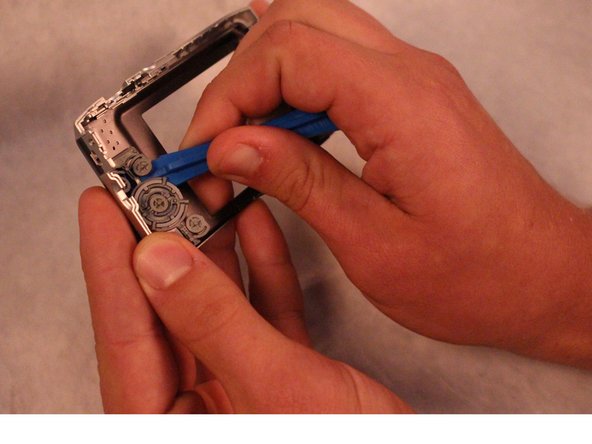
    • On the back side of the device's rear panel, you will see the plastic brackets that hold the rear function buttons in place.

    • With your other hand, take the pry tool and start working your way around the edge of the buttons

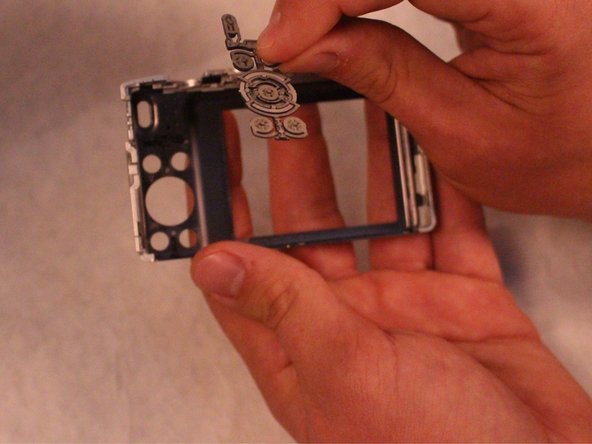
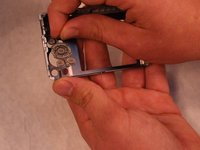
  9. Nikon Coolpix S3500 Rear Buttons  Replacement: passo 9, immagine 1 di 2 Nikon Coolpix S3500 Rear Buttons  Replacement: passo 9, immagine 2 di 2
    • Now, take the hand that was previously holding the pry tool, and finish pulling off the rear function buttons.

Conclusione

To reassemble your device, follow these instructions in reverse order.

0 Commenti

Aggiungi Commento

Visualizza Statistiche:

Ultime 24 Ore: 1

Ultimi 7 Giorni: 3

Ultimi 30 Giorni: 6

Tutti i Tempi: 415