Introduzione
This guide provides a step by step process on how to access the motherboard on the Nikon Coolpix P100 digital camera.
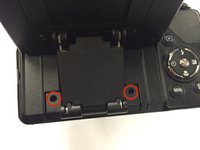
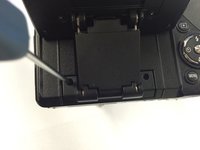
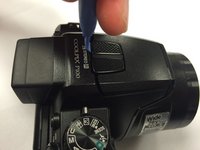
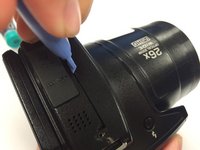
The motherboard allows all parts of your camera to receive power and communicate with one another. Common symptoms of a faulty motherboard include the screen not receiving any information to display or a quickly draining battery. Before disassembling your Nikon Coolpix P100, be sure to remove any dust or debris from the camera. Keeping your motherboard clean will lessen the probability of any motherboard damage.
Before beginning, be sure to power off your camera and disconnect it from any external power source.
Cosa ti serve


To reassemble your device, follow these instructions in reverse order.
To reassemble your device, follow these instructions in reverse order.
Team

USF Tampa, Team 1-1, Tanski Winter 2015 Membro di USF Tampa, Team 1-1, Tanski Winter 2015
USFT-TANSKI-W15S1G1
3 Membri
8 Guide realizzate