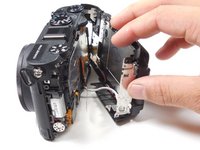
Introduzione
By following these nine simple steps, one can successfully replace the multi selector wheel of the Nikon COOLPIX P7700 camera after having removed the casing.
Cosa ti serve
-
-
Turn camera to the left side and remove the two 4.3 mm black side screws using the Phillips #00 screwdriver.
-
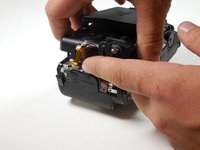
Remove the side panel.
-
-
-
-
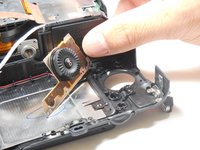
Remove the four 4.3 mm screws located on the far right metal plate. Use the Phillips #00 screwdriver.
-


To reassemble your device, follow these instructions in reverse order.
To reassemble your device, follow these instructions in reverse order.
Annulla: non ho completato questa guida.
Altre 7 persone hanno completato questa guida.
Team

Colorado Springs, Team 2-7, Panko Spring 2015 Membro di Colorado Springs, Team 2-7, Panko Spring 2015
UCCS-PANKO-S15S2G7
3 Membri
10 Guide realizzate
8 Commenti
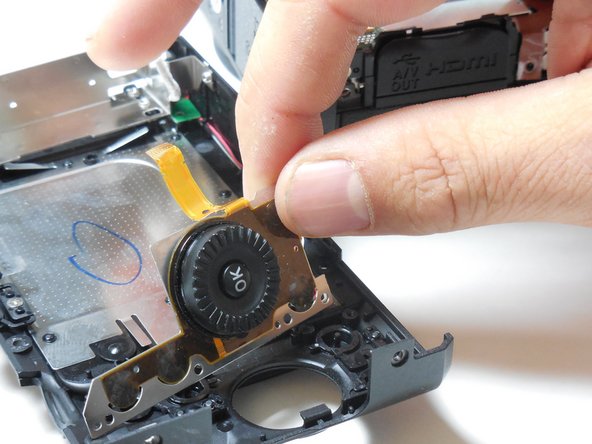
Step 9: I believe that the multi-selector wheel component is soldered, 3 wires just visible in the photo for step 8. This will surely add to the time taken and difficulty.
I have a problem with this component. Firstly it's almost impossible to obtain the replacement parts, but if I could this guide would be invaluable; pictures are worth a thousand words! Thanks.
where can I get the item ( wheel ) ?
Best regards and thank you for the good explanation
Where i can find this wheel for replacement?
Please see my comment on the "general" method of fixing the wheel (using fast-drying contact cleaner) without ANY component replacement or unscrewing. It works really well but you may have to do it 1-3 times until all the dirt inside the wheel mechanism is removed. I have managed to restore my P7700 (after "fixing" the erratic Control Wheel and the dis-obedient Play button). Since then I have used the same method to fix the control wheel on my Samsung EX-1 camera (the control wheel was replaced twice by Samsung but the problem came back after a year or so). The root cause is probably a weak control wheel design (maybe tiny metal springs rotating over a base-plate with printed circuits). Now I know how to save money and trouble (for any compact camera with a similar control wheel design).