Questa versione può contenere modifiche errate. Passa all'ultima istantanea verificata.
Cosa ti serve
-
Questo passaggio è privo di traduzione. Aiuta a tradurlo
-
Remove the two 9.0 mm Phillips screws securing the battery compartment.
-
Slide the battery compartment out.
-
-
Questo passaggio è privo di traduzione. Aiuta a tradurlo
-
Remove the five 9.0 mm Phillips screws securing the trigger.
-
-
Questo passaggio è privo di traduzione. Aiuta a tradurlo
-
Remove the single 11.0 mm Phillips screw securing the magazine cartridge chambers.
-
Pull the entire chamber upwards to separate it from the rest of the Nerf Gun.
-
-
Questo passaggio è privo di traduzione. Aiuta a tradurlo
-
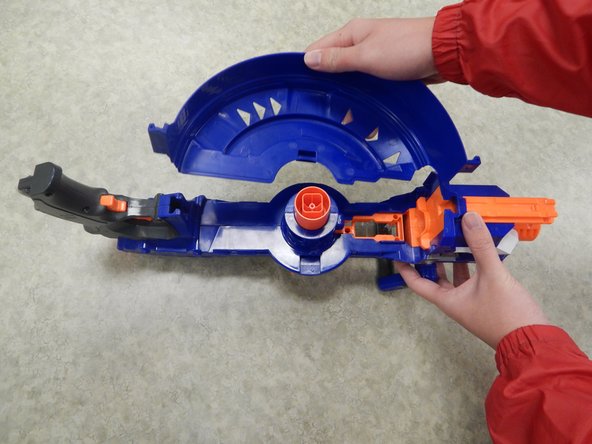
Remove both halves of the ring by tugging on it upwards until the lock gets freed.
-
-
Questo passaggio è privo di traduzione. Aiuta a tradurlo
-
Remove the four 9.0 mm Phillips screws from the newly revealed cylinder.
-
-
Questo passaggio è privo di traduzione. Aiuta a tradurlo
-
Remove the three 9.0 mm Phillips screws holding the top latch of the Nerf Gun together.
-
-
Questo passaggio è privo di traduzione. Aiuta a tradurlo
-
Remove the three 9.0 mm Phillips screws holding together the firing chamber.
-
Remove the single 7.0 mm Phillips screw below the barrel.
-
Remove the two 14.0 mm Philips screws using a screwdriver with a length of approximately 4.0 inches and a diameter of approximately 0.2 cm.
-
-
-
Questo passaggio è privo di traduzione. Aiuta a tradurlo
-
Remove the single 14.0 mm Phillips screw holding together the handle and the Nerf Gun.
-
-
Questo passaggio è privo di traduzione. Aiuta a tradurlo
-
Remove the two 9.0 mm Phillips screws holding together the handle.
-
Remove the plastic cover of the handle.
-
-
Questo passaggio è privo di traduzione. Aiuta a tradurlo
-
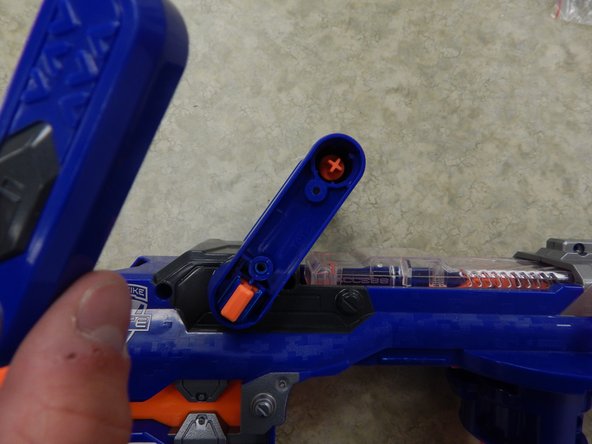
Insert one plastic opening tool inside one side of the orange part depicted in the picture.
-
Insert a second plastic opening tool to the other side of the orange part and gradually pull the piece out, freeing it from the handle.
-
-
Questo passaggio è privo di traduzione. Aiuta a tradurlo
-
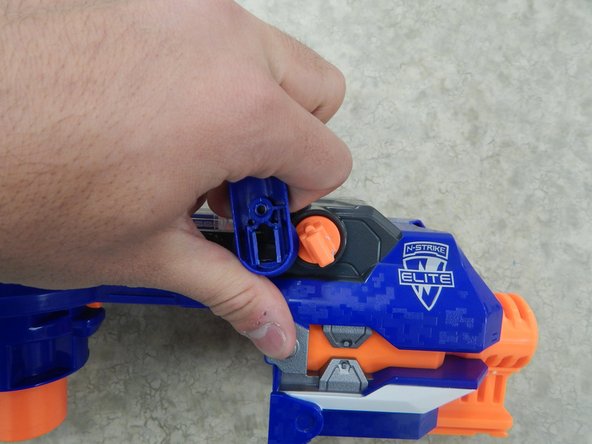
Pull one end of the handle away from the orange latch.
-
Repeat the procedure on the other side to completely remove the handle from the rest of the Nerf Gun.
-
-
Questo passaggio è privo di traduzione. Aiuta a tradurlo
-
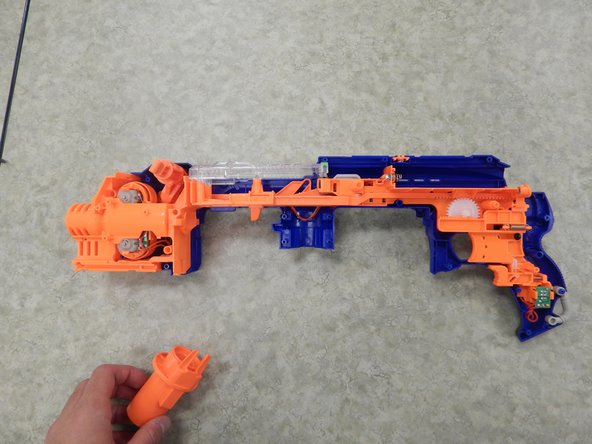
Completely remove the left shell from the rest of the Nerf Gun.
-
-
Questo passaggio è privo di traduzione. Aiuta a tradurlo
-
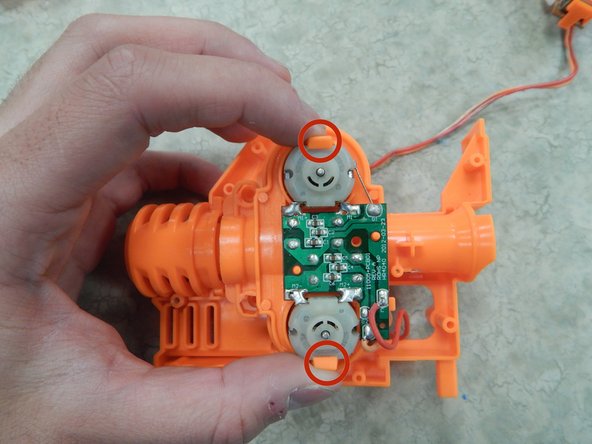
With your gun disassembled, locate the motor around the front portion of your gun as shown in Figure 1. Remove the two 9.0 mm Phillips screws securing the top shell of the motor casing.
-
-
Questo passaggio è privo di traduzione. Aiuta a tradurlo
-
Remove the top shell of the motor casing. This should reveal the inner workings of the motor.
-
-
Questo passaggio è privo di traduzione. Aiuta a tradurlo
-
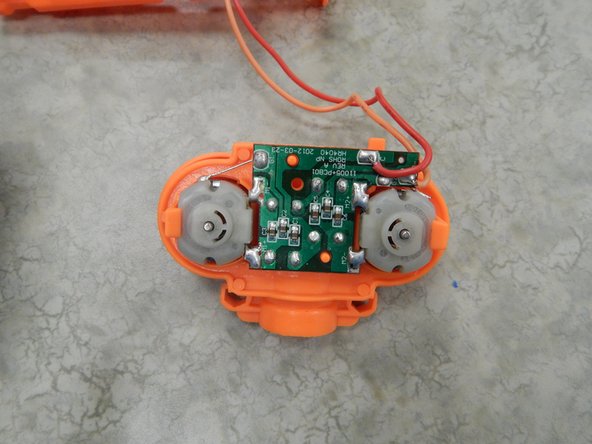
With the shell now removed, locate the motor and controlling circuit board. With your index finger and thumb, squeeze the holders shown in Figure 2 and pull upwards to release the motor module from the rest of the motor's casing. Your motor should be detached from the casing, as shown in Figure 3.
-
-
Questo passaggio è privo di traduzione. Aiuta a tradurlo
-
Remove the wiring from the motor by disconnecting the wires from the circuit board.
-


Annulla: non ho completato questa guida.
Altre 6 persone hanno completato questa guida.
Team

Cal Poly, Team 13-13, Regan Winter 2014 Membro di Cal Poly, Team 13-13, Regan Winter 2014
CPSU-REGAN-W14S13G13
4 Membri
7 Guide realizzate
4 Commenti
Where do I get the motor from. I have a Nerf Demolisher 2 in 1 and I want to see if the place you buy it from has a motor for it.
If you are still looking for the motors, you could check if any of these work with your model http://www.containmentcrew.com/product-c... . They are motors used often by people adding power to their motorized blasters, however, you may need a more powerful battery such as a LiPo or Nihm H.