Introduzione
This guide will allow the user to completely remove the wheels from the device. Make sure to complete the rear-bumper removal guide before proceeding.
Cosa ti serve
-
-
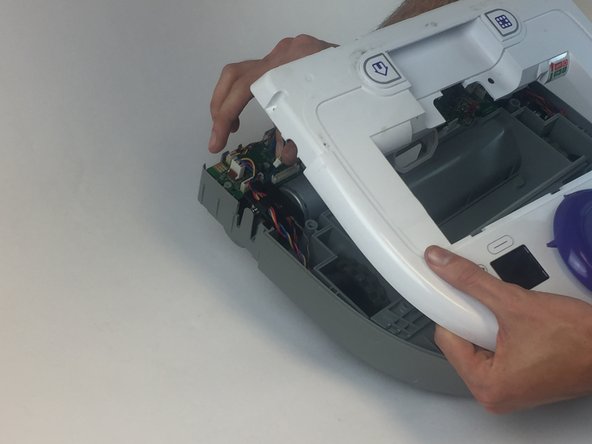
Pull the left and right sides away from the machine to unclip the bumper. This requires that you bend the plastic a little bit. Unclip one side a little bit and allow the prong to rest on the side of the machine. Then unclip the other side and pull off the bumper parallel to both sides
-
-
-
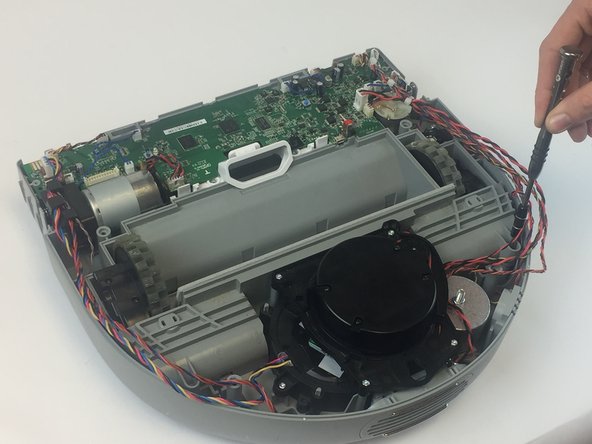
Looking from above, remove the two 11mm screws with a torx T10 screwdriver.
-
-
-
-
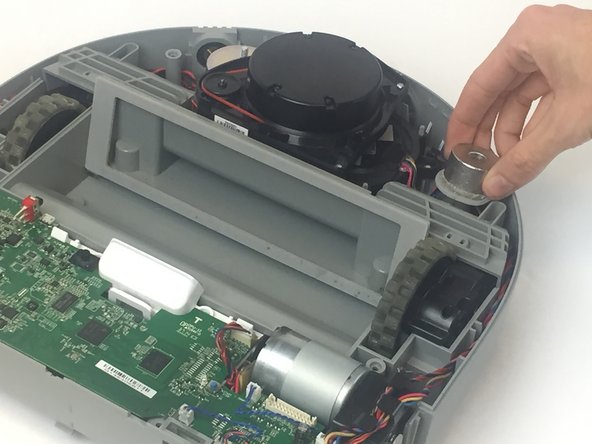
Locate the screws that mount the wheel extensions on the Botvac.
-
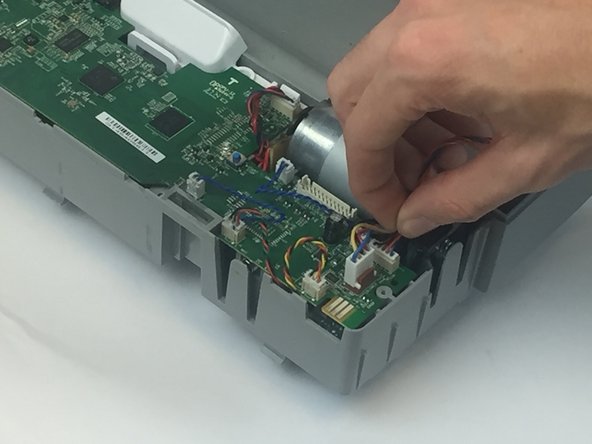
Unscrew the four 11mm screws and bolts indicated to remove the frame.
-


To reassemble your device, follow these instructions in reverse order.
To reassemble your device, follow these instructions in reverse order.
Annulla: non ho completato questa guida.
Altre 7 persone hanno completato questa guida.
Team

USF Tampa, Team 17-5, Blackwell Spring 2017 Membro di USF Tampa, Team 17-5, Blackwell Spring 2017
USFT-BLACKWELL-S17S17G5
3 Membri
12 Guide realizzate
8 Commenti
are left and right rear wheels identical parts? can one just replace the wheels and not the motors? I have loose ratcheting in one of the rear wheels. the D80 won’t back up correctly and stalls at each chair.
I have a Neato D7 and I am replacing the wheels. I have pulled it apart and mistakenly didn’t take a picture prior to disassembling the same area you did with the 80. Do you at least have a diagram of the D7 that I could use to re-assemble? I am particularly concerned about where the springs and a circular piece connected to circuit board (labeled 8015W) is placed.
Thanks
The tread on my botvac 80 is gone on 1 back wheel. Motor seems to still work good. Can you tell me how to get a replacement wheel? Have looked on amazon and ebay. Any help will be appreciated. Tammy
Taking apart and assembly is the easy part. Finding spares however… Got a worn down drive gear, that’s it. The rest of the machine seems just fine. So a $4-500 gadget is broken just because I can’t find a small plastic gear replacement that shouldn’t be more than a few bucks. Stupid.