Questa versione può contenere modifiche errate. Passa all'ultima istantanea verificata.
Cosa ti serve
-
Questo passaggio è privo di traduzione. Aiuta a tradurlo
-
Position the Nabi DreamTab onto a non-metallic surface so that the screen is facing towards the ceiling, and the DreamTab logo appears closest to you.
-
Remove the red silicone case from the Nabi DreamTab HD8.
-
-
Questo passaggio è privo di traduzione. Aiuta a tradurlo
-
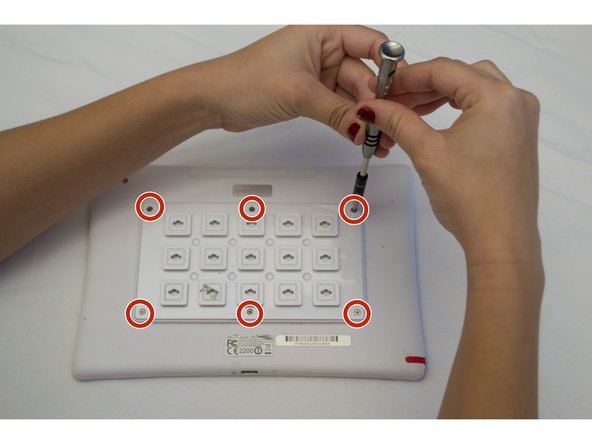
Turn it upside down, ensuring the small black circular camera is in the upper left hand corner.
-
-
Questo passaggio è privo di traduzione. Aiuta a tradurlo
-
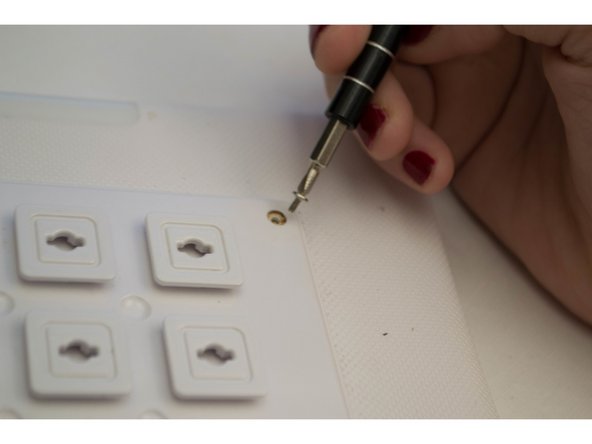
Remove the six 2.5 mm JIS #000 screws attaching the custom grid to the back panel.
-
-
Questo passaggio è privo di traduzione. Aiuta a tradurlo
-
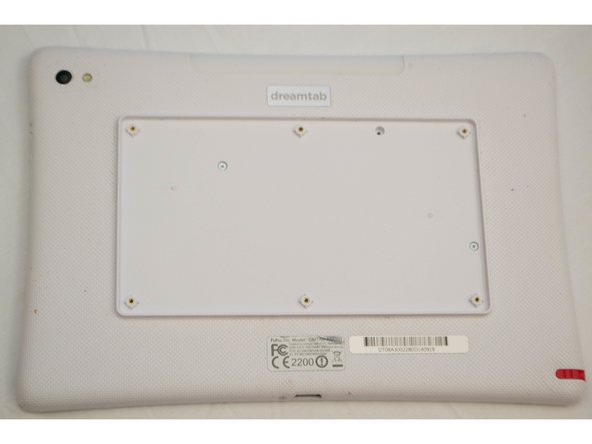
Grasp one of the protruding squares and gently lift off the back plate. Place it aside for later reassembly.
-
-
-
Questo passaggio è privo di traduzione. Aiuta a tradurlo
-
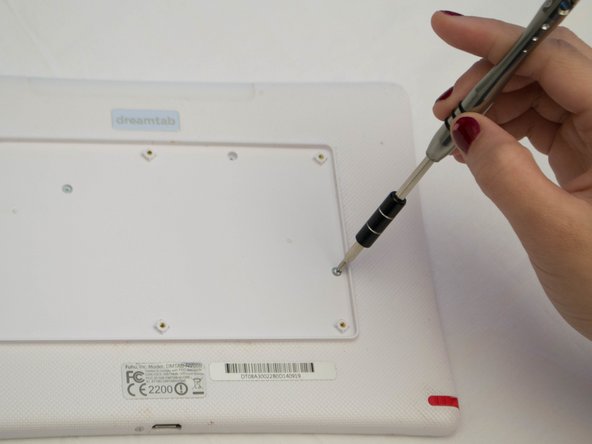
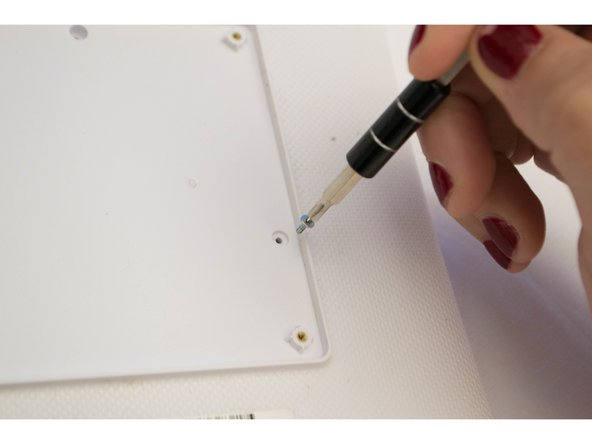
Remove the three 3.5mm screws using the J-0 screwdriver attaching the back panel to the device.
-
-
Questo passaggio è privo di traduzione. Aiuta a tradurlo
-
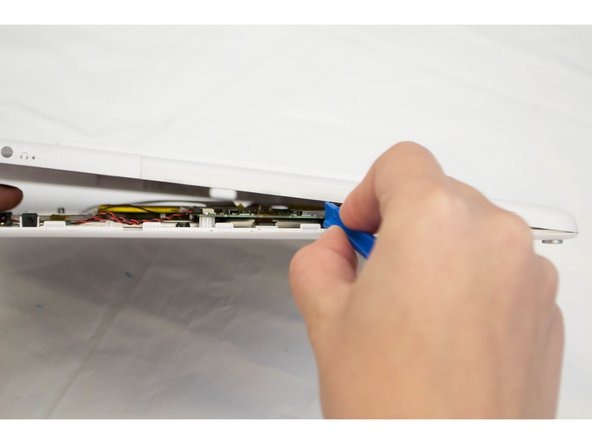
Rotate the top of the device towards you so that the audio jack appears on the right side of the device.
-
Wedge the plastic opening tool between where the front and back case panels meet near the audio jack.
-
Pry the device open using moderate force until you hear a clicking sound. This is the sound of the clips unlocking.
-
Move along the perimeter of the entire device using the same prying motion to gradually separate the front and back panels.
-
Once the edges are open return to the same starting position next to the audio jack.
-
-
Questo passaggio è privo di traduzione. Aiuta a tradurlo
-
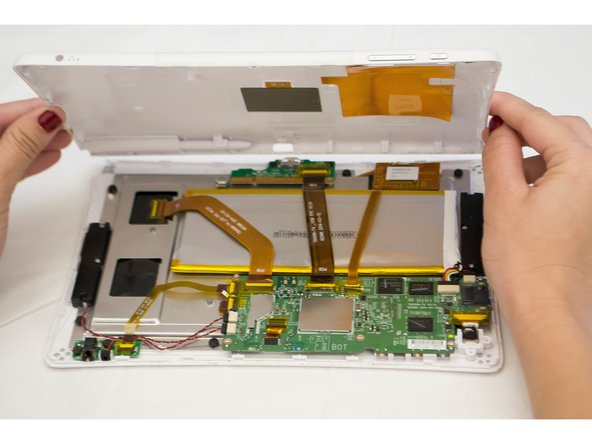
Once you've completed separating the front and back panels, place the device back onto the table, display facing downward and camera at the top left.
-
Lift off the back panel and rotate the device 180 degrees while the screen is facing down.
-
-
Questo passaggio è privo di traduzione. Aiuta a tradurlo
-
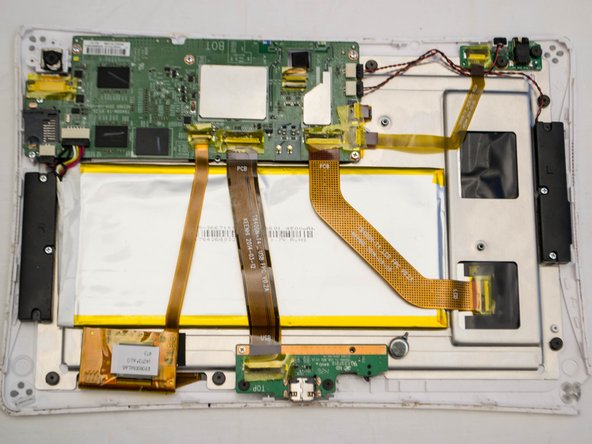
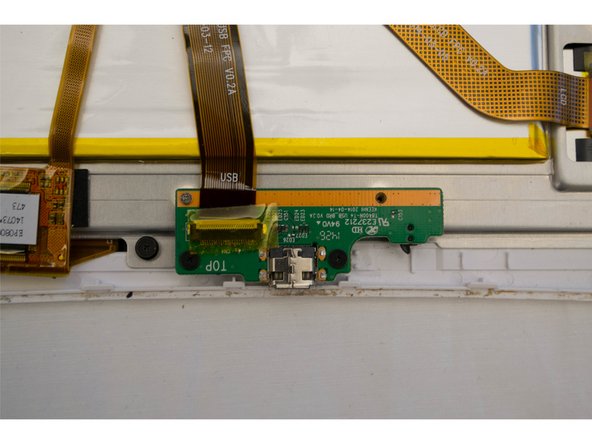
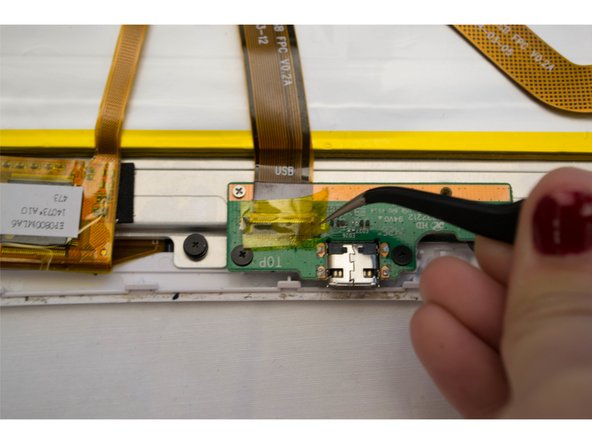
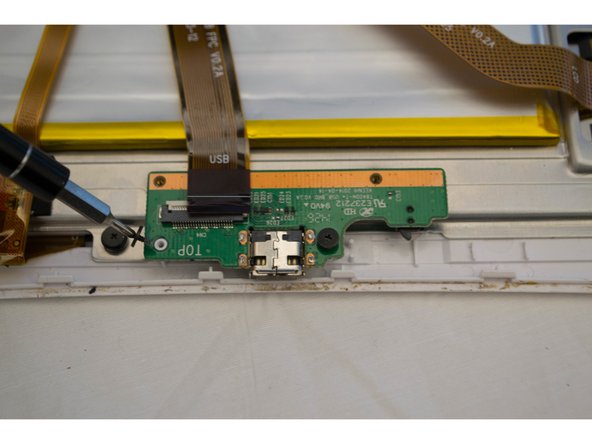
Peel off the yellow tape on the connector from the corner.
-
-
Questo passaggio è privo di traduzione. Aiuta a tradurlo
-
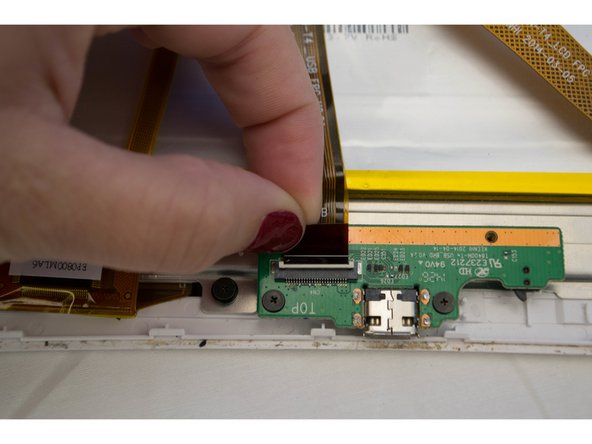
Disengage the white lock keeping the plastic ribbon in place.
-
-
Questo passaggio è privo di traduzione. Aiuta a tradurlo
-
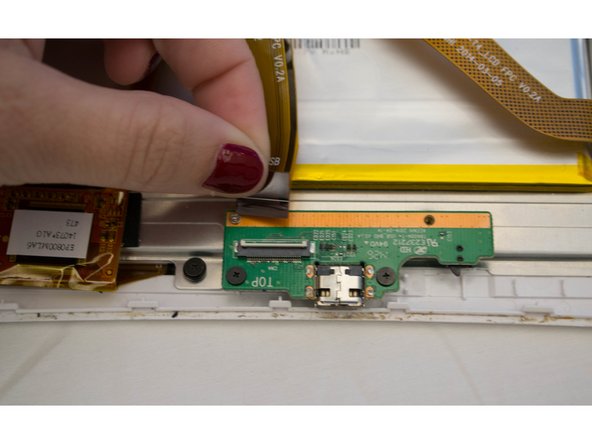
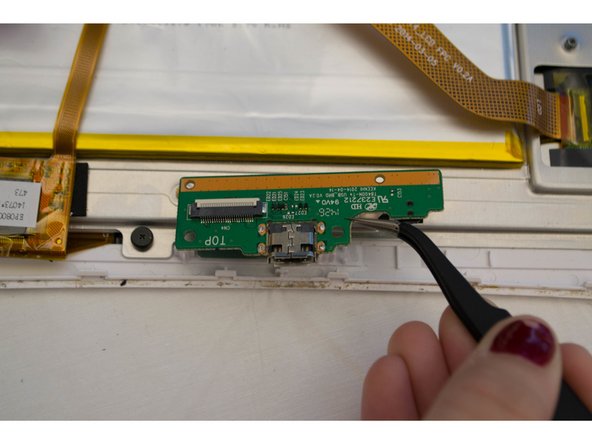
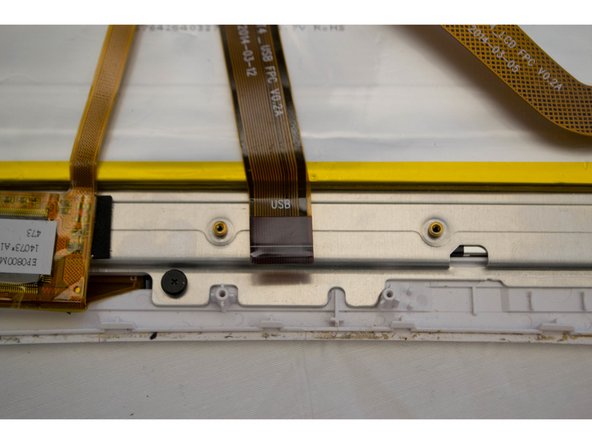
Remove four screws from the charging connector.
-


Annulla: non ho completato questa guida.
Un'altra persona ha completato questa guida.
Team

CSU Fullerton, Team 2-3, Bruce Fall 2015 Membro di CSU Fullerton, Team 2-3, Bruce Fall 2015
CSUF-BRUCE-F15S2G3
4 Membri
10 Guide realizzate
Un commento
hi,
I would like to buy new E237212 but I can’t find it..can you help me?