Introduzione
Some users of the tablet have faced problems with their headphone jack. If the headphone jack is not working, this repair guide can be used to remove and replace it. Please note that this guide should be used if cleaning the headphone jack fails to resolve your audio problems.
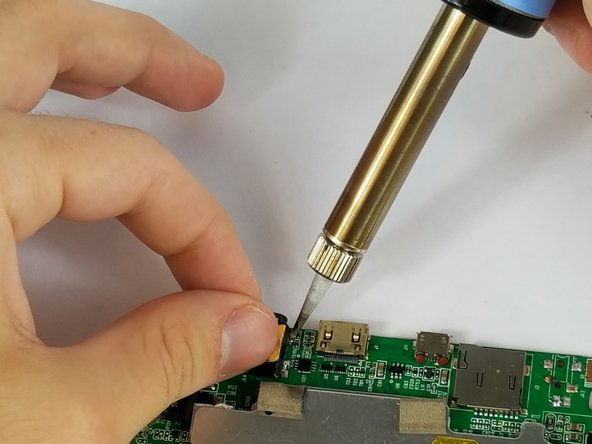
It is important to note that this guide will involve soldering and desoldering. When soldering, make sure that you do not touch any metal parts of the soldering iron. It gets very hot, very quickly.
Cosa ti serve
-
-
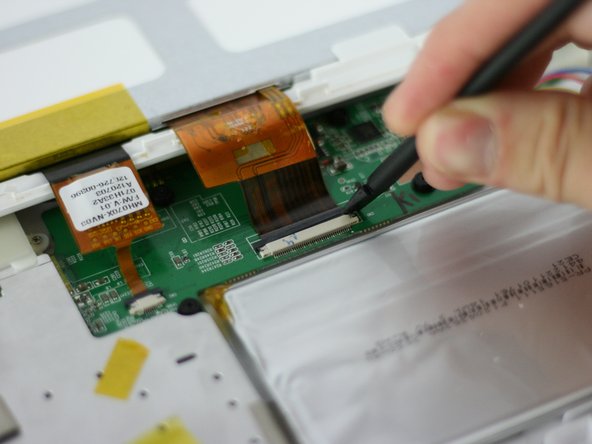
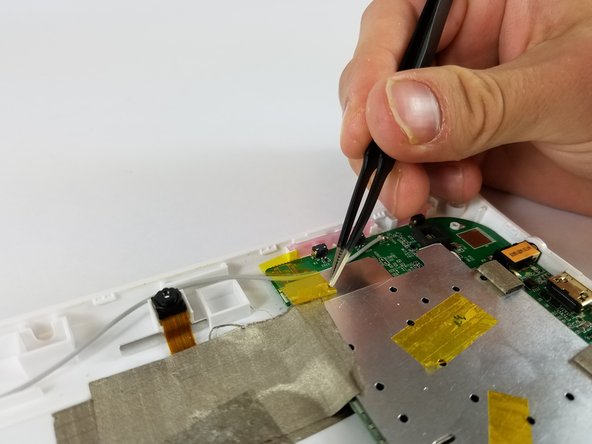
Lay the tablet down flat and remove the yellow tape from the ZIF connector on each side
-
-
-
-
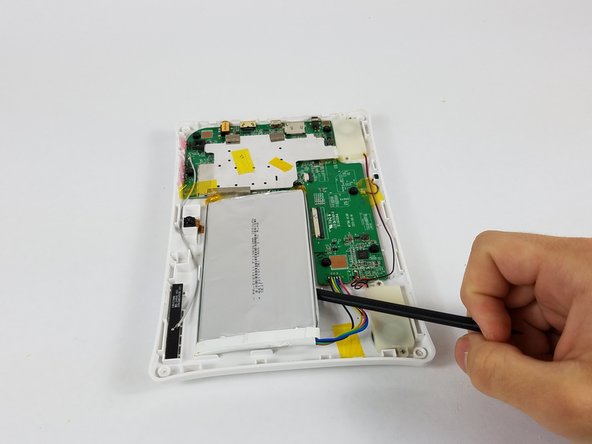
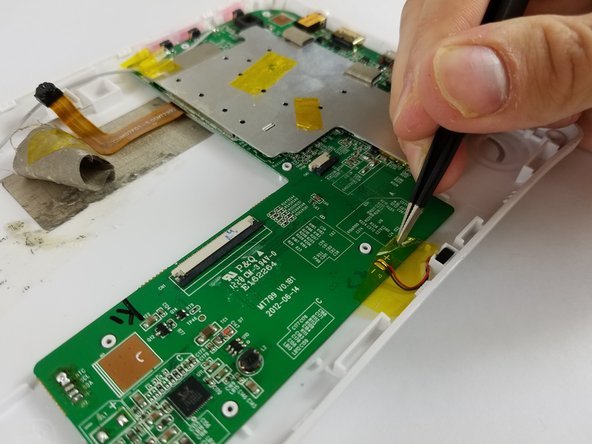
Using the soldering iron, detach the speaker's wires from the circuit board.
-
-
-
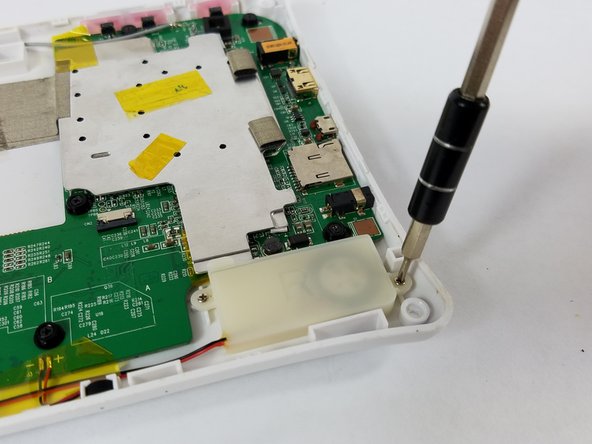
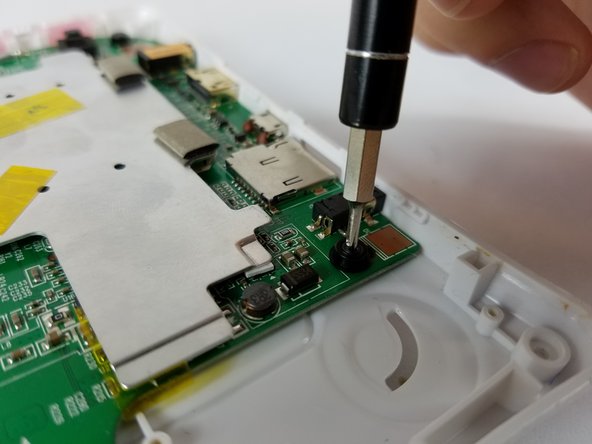
Desolder the six pins attaching the headphone jack to the motherboard
-
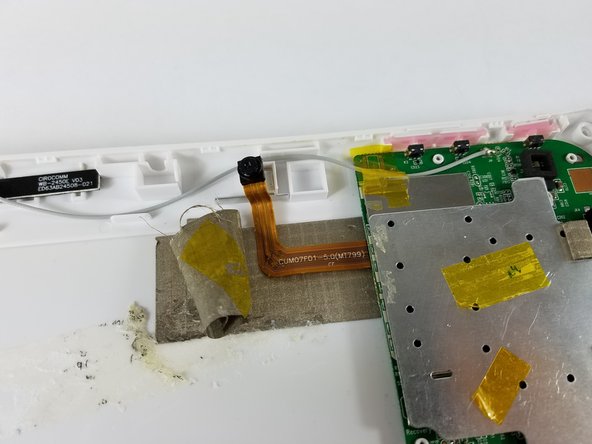
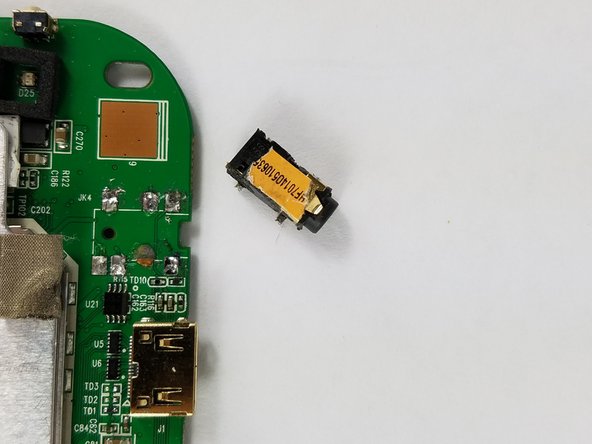
Remove headphone jack from motherboard
-


To reassemble your device, follow these instructions in reverse order.
To reassemble your device, follow these instructions in reverse order.

Team

USF Tampa, Team 4-3, Lacy Spring 2016 Membro di USF Tampa, Team 4-3, Lacy Spring 2016
USFT-LACY-S16S4G3
4 Membri
14 Guide realizzate