Salta al contenuto principale
Nabi 2  Screen Replacement

Nabi 2 Screen Replacement

Michelle

Michelle e 3 altri collaboratori

Ultimo aggiornamento il March 6, 2019

10 - 15 minuti
Facile
Foto Azione

Introduzione

Vai al passo 1

Before beginning this guide we recommend following our Nabi 2 back cover removal guide.

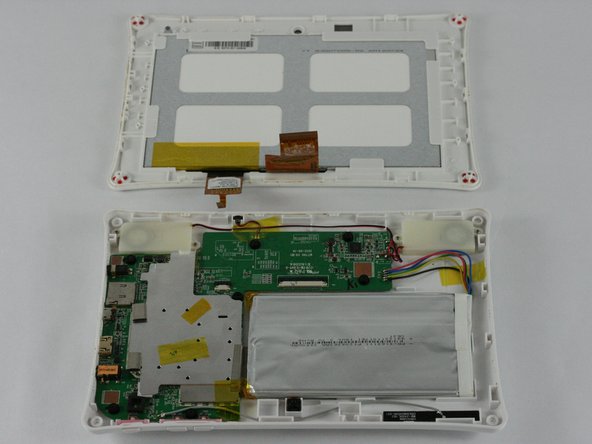
This guide will walk you through the steps of replacing a cracked or otherwise non functioning screen on a Nabi 2. As the screen is glued to the front assembly, we recommend replacing the entire display assembly.

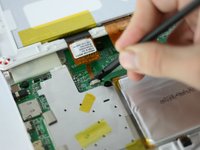
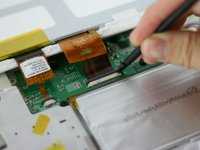
Be sure to use caution when releasing the clips that secure the display ribbon cables. Use a plastic spudger and push directly out, do not pry up on the clips, they will break.

Cosa ti serve

Ricambi

Strumenti

Mostra di più…

  1. Nabi 2  Screen Replacement, Nabi 2 Back Cover Removal: passo 1, immagine 1 di 3 Nabi 2  Screen Replacement, Nabi 2 Back Cover Removal: passo 1, immagine 2 di 3 Nabi 2  Screen Replacement, Nabi 2 Back Cover Removal: passo 1, immagine 3 di 3
    • Remove the rubber bumper from the tablet.

  2. Nabi 2  Screen Replacement: passo 2, immagine 1 di 2 Nabi 2  Screen Replacement: passo 2, immagine 2 di 2
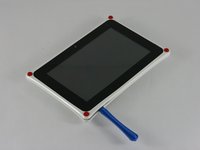
    • With a PH00 screwdriver, remove the four outermost screws from the back of the tablet.

  3. Nabi 2  Screen Replacement: passo 3, immagine 1 di 3 Nabi 2  Screen Replacement: passo 3, immagine 2 di 3 Nabi 2  Screen Replacement: passo 3, immagine 3 di 3
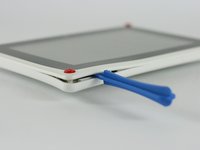
    • Carefully, insert a plastic opening tool into the seam of the device and begin gently prying the two plastic pieces apart.

    • Work the tool all the way around the device. Small plastic clips should release. If they do not, gently apply outwards pressure until the clips give.

    • Do not force the clips open, as they are fairly easy to break

  4. Nabi 2  Screen Replacement, Screen: passo 4, immagine 1 di 3 Nabi 2  Screen Replacement, Screen: passo 4, immagine 2 di 3 Nabi 2  Screen Replacement, Screen: passo 4, immagine 3 di 3
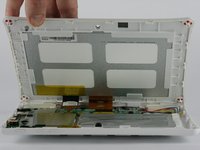
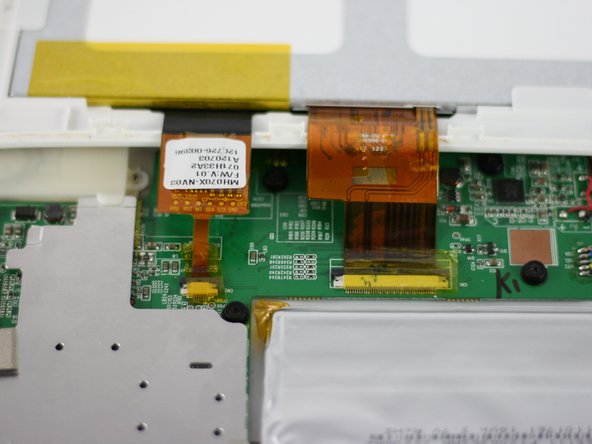
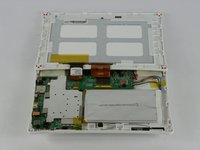
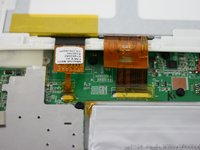
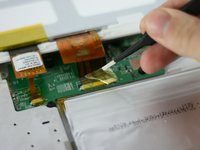
    • Lay the tablet down flat and remove the yellow tape from the ZIF connector on each side

  5. Nabi 2  Screen Replacement: passo 5, immagine 1 di 3 Nabi 2  Screen Replacement: passo 5, immagine 2 di 3 Nabi 2  Screen Replacement: passo 5, immagine 3 di 3
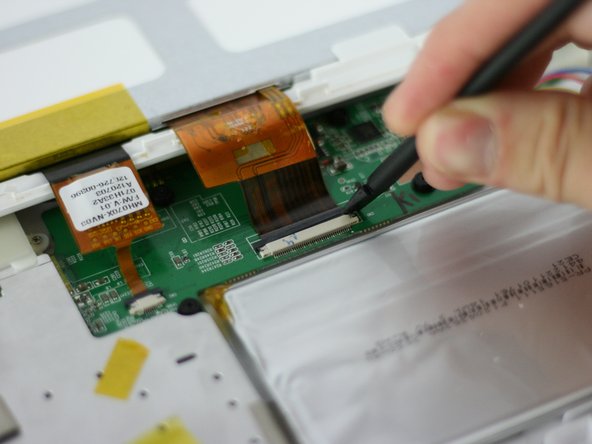
    • Using a spudger, slide the brown tab forward on each side of the connector

    • Slide until the connector is completely loose, then separate the screen from the bottom half of the tablet

    • If the screen is not working correctly, you will need to replace the entire display assembly

Conclusione

To reassemble your device, follow these instructions in reverse order.

Altre 6 persone hanno completato questa guida.

Michelle

Membro da: 02/09/16

851 Reputazione

4 Guide realizzate

Team

USF Tampa, Team 4-3, Lacy Spring 2016 Membro di USF Tampa, Team 4-3, Lacy Spring 2016

USFT-LACY-S16S4G3

4 Membri

14 Guide realizzate

3Commenti sulla guida

Simple steps but very practical

myjamro - Replica

Is the LCD glued to the front glass/digitizer?

Brent Huff - Replica

It Worked Thank U So Much!!!

Sharon Thrash - Replica

Aggiungi Commento

Visualizza Statistiche:

Ultime 24 Ore: 1

Ultimi 7 Giorni: 1

Ultimi 30 Giorni: 13

Tutti i Tempi: 7,973