Introduzione
https://www.youtube.com/watch?v=XbTQnIbH...
According to Thread: Nvidia TV Remote Model P2575 need battery
Replacement Battery:
Genuine Original Battery NVIDIA MH27725 027-0033-000
Cosa ti serve
-
-
From here you will want to use the Jimmy or similar item to get under the bottom corner to get past the inner clips. From here you can carefully get both sides of the bottom top cover and lift it off. The remainder of the cover should come off fairly easily. If not use the jimmy to unclip the others.
-
-
-
The Buttons are easily removed. The Volume Touch pad is also seen here; it is attached by glue.
-
-
-
-
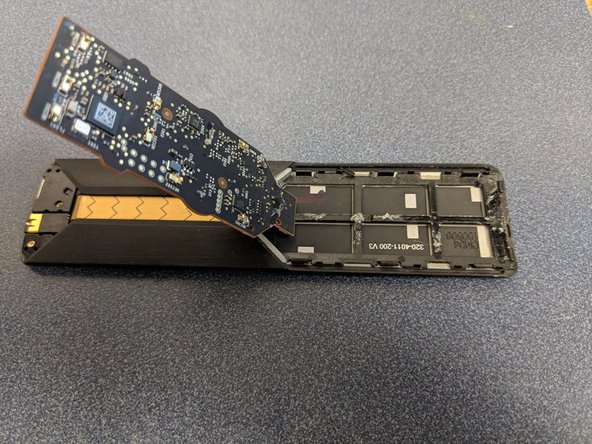
Use the Jimmy to prop the circuit board from the glue attached to the casing. Becareful of the ribbon attached. The circuit board will come out away from the ribbon if you remove it from the glue.
-
-
-
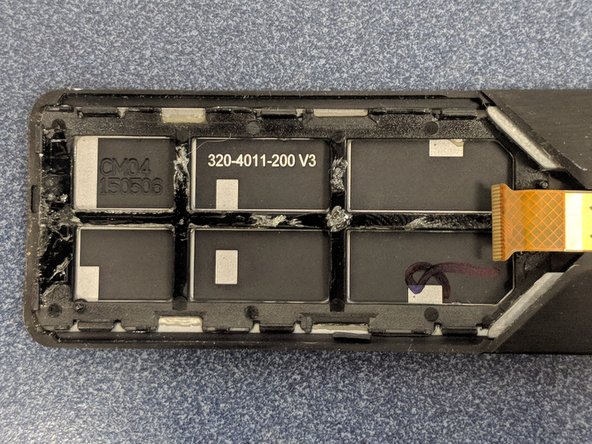
Once you have the Circuit out of the glue you will see the shown Ribbon attachment clip moved up to be removed. Second picture the board is removed.
-
-
-
The Sensor Ribbon is carefully peeled away from the glue. There are two options available to get the battery compartment out. You can either use the Tweezers and push near the ribbon cable or you can use the tweezers to push from the other end inside and under the Sensor place as seen in the picture.
-
-
-
From here you can remove the Single Phillips Screw using the Phillips 00 Driver Bit. This will let you pry the circuit and battery from the Glue . You can lift the Battery from the Circuit board as it is made to lift upward and away from the board.
-
-
-
Insert wisdom here.
What are the battery height, width and length? Alternative replacement battery will be necvessary, because this type is not available anymore.
-


Annulla: non ho completato questa guida.
Altre 5 persone hanno completato questa guida.
9 Commenti
I have one slight problem. I opened my remote, now i cant put it back together. The clamp near the charging port just wont get back into place. Nothing is broken. i checked, all clamps are there, but this one just wont slide back in to let me close back the remote. Any tip ?
YouTube Comment
I have one slight problem. I opened my remote, now i cant put it back together. The clamp near the charging port just wont get back into place. Nothing is broken. i checked, all clamps are there, but this one just wont slide back in to let me close back the remote. Any tip ?
YouTube Comment
I would double check the female Clamp end on the bottom part. You my have broken the receiving end of the clamp.
YouTube Comment
Thank you for the reply. Sadly both of clamps were ok. I managed to fix by bending the male clamp in the outside position. Also, the female clamp was made of aluminum, so breaking it was impossible. I finally closed it somehow, but it still has a little wiggle on the sides. Well, thats about all that can be done.
Has anyone else experienced that the microphone stops working? I’m thinking maybe it could be fixed by opening it up and.. ?
Microphone
Dương -
Where i can buy the battery?
If you can measure it, than you can find probably on AliExpress a similar size battery. The voltage will ok, 3,7V, but you will need to solder connector.
If you measured the battery size, please post it here. I will make the repair myself as well.
I used
https://www.ebay.com/itm/225088332035?va..., it is a bit smaller comparing to original. But it is the closest I could find with the dimension which holds most capacity(300mAh).
Ou trouver la batterie
Has anyone been able to find a place to buy this battery in Nov 2023?