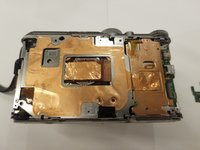
Salta al contenuto principale

NIkon Coolpix A900 Lens Replacement

Cosa ti serve

  1. NIkon Coolpix A900 Lens Replacement, Battery: passo 1, immagine 1 di 1
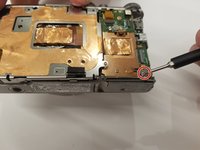
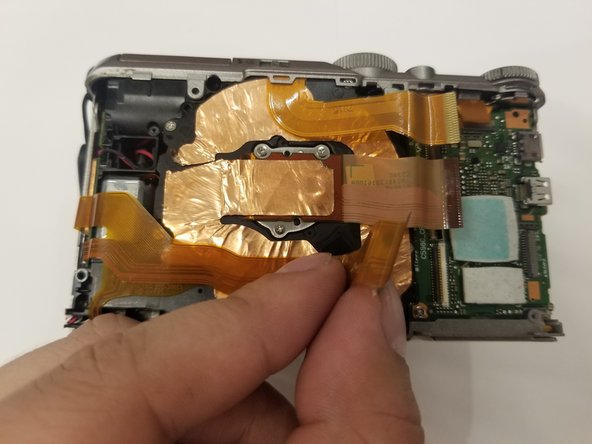
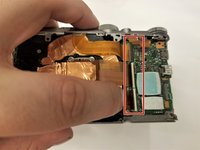
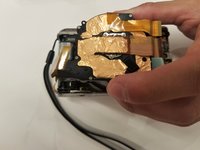
    • Orient the camera so that it is upside down, with the lens facing towards you.

  2. NIkon Coolpix A900 Lens Replacement: passo 2, immagine 1 di 2 NIkon Coolpix A900 Lens Replacement: passo 2, immagine 2 di 2
    • Slide the battery door lock left to unlock it.

    • The battery door will automatically open.

  3. NIkon Coolpix A900 Lens Replacement: passo 3, immagine 1 di 2 NIkon Coolpix A900 Lens Replacement: passo 3, immagine 2 di 2
    • Slide the yellow tab up to release the battery.

    • To re-insert a battery, slide the battery back in until the yellow tab locks it in place.

    • There is a diagram on the opposite side of the battery compartment to help you orient the battery correctly.

  4. NIkon Coolpix A900 Lens Replacement, Rear Case: passo 4, immagine 1 di 3 NIkon Coolpix A900 Lens Replacement, Rear Case: passo 4, immagine 2 di 3 NIkon Coolpix A900 Lens Replacement, Rear Case: passo 4, immagine 3 di 3
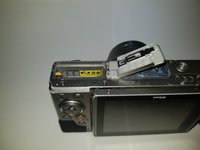
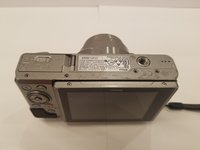
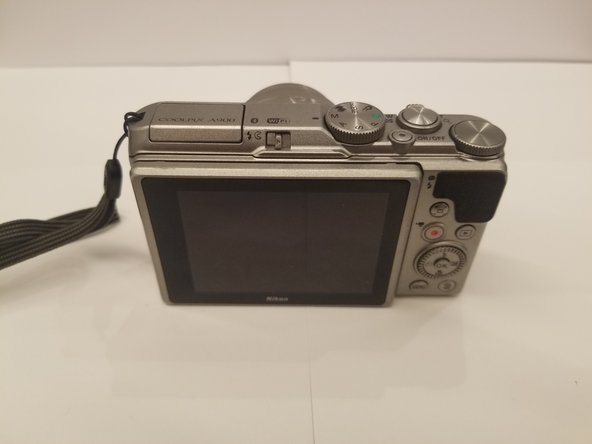
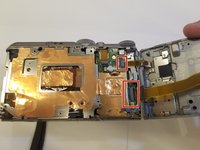
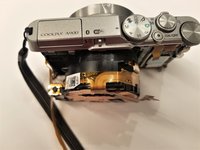
    • Orient the camera upside down, with the lens facing away from you.

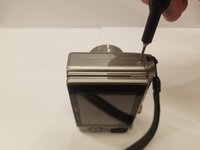
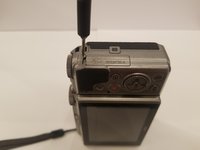
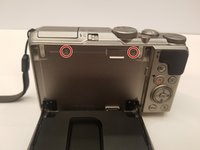
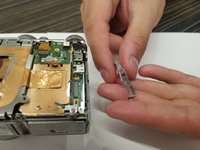
    • Remove the two 3mm Phillips #00 screws from the right.

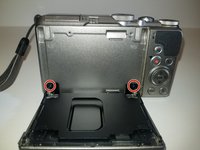
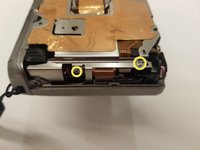
    • Remove the two 3.4mm Phillips #00 screws from the left.

  5. NIkon Coolpix A900 Lens Replacement: passo 5, immagine 1 di 3 NIkon Coolpix A900 Lens Replacement: passo 5, immagine 2 di 3 NIkon Coolpix A900 Lens Replacement: passo 5, immagine 3 di 3
    • Turn the camera on its side, with the lens facing away from you.

    • Remove the 3.4mm Phillips #00 screw. Repeat this for the opposite side of the camera.

  6. NIkon Coolpix A900 Lens Replacement: passo 6, immagine 1 di 3 NIkon Coolpix A900 Lens Replacement: passo 6, immagine 2 di 3 NIkon Coolpix A900 Lens Replacement: passo 6, immagine 3 di 3
    • Place the camera upright with the lens facing away from you.

    • Move the monitor down, and remove two 4.4 mm screws.

  7. NIkon Coolpix A900 Lens Replacement: passo 7, immagine 1 di 2 NIkon Coolpix A900 Lens Replacement: passo 7, immagine 2 di 2
    • Remove the two black 2.5 mm screws from the monitor bracket.

  8. NIkon Coolpix A900 Lens Replacement: passo 8, immagine 1 di 2 NIkon Coolpix A900 Lens Replacement: passo 8, immagine 2 di 2
    • Return the monitor to the closed position.

    • Gently open the rear case.

    • You may need opening tools to help separate the rear case.

    • Be careful when opening the rear case to not damage the ribbon connectors.

  9. NIkon Coolpix A900 Lens Replacement: passo 9, immagine 1 di 3 NIkon Coolpix A900 Lens Replacement: passo 9, immagine 2 di 3 NIkon Coolpix A900 Lens Replacement: passo 9, immagine 3 di 3
    • Place the camera lens down, while supporting the rear case.

    • Unlock the two ribbons by using your finger to lift the plastic hinge on the ribbon connector.

    • With the ribbons disconnected, you can now remove the rear case.

  10. NIkon Coolpix A900 Lens Replacement, Lens: passo 10, immagine 1 di 3 NIkon Coolpix A900 Lens Replacement, Lens: passo 10, immagine 2 di 3 NIkon Coolpix A900 Lens Replacement, Lens: passo 10, immagine 3 di 3
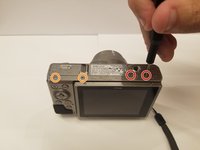
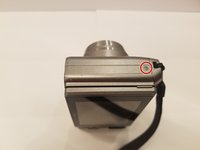
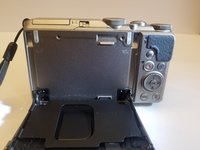
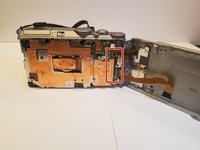
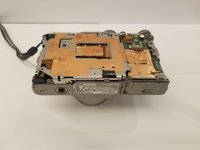
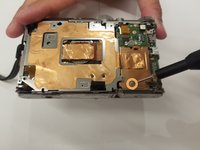
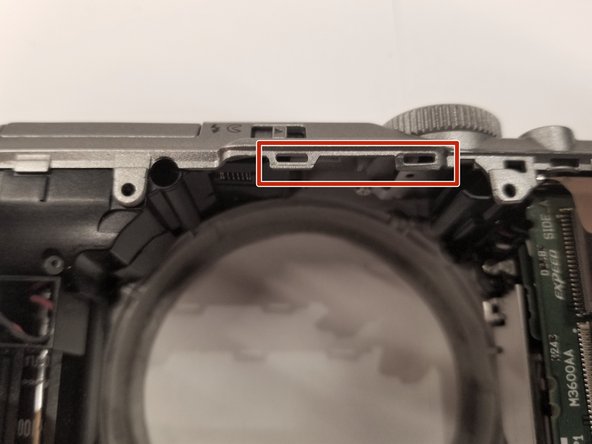
    • Place the camera in front of you with the lens facing down.

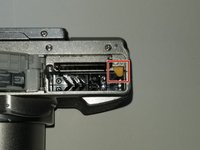
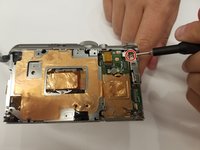
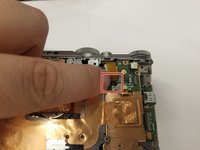
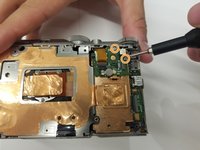
    • On the top right, remove the 4.5 mm Phillips #00 screw holding the input shield.

  11. NIkon Coolpix A900 Lens Replacement: passo 11, immagine 1 di 2 NIkon Coolpix A900 Lens Replacement: passo 11, immagine 2 di 2
    • Remove the 4.5 mm Phillips #00 screw holding the bracket in the bottom right.

    • Remove the 2.5 mm Phillips #00 rear brace screw.

  12. NIkon Coolpix A900 Lens Replacement: passo 12, immagine 1 di 3 NIkon Coolpix A900 Lens Replacement: passo 12, immagine 2 di 3 NIkon Coolpix A900 Lens Replacement: passo 12, immagine 3 di 3
    • Use your finger to undo the ribbon connector on the top right of the camera.

    • Remove the two 2.5mm Phillips #00 screws holding the small chip in place. Remove the small chip.

    • Remove the final two 4.5 mm Phillips #00 screws from the left side of the brace.

  13. NIkon Coolpix A900 Lens Replacement: passo 13, immagine 1 di 2 NIkon Coolpix A900 Lens Replacement: passo 13, immagine 2 di 2
    • Gently lift the rear brace off of the camera.

  14. NIkon Coolpix A900 Lens Replacement: passo 14, immagine 1 di 2 NIkon Coolpix A900 Lens Replacement: passo 14, immagine 2 di 2
    • Use your finger to undo the three ribbon connectors.

    • Make sure that all ribbons are properly disconnected before proceeding.

  15. NIkon Coolpix A900 Lens Replacement: passo 15, immagine 1 di 3 NIkon Coolpix A900 Lens Replacement: passo 15, immagine 2 di 3 NIkon Coolpix A900 Lens Replacement: passo 15, immagine 3 di 3
    • Carefully lift the lens out of the camera.

    • It may be necessary to gently pry these tabs out of the way to release the lens.

    • When reassembling, make sure that the ribbon cables are flat against the lens to ensure that they don't snag.

  16. NIkon Coolpix A900 Lens Replacement: passo 16, immagine 1 di 1
    • Separate the lens from the body of the camera.

Conclusione

To reassemble your device, follow these instructions in reverse order.

Altre 6 persone hanno completato questa guida.

2 Commenti

How to replace the front-lens of the zoom-lens, when it’s scratched!?!

Tom de Hoop - Replica

Ok I removed the defective one, but my question now is: what model of lens can I replace it with? Is it compatible with any lens from Nikon, or from other manufacturers?

martin - Replica

Aggiungi Commento

Visualizza Statistiche:

Ultime 24 Ore: 0

Ultimi 7 Giorni: 16

Ultimi 30 Giorni: 73

Tutti i Tempi: 3,499