Cosa ti serve
-
Questo passaggio è privo di traduzione. Aiuta a tradurlo
-
Let's turn it and take out the battery.
-
Remove these two screws.
-
-
Questo passaggio è privo di traduzione. Aiuta a tradurlo
-
You need to detach these two plastic lashes from the surounding.
-
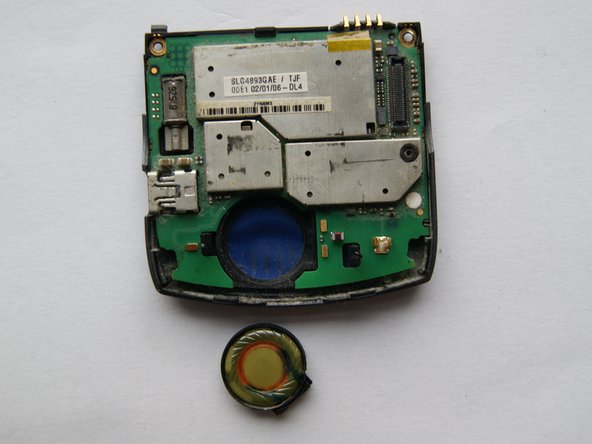
Now you can remove this transparent plastic case.
-
Now you can take out the speaker.
-
The metal thing on the end of the picture is the antenna.
-
-
Questo passaggio è privo di traduzione. Aiuta a tradurlo
-
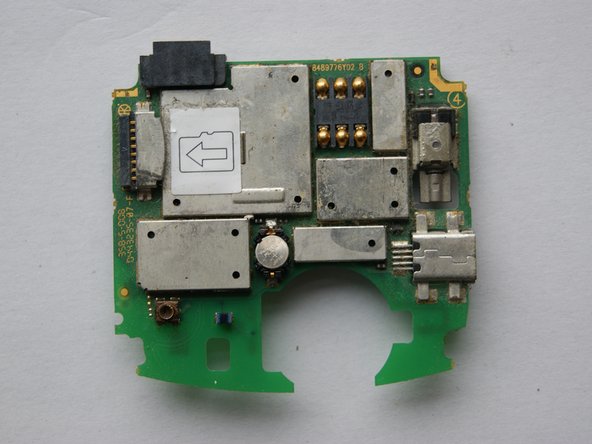
So, that's the board.
-
Vibra motor.
-
Mini USB.
-
Connector for the antenna.
-
After I took these EMI shields away it looks like this...
-
-
Questo passaggio è privo di traduzione. Aiuta a tradurlo
-
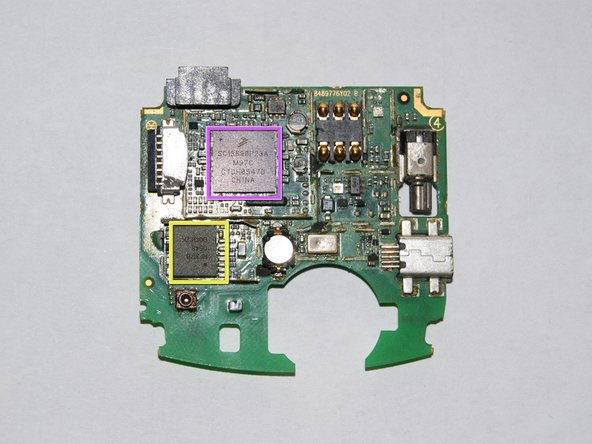
Bluetooth chip by Broadcom.
-
32Mbit PSRAM by STMicroelectronics.
-
Baseband Processor (Main Processor) by Freescale (90nm structure).
-
RF Transmitter by RF Micro Devices.
-
Battery controller by Freescale.
-
Quad-Band Transmit Module by RF Micro Devices.
-
-
-
Questo passaggio è privo di traduzione. Aiuta a tradurlo
-
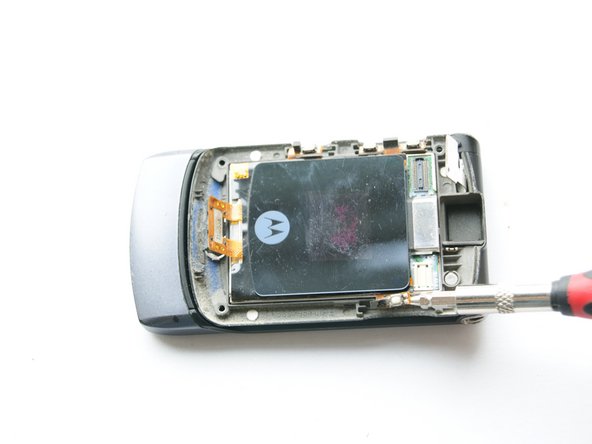
Remove these 4 rubbers.
-
Then remove the four torx screws.
-
-
Questo passaggio è privo di traduzione. Aiuta a tradurlo
-
Filp the device and you can remove the top housing.
-
Remove the three buttons on the side of the device.
-
Remove the connector to the mainboard...
-
and to the camera.
-
-
Questo passaggio è privo di traduzione. Aiuta a tradurlo
-
Remove the camera by lifting it up.
-
That's a 1,3Mpix camera!
-
-
Questo passaggio è privo di traduzione. Aiuta a tradurlo
-
Lift up the speaker.
-
After you did this tricky part you can lift the top of the phone away.
-
-
Questo passaggio è privo di traduzione. Aiuta a tradurlo
-
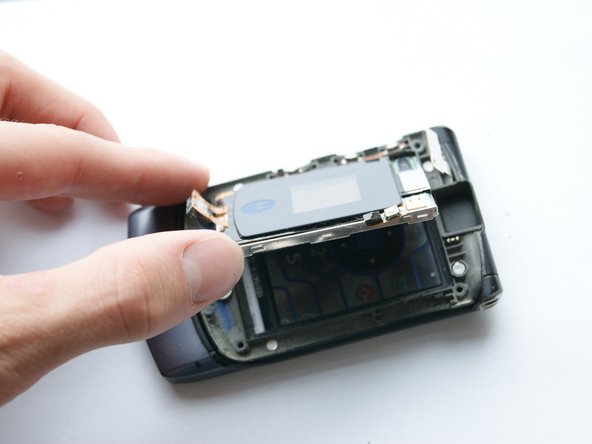
Now lift up the front glass from the top of the device. It's held with adhesives.
-
After you did this it should look like this.
-
-
Questo passaggio è privo di traduzione. Aiuta a tradurlo
-
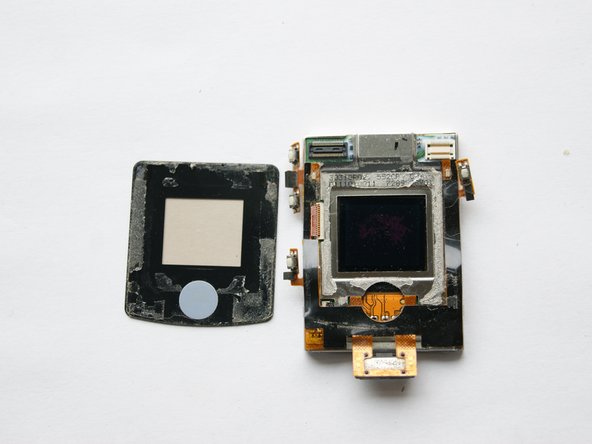
Around the screen there are some lashes. Detach them to release the screen of the metal housing.
-
Then you can lift the metal housing up.
-
-
Questo passaggio è privo di traduzione. Aiuta a tradurlo
-
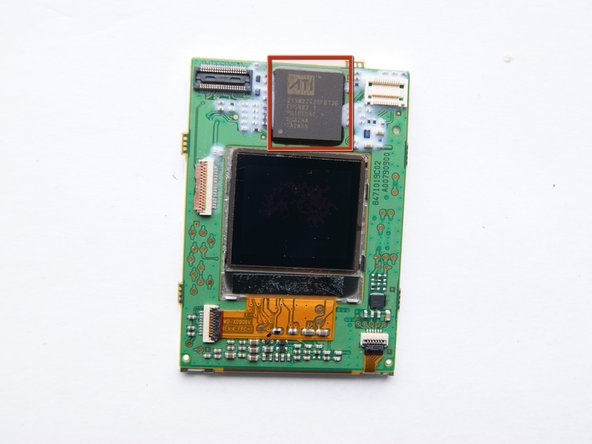
an ATI Imageon chip! It's a mulitmedia co-processor, it is used for record video and mobile gaming. It support up to a 2Mpix camera.
-
-
Questo passaggio è privo di traduzione. Aiuta a tradurlo
-
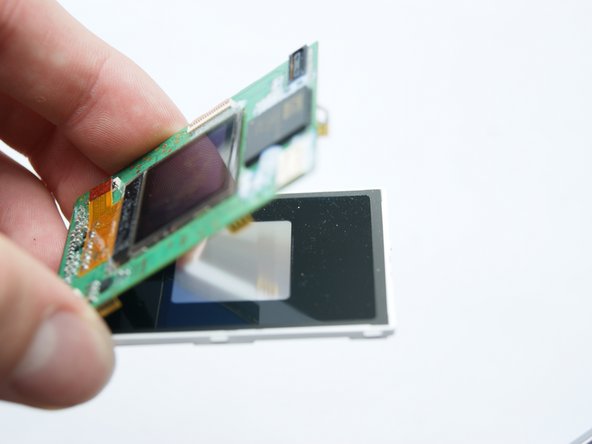
Again there's a small lash on the botton of the front screen housing.
-
After that you can remove the front screen with the PCB.
-