Introduzione
If your Motorola V190 cellular phone is unable to connect to the mini-USB cable, if your phone is unable to charge, or if the mini-USB port is loose, use this guide to replace the mini-USB port. The mini-USB port allows you to charge your phone.
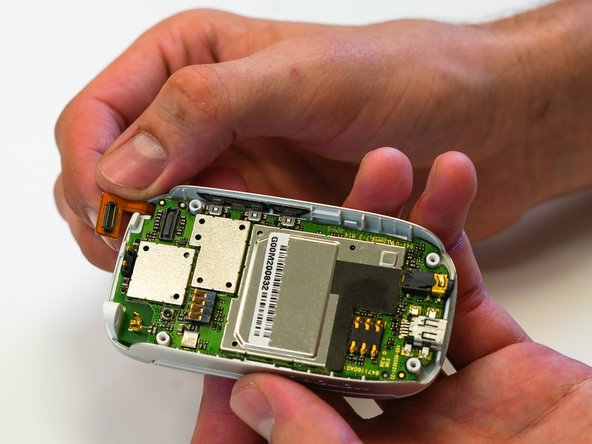
While the mini-USB port—which is attached to the phone’s motherboard—is removed, be sure to clean the port using a compressed air canister.
Make sure to power down your phone before beginning.
Cosa ti serve
-
-
Rotate the antenna counter-clockwise until the antenna is completely removed.
-
-
-
Press the button at the bottom of the back cover.
-
Pull the back cover down.
-
Remove the battery.
-
-
-
-
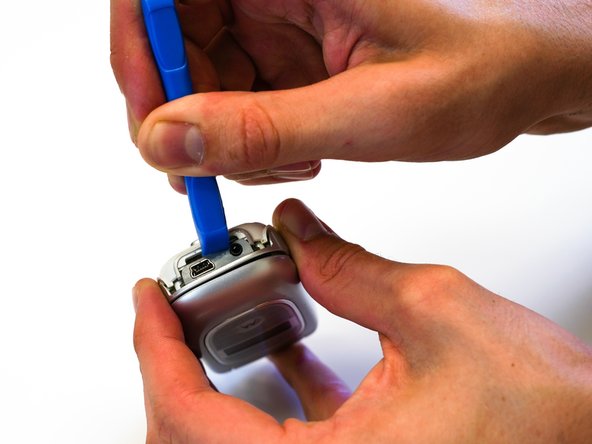
Use the TR6 Torx Security Screwdriver to remove the four 6.3mm Torx screws on the back.
-


To reassemble your device, follow these instructions in reverse order.
To reassemble your device, follow these instructions in reverse order.

Team

University of North Texas, Team S1-G1, Friess Fall 2019 Membro di University of North Texas, Team S1-G1, Friess Fall 2019
UNT-FRIESS-F19S1G1
2 Membri
5 Guide realizzate