Questa versione può contenere modifiche errate. Passa all'ultima istantanea verificata.
Cosa ti serve
-
Questo passaggio è privo di traduzione. Aiuta a tradurlo
-
Remove the back battery cover by pressing the tab to the left, and lifting.
-
-
Questo passaggio è privo di traduzione. Aiuta a tradurlo
-
Remove the batteries currently in the radio.
-
The orientation of the batteries is specified in the battery compartment.
-
-
Questo passaggio è privo di traduzione. Aiuta a tradurlo
-
Firmly grasp and pull back on the volume knob. The knob should come off smoothly.
-
-
-
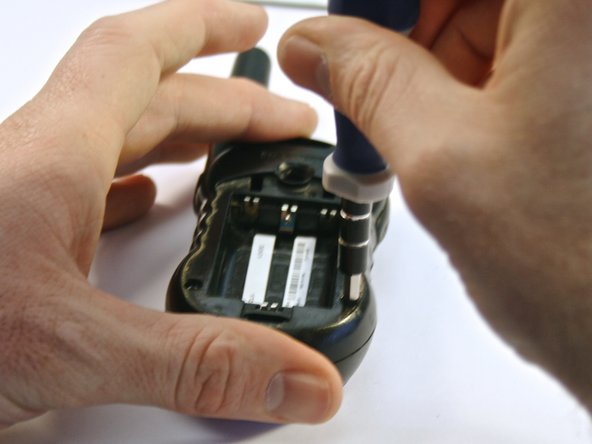
Questo passaggio è privo di traduzione. Aiuta a tradurlo
-
Remove the four 3 millimeter T6 Torx screws from the front of the radio.
-
-
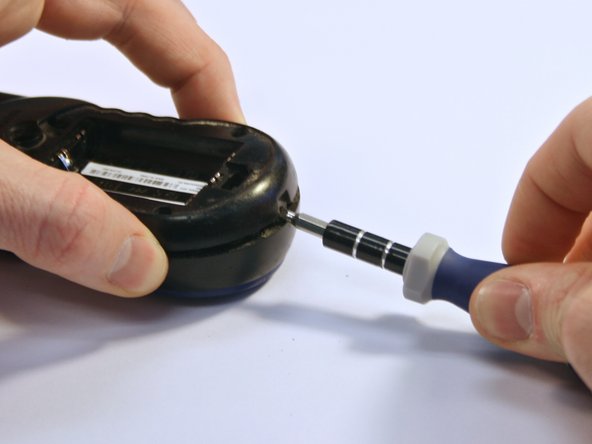
Questo passaggio è privo di traduzione. Aiuta a tradurlo
-
Remove the four 3 millimeter T8 Torx screws from the back of the radio.
-
-
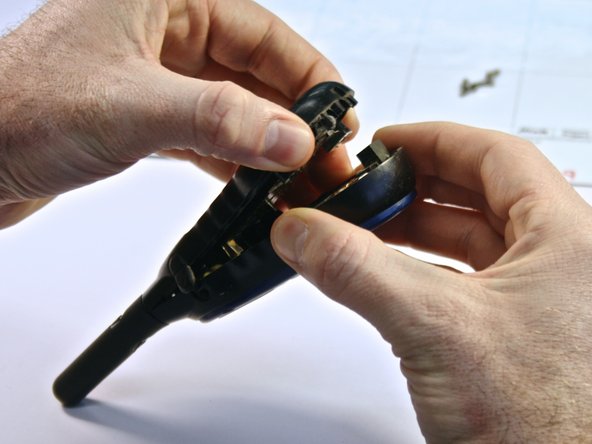
Questo passaggio è privo di traduzione. Aiuta a tradurlo
-
Gently open the backplate of the radio. Use a flathead screwdriver to slowly pry apart the two sides.
-
-
Questo passaggio è privo di traduzione. Aiuta a tradurlo
-
Gently pull the circuit board away from the front faceplate.
-
-
Questo passaggio è privo di traduzione. Aiuta a tradurlo
-
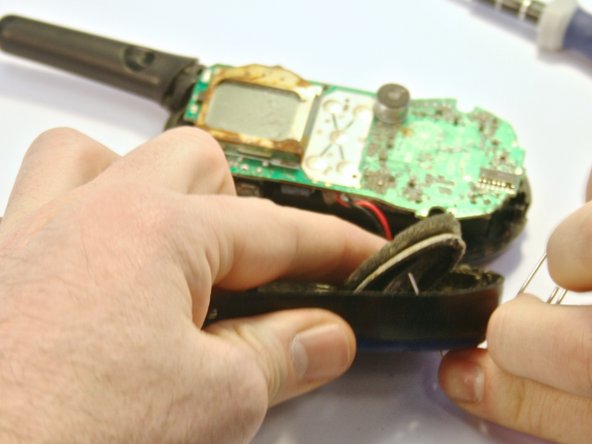
To remove the speaker from the faceplate, insert a paperclip through the front faceplate and push.
-
The speaker is glued to the front faceplate, so it may take some force to remove the speaker.
-
-
Questo passaggio è privo di traduzione. Aiuta a tradurlo
-
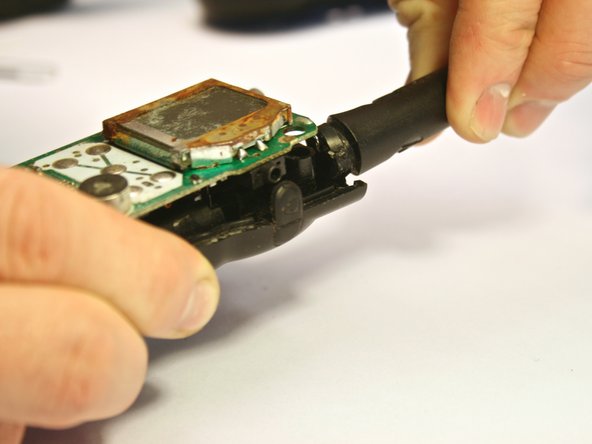
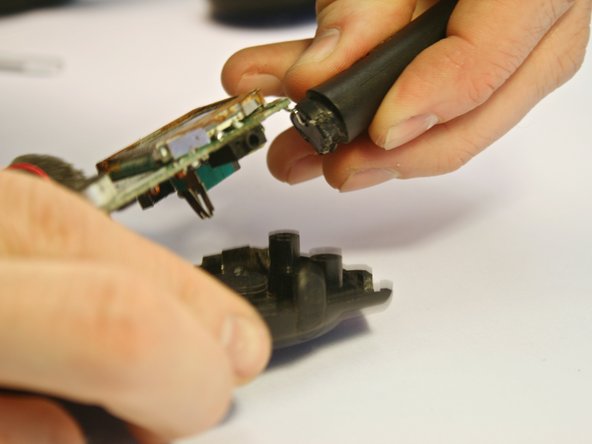
Now the circuit board can be removed from the back faceplate.
-
To do this, grip the back faceplate in one hand and the antenna in the other. Pull and twist the antenna away from the back faceplate. The circuit board should be removed with the antenna, as they are attached.
-
-
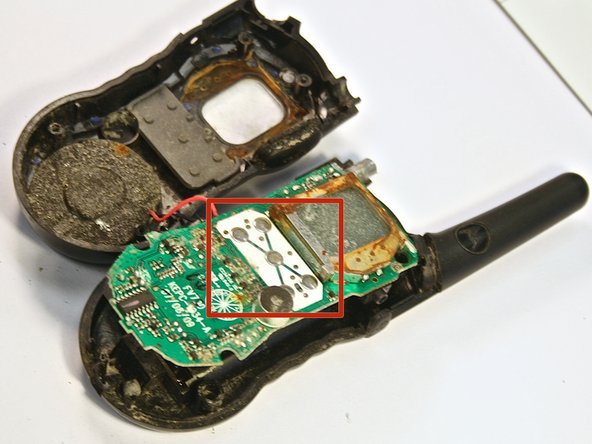
Questo passaggio è privo di traduzione. Aiuta a tradurlo
-
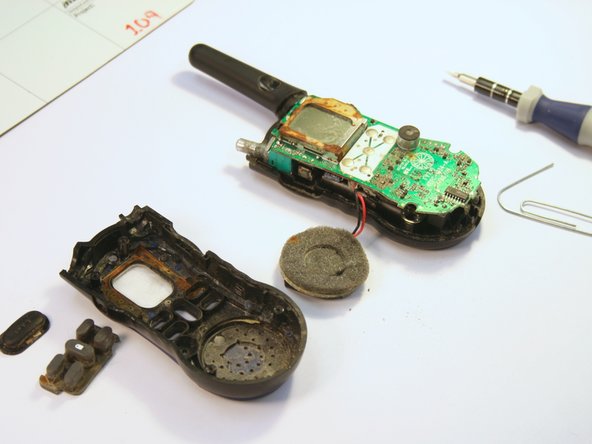
You should end up with just the circuit board and speaker, as seen in the picture.
-
-
Questo passaggio è privo di traduzione. Aiuta a tradurlo
-
Remove the wires connecting the speaker to the circuit board with a soldering iron.
-
The new speaker wires can then be connected to the circuitboard with a soldering iron.
-


Team

Clemson, Team 6-4, Benson Spring 2014 Membro di Clemson, Team 6-4, Benson Spring 2014
CLEM-BENSON-S14S6G4
3 Membri
7 Guide realizzate