Salta al contenuto principale

Questa versione può contenere modifiche errate. Passa all'ultima istantanea verificata.

Cosa ti serve

  1. Questo passaggio è privo di traduzione. Aiuta a tradurlo

    : passo 1, immagine 1 di 1
    • Remove the back battery cover by pressing the tab to the left, and lifting.

    • A small screwdriver can aid this process.

  2. Questo passaggio è privo di traduzione. Aiuta a tradurlo

    : passo 2, immagine 1 di 1
    • Remove the batteries currently in the radio.

    • When you're ready to add new batteries, place Ni-MH or AAA replacement batteries in the specified slots.

    • The orientation of the batteries is specified in the battery compartment.

  3. Questo passaggio è privo di traduzione. Aiuta a tradurlo

    : passo 3, immagine 1 di 1
    • Turn the Volume knob to the off position.

  4. Questo passaggio è privo di traduzione. Aiuta a tradurlo

    : passo 4, immagine 1 di 2 : passo 4, immagine 2 di 2
    • Firmly grasp and pull back on the volume knob. The knob should come off smoothly.

    • This may require some twisting and force.

  5. Questo passaggio è privo di traduzione. Aiuta a tradurlo

    : passo 5, immagine 1 di 1
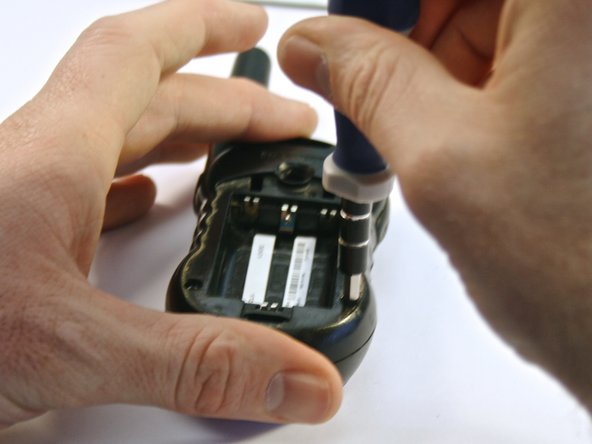
    • Remove the four 3 millimeter T6 Torx screws from the front of the radio.

  6. Questo passaggio è privo di traduzione. Aiuta a tradurlo

    : passo 6, immagine 1 di 2 : passo 6, immagine 2 di 2
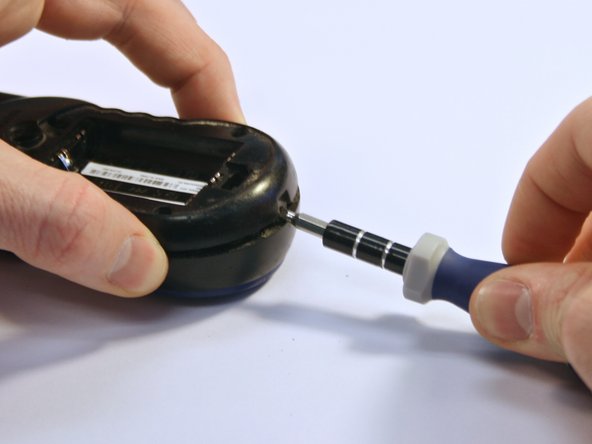
    • Remove the four 3 millimeter T8 Torx screws from the back of the radio.

  7. Questo passaggio è privo di traduzione. Aiuta a tradurlo

    : passo 7, immagine 1 di 3 : passo 7, immagine 2 di 3 : passo 7, immagine 3 di 3
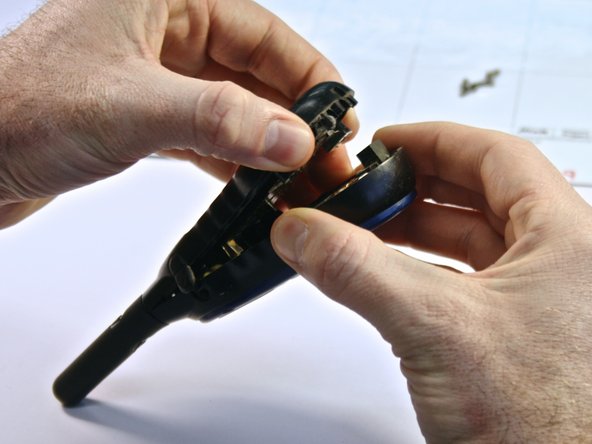
    • Gently open the backplate of the radio. Use a flathead screwdriver to slowly pry apart the two sides.

    • Be careful, as the antenna is still attached. Pulling the two sides apart too quickly could break the antenna.

  8. Questo passaggio è privo di traduzione. Aiuta a tradurlo

    : passo 8, immagine 1 di 2 : passo 8, immagine 2 di 2
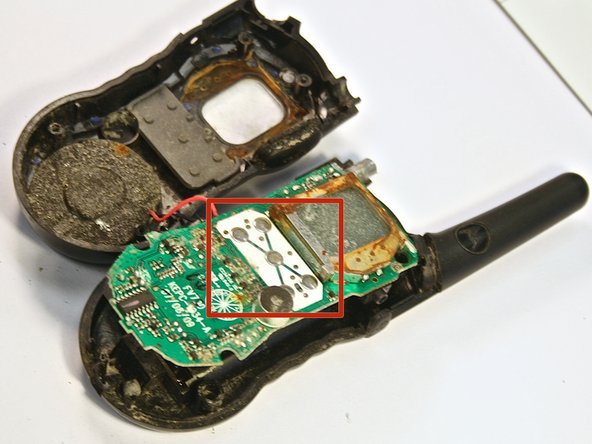
    • Gently pull the circuit board away from the front faceplate.

    • Be careful not to tug the wire connecting the circuit board to the speaker, as it is still attached to the faceplate.

    • Do not touch the the button contacts on the circuit board (the button contacts are shown in the red box of the second picture). This can cause long-term damage to the radio unless you properly clean them (see Repairing Motorola TALKABOUT FV700 Two Way Radio Button Contacts Guide).

Linea Traguardo

Team

Clemson, Team 6-4, Benson Spring 2014 Membro di Clemson, Team 6-4, Benson Spring 2014

CLEM-BENSON-S14S6G4

3 Membri

7 Guide realizzate

0 Commenti

Aggiungi Commento

Visualizza Statistiche:

Ultime 24 Ore: 4

Ultimi 7 Giorni: 13

Ultimi 30 Giorni: 14

Tutti i Tempi: 677