Questa guida ha delle modifiche più recenti. Passa all'ultima versione non verificata.
Introduzione
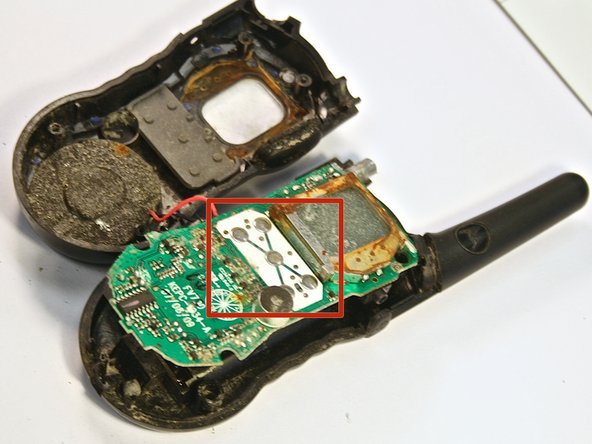
The circuit board is the connecting point of all components in the radio. If the circuit board is malfunctioning, the radio will not function until the circuit board is replaced. Follow the steps below to properly replace the circuit board of the radio.
Cosa ti serve
-
-
-
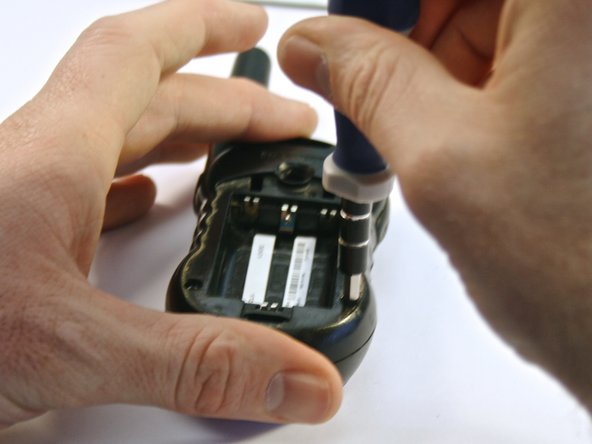
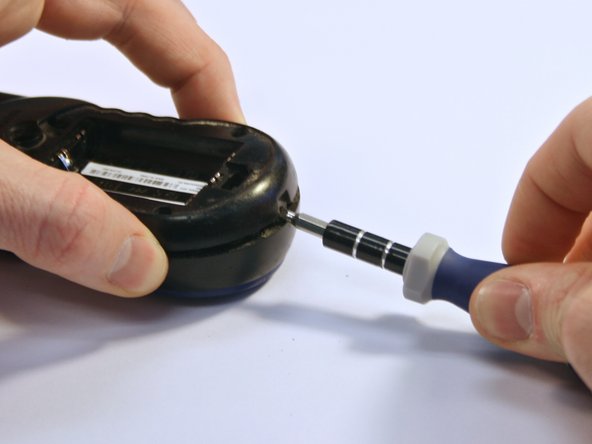
Remove the four 3 millimeter T6 Torx screws from the front of the radio.
-
-
-
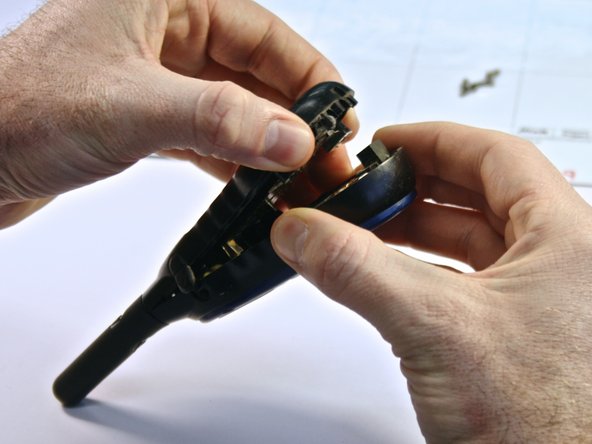
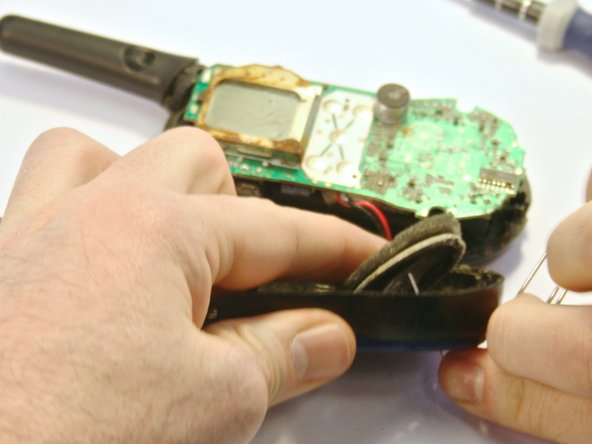
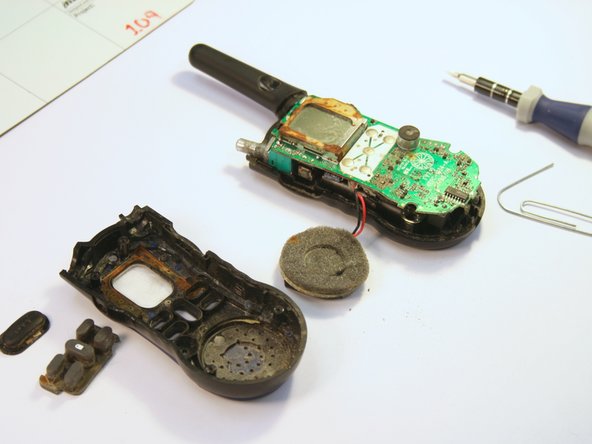
To remove the speaker from the faceplate, insert a paperclip through the front faceplate and push.
-
The speaker is glued to the front faceplate, so it may take some force to remove the speaker.
-


To reassemble your device, follow these instructions in reverse order.
To reassemble your device, follow these instructions in reverse order.
Annulla: non ho completato questa guida.
Un'altra persona ha completato questa guida.

Team

Clemson, Team 6-4, Benson Spring 2014 Membro di Clemson, Team 6-4, Benson Spring 2014
CLEM-BENSON-S14S6G4
3 Membri
7 Guide realizzate