Introduzione
If your Motorola Rival’s keyboard is unresponsive or certain keys stop working, replacing it can restore its functionality. A working keyboard is essential for texting, dialing, and navigating your phone.
This repair is rated as moderate. While it doesn’t require advanced technical skills, it does call for attention to detail and patience. The process involves removing various screws, buttons, and panels to access the keyboard, which is secured beneath the motherboard.
Before you begin, ensure the phone is powered off and disconnected from any external power sources. Be sure to have the necessary tools, including the iFixit Opening Tool and the Phillips #00 screwdriver from the 64 Bit Driver Kit, ready to go.
Cosa ti serve
-
-
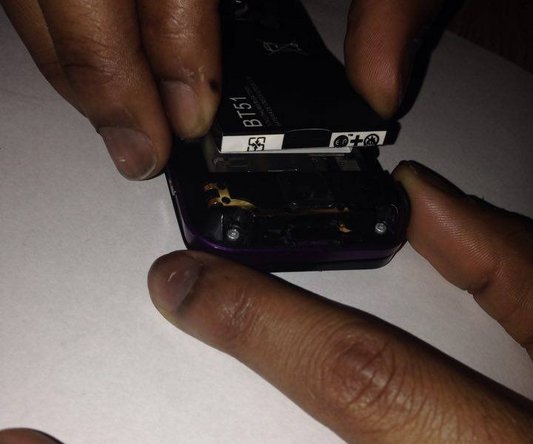
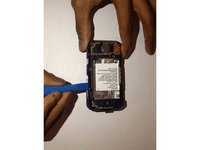
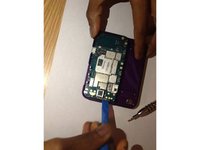
Push down on the release tab and pull the back cover away from the device, exposing the battery.
-
-
-
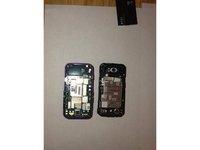
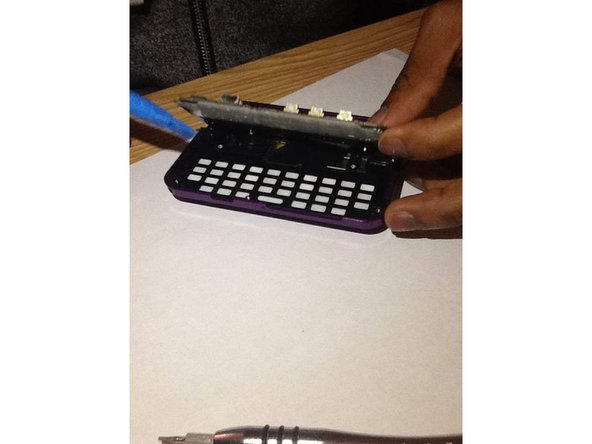
Insert the iFixit Opening Tool into the seam where the front and back panels meet and work your way around the perimeter to separate the two panels.
-
Once the two panels are separated, set the front panel to the side. You will be working with the back panel to access the keyboard.
-
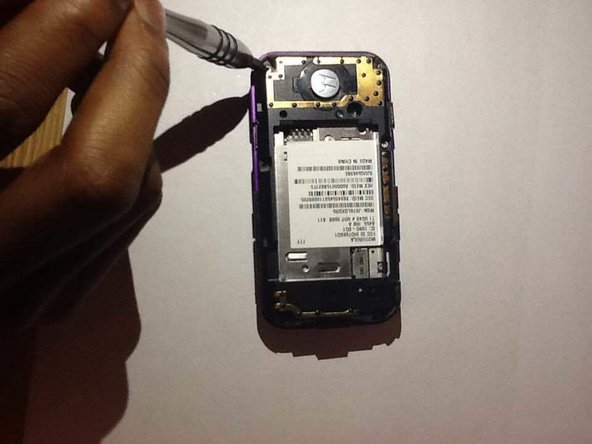
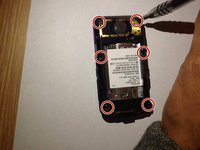
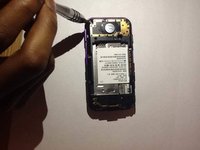
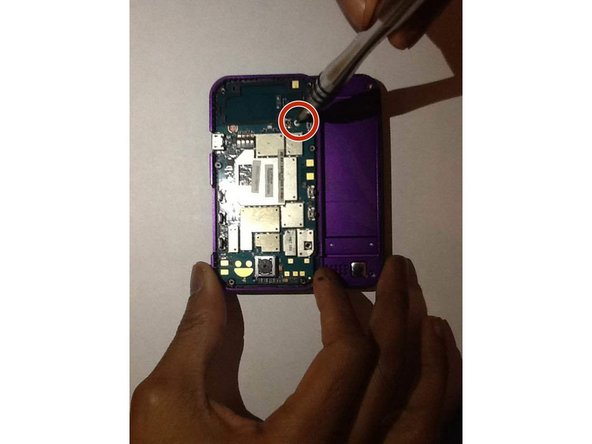
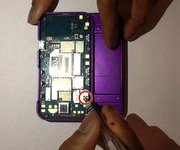
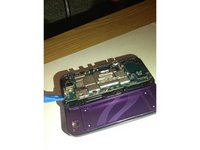
The motherboard is now exposed on the back panel.
-
-


To reassemble your device, follow these steps in reverse order.
Team

UMass Dartmouth, Team 1-8, Bhusal Fall 2015 Membro di UMass Dartmouth, Team 1-8, Bhusal Fall 2015
UMASSD-BHUSAL-F15S1G8
2 Membri
2 Guide realizzate