Questa guida ha delle modifiche più recenti. Passa all'ultima versione non verificata.
Introduzione
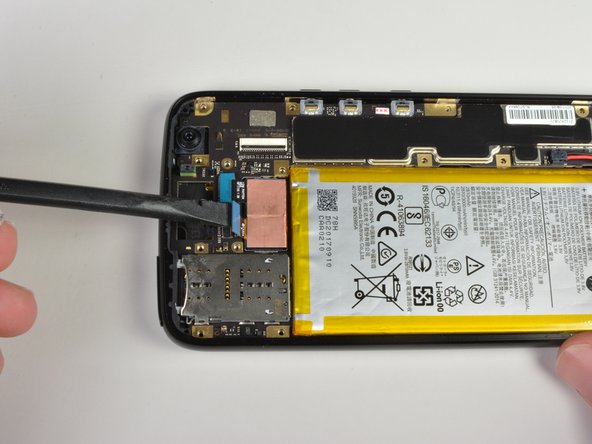
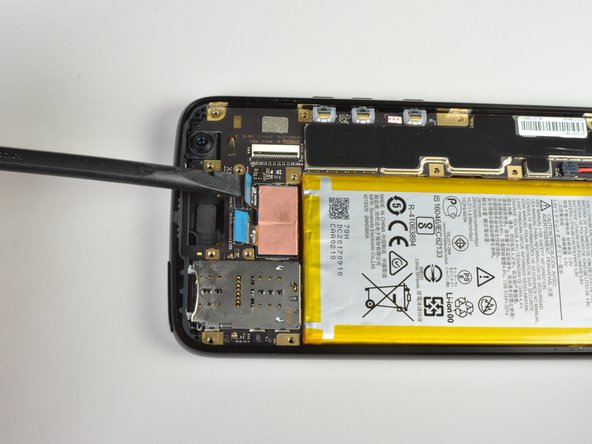
This guide has two prerequisites since replacing the front camera requires getting to the motherboard.
Cosa ti serve
-
-
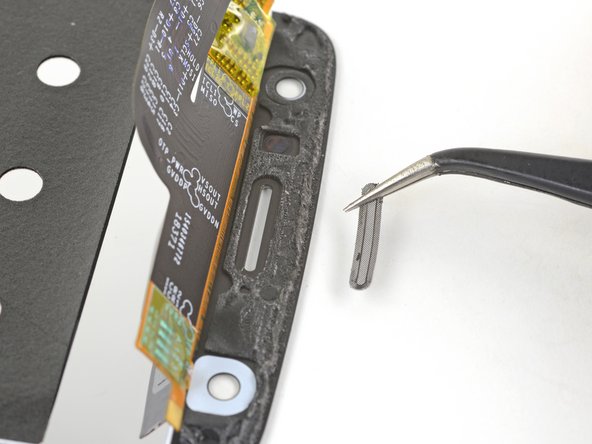
Use the flat edge of a spudger to push the grille from the front side of the screen to loosen it from its recess.
-
Remove the grille.
-
-
-
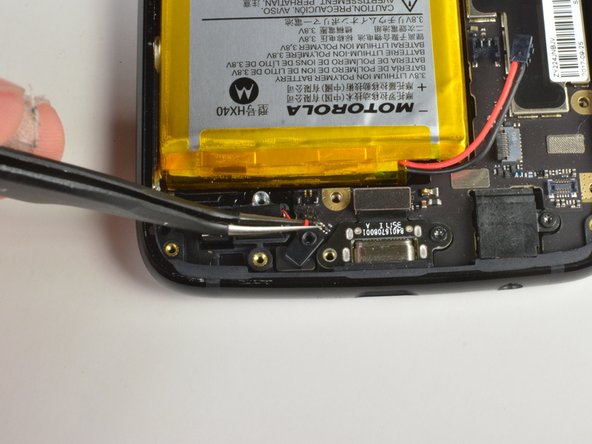
If your replacement part did not come with a lower microphone gasket, use tweezers to carefully peel it from your old screen and transfer it to your replacement part.
-
-
-
-
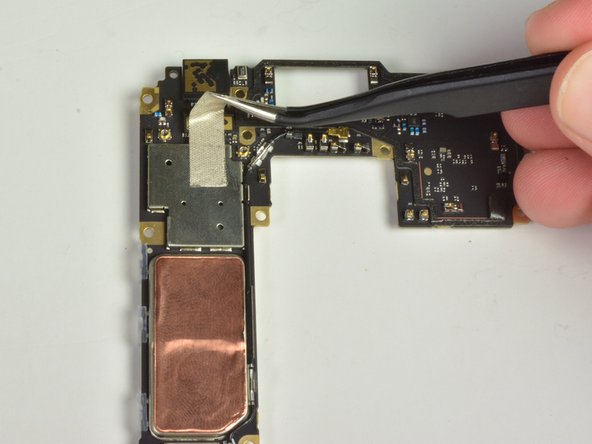
Now carefully peel off the tape on the back of the camera with tweezers.
-


To reassemble your device, follow these instructions in reverse order.
To reassemble your device, follow these instructions in reverse order.
Annulla: non ho completato questa guida.
Altre 2 persone hanno completato questa guida.
Team

Cal Poly, Team S18-G4, Livingston Winter 2018 Membro di Cal Poly, Team S18-G4, Livingston Winter 2018
CPSU-LIVINGSTON-W18S18G4
4 Membri
13 Guide realizzate