Questa guida ha delle modifiche più recenti. Passa all'ultima versione non verificata.
Introduzione
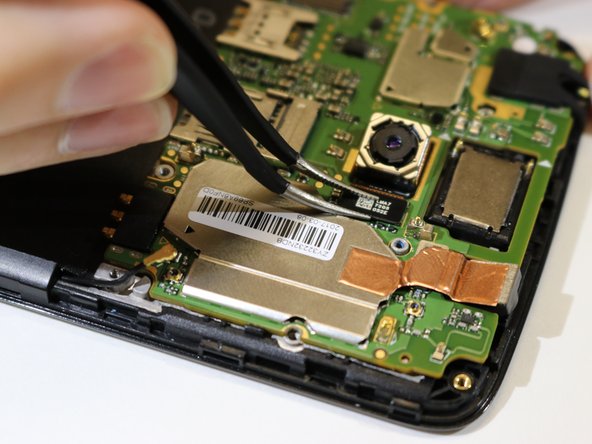
This guide will replace a faulty or broken rear facing camera.
Cosa ti serve
-
-
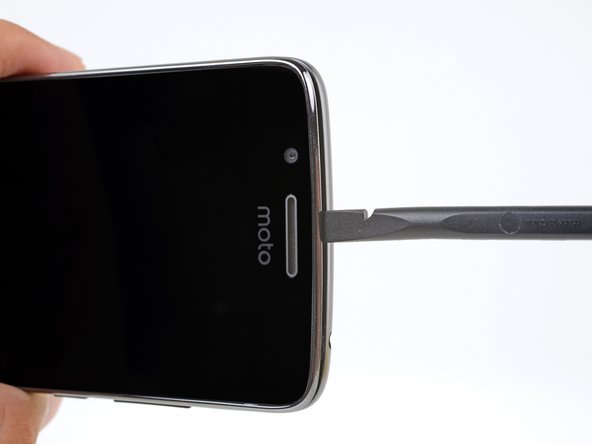
Insert your fingernail or the flat end of a spudger into the notch on the bottom edge of the phone near the charging port.
-
Pry with your fingernail or twist the spudger to release the back cover from the phone.
-
-
-
-
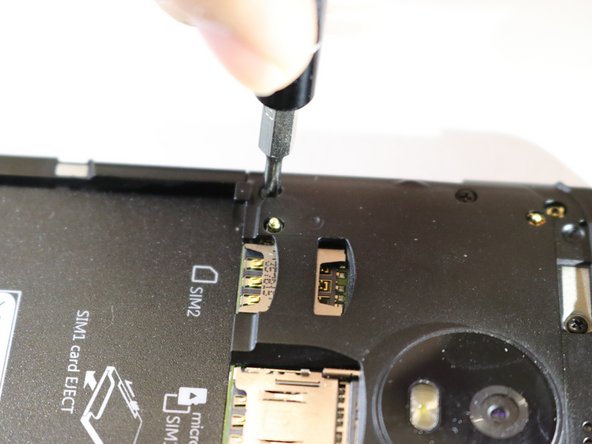
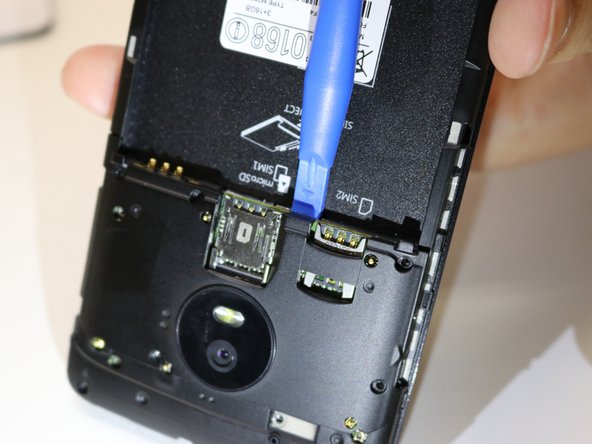
Insert your fingernail or the flat end of the spudger into the notch below the battery.
-
Pry with your fingernail or spudger until you free the battery from its recess.
-


To reassemble your device, follow these instructions in reverse order.
To reassemble your device, follow these instructions in reverse order.
Annulla: non ho completato questa guida.
Altre 3 persone hanno completato questa guida.
Team

Cal Poly, Team S2-G3, Livingston Winter 2018 Membro di Cal Poly, Team S2-G3, Livingston Winter 2018
CPSU-LIVINGSTON-W18S2G3
4 Membri
16 Guide realizzate