Questa versione può contenere modifiche errate. Passa all'ultima istantanea verificata.
Cosa ti serve
-
Questo passaggio è privo di traduzione. Aiuta a tradurlo
-
Insert the spudger into the notch on the corner of the phone and lift up to remove the back case.
-
-
Questo passaggio è privo di traduzione. Aiuta a tradurlo
-
Use the T4 Torx Screwdriver to remove the 17 3.2 mm screws in the back panel covering the battery.
-
-
Questo passaggio è privo di traduzione. Aiuta a tradurlo
-
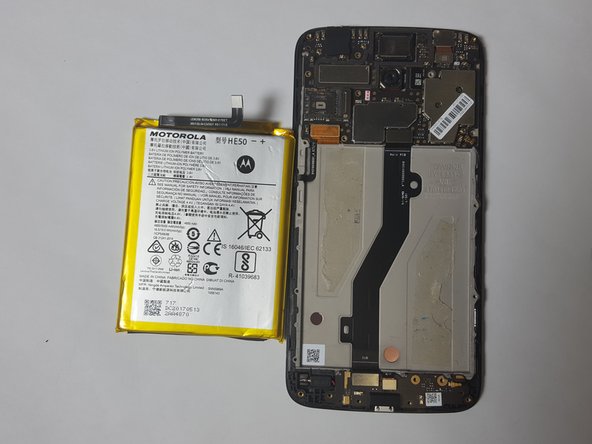
After removing the back panel, use the spudger to lift and detach the Battery Flux Cable from the Motherboard.
-
-
Questo passaggio è privo di traduzione. Aiuta a tradurlo
-
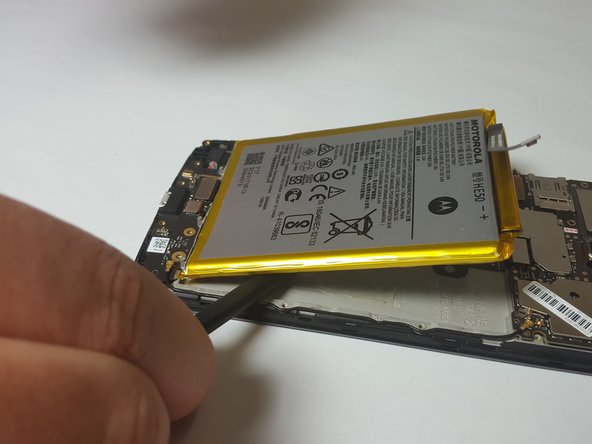
Wedge the spudger between the battery and the phone to lift the battery up and remove the battery. There will be slight resistance to this but the battery will not be damaged by this. It is just the adhesive tape.
-
-
-
Questo passaggio è privo di traduzione. Aiuta a tradurlo
-
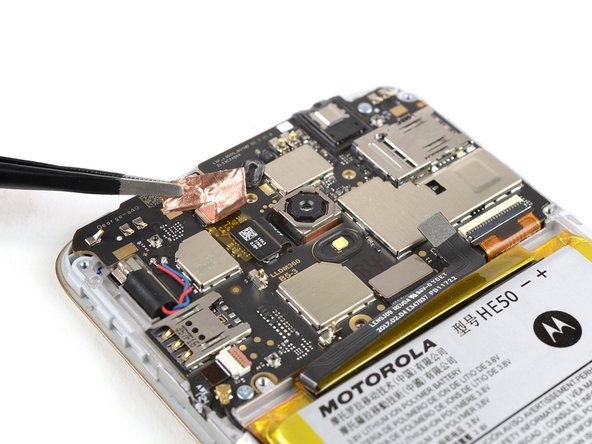
Use a pair of tweezers to peel up the copper tape that covers the rear camera flex connector.
-
Fold the copper tape out of the way.
-
-
Questo passaggio è privo di traduzione. Aiuta a tradurlo
-
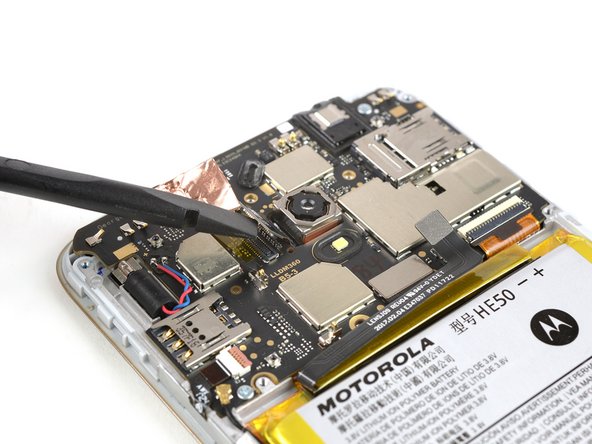
Use the flat end of a spudger to pry up and disconnect the rear camera flex cable.
-
-
Questo passaggio è privo di traduzione. Aiuta a tradurlo
-
Carefully remove the rear camera with a pair of tweezers.
-
-
Questo passaggio è privo di traduzione. Aiuta a tradurlo
-
Use the T4 Torx Screwdriver to remove the 2 3.2 mm screws circled in the image.
-
-
Questo passaggio è privo di traduzione. Aiuta a tradurlo
-
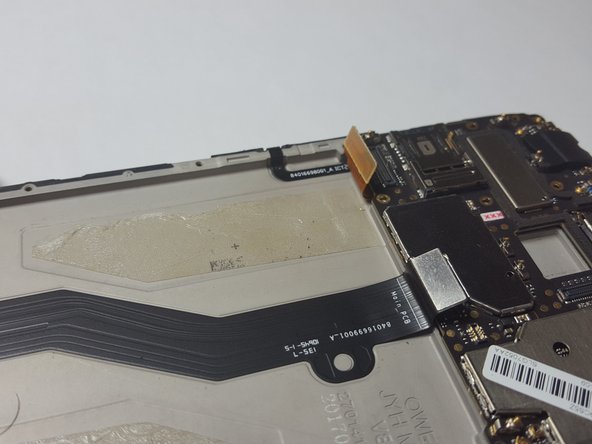
Use the Spudger to lift up and detach the Main Flex Cable from the Motherboard.
-
-
Questo passaggio è privo di traduzione. Aiuta a tradurlo
-
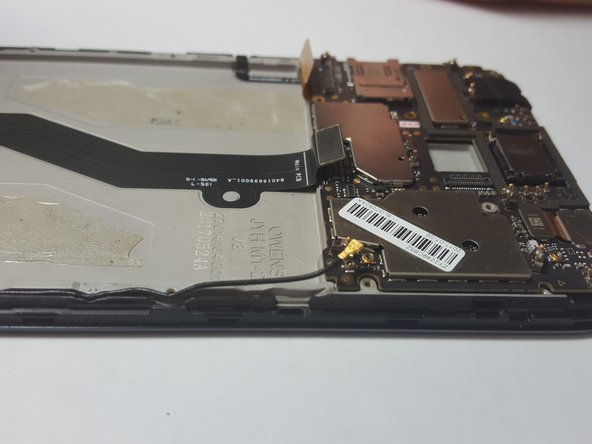
Use the Spudger to lift up and detach the LCD Screen Flex Cable from the Motherboard.
-
-
Questo passaggio è privo di traduzione. Aiuta a tradurlo
-
Use the Plastic Spudger to lift up and detach the Signal Flex Cable from the Motherboard. The Signal Flex Cable should still be attached to the body of the phone.
-
-
Questo passaggio è privo di traduzione. Aiuta a tradurlo
-
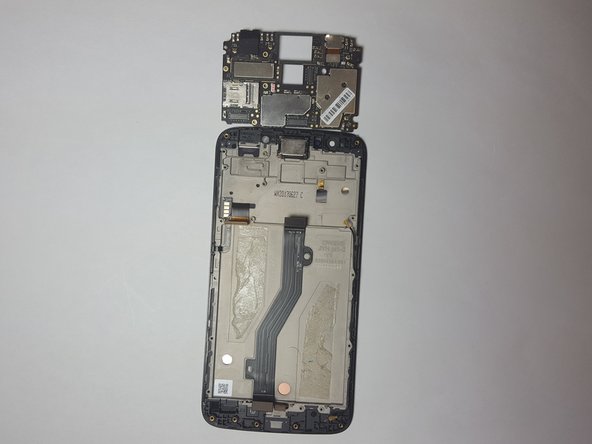
Use the Spudger to lift up and remove the Motherboard from the phone.
-


Annulla: non ho completato questa guida.
Altre 10 persone hanno completato questa guida.
Team

Baylor, Team S3-G2, Williams Spring 2018 Membro di Baylor, Team S3-G2, Williams Spring 2018
BU-WILLIAMS-S18S3G2
4 Membri
13 Guide realizzate
2 Commenti
guide states that there are 17 screws to remove (step 2) but there are 20 screws circled… Counting is hard I guess?
From step 9 it’s another phone. I’m guessing E4 (regular) but they are not the same. The vibration motor, second sim tray, and many other components disappear suddenly. Mixing different phones is very irresponsable and lazy.