Salta al contenuto principale

Motorola Moto E4 Plus Charging Port Replacement

Guida Archiviata
Questa guida è mantenuta solo per scopi storici. Usa la versione aggiornata della guida per eseguire la riparazione.

Cosa ti serve

  1. Motorola Moto E4 Plus Charging Port Replacement, Back Plate and Battery: passo 1, immagine 1 di 2 Motorola Moto E4 Plus Charging Port Replacement, Back Plate and Battery: passo 1, immagine 2 di 2
    • Insert the spudger into the notch on the corner of the phone and lift up to remove the back case.

  2. Motorola Moto E4 Plus Charging Port Replacement: passo 2, immagine 1 di 1
    • Use the T4 Torx Screwdriver to remove the 17 3.2 mm screws in the back panel covering the battery.

  3. Motorola Moto E4 Plus Charging Port Replacement: passo 3, immagine 1 di 3 Motorola Moto E4 Plus Charging Port Replacement: passo 3, immagine 2 di 3 Motorola Moto E4 Plus Charging Port Replacement: passo 3, immagine 3 di 3
    • Lift up and remove the back panel.

  4. Motorola Moto E4 Plus Charging Port Replacement: passo 4, immagine 1 di 2 Motorola Moto E4 Plus Charging Port Replacement: passo 4, immagine 2 di 2
    • After removing the back panel, use the spudger to lift and detach the Battery Flux Cable from the Motherboard.

  5. Motorola Moto E4 Plus Charging Port Replacement: passo 5, immagine 1 di 3 Motorola Moto E4 Plus Charging Port Replacement: passo 5, immagine 2 di 3 Motorola Moto E4 Plus Charging Port Replacement: passo 5, immagine 3 di 3
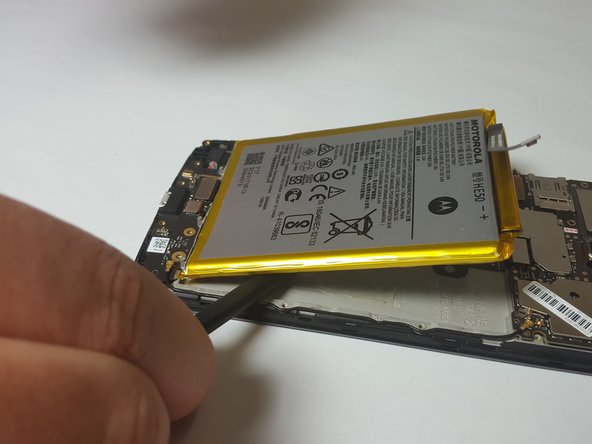
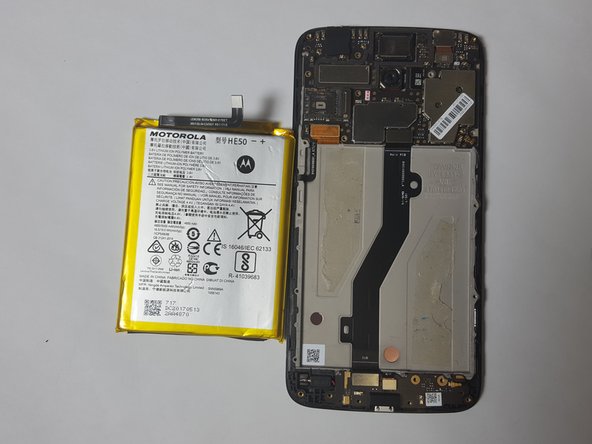
    • Wedge the spudger between the battery and the phone to lift the battery up and remove the battery. There will be slight resistance to this but the battery will not be damaged by this. It is just the adhesive tape.

  6. Motorola Moto E4 Plus Charging Port Replacement, Charging Port: passo 6, immagine 1 di 2 Motorola Moto E4 Plus Charging Port Replacement, Charging Port: passo 6, immagine 2 di 2
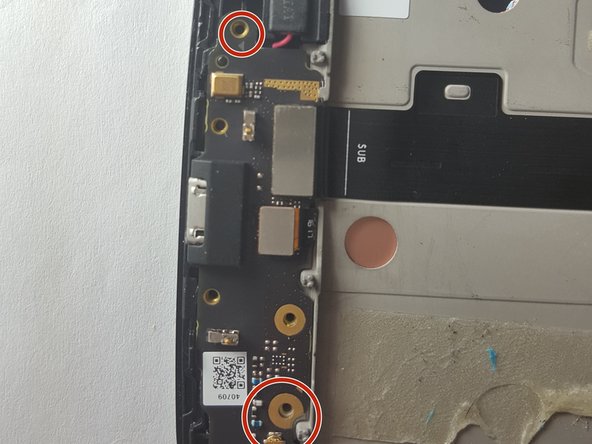
    • Use the T4 Torx Screwdriver to remove the two 3.2 mm screws circled.

  7. Motorola Moto E4 Plus Charging Port Replacement: passo 7, immagine 1 di 3 Motorola Moto E4 Plus Charging Port Replacement: passo 7, immagine 2 di 3 Motorola Moto E4 Plus Charging Port Replacement: passo 7, immagine 3 di 3
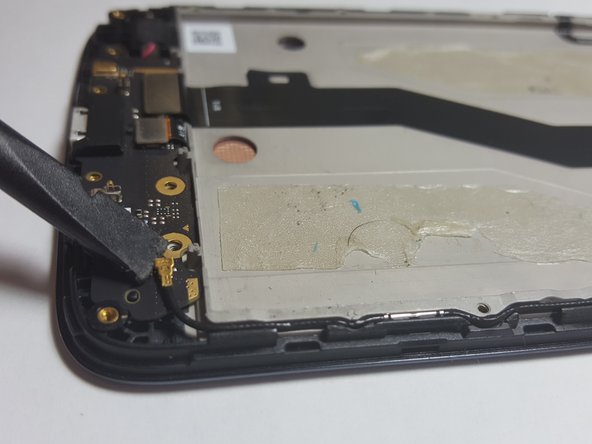
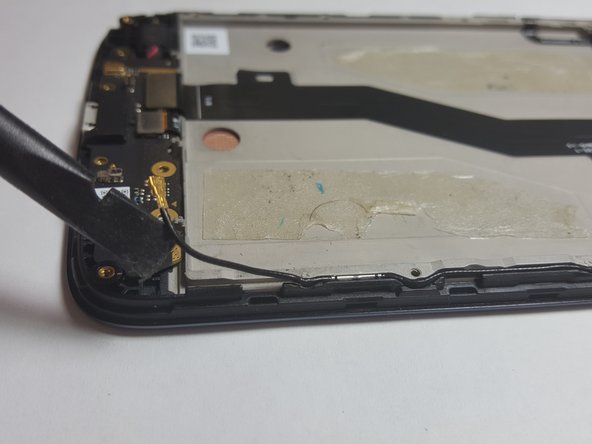
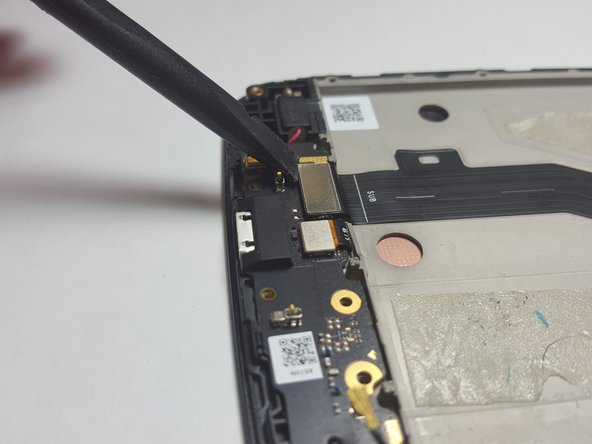
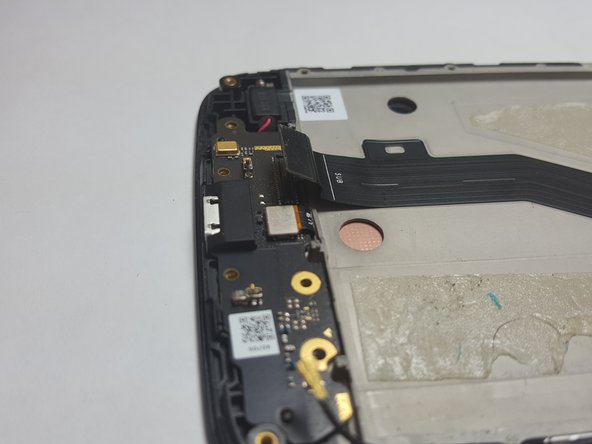
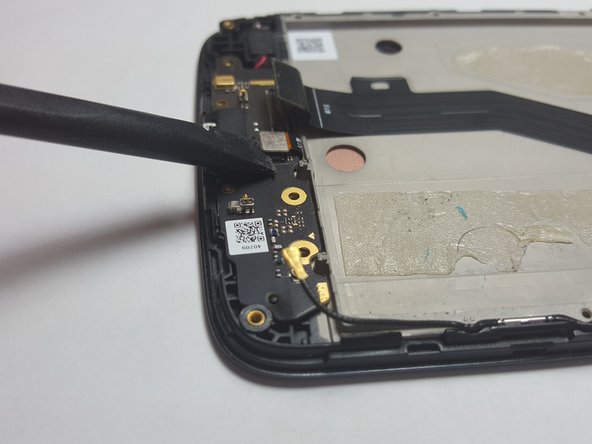
    • Use the Spudger to lift up and remove the Signal Flux Cable, circled in picture, from the Cable Port. The Signal Flux Cable should still be connected to the side of the phone, but detached from the charging port.

  8. Motorola Moto E4 Plus Charging Port Replacement: passo 8, immagine 1 di 3 Motorola Moto E4 Plus Charging Port Replacement: passo 8, immagine 2 di 3 Motorola Moto E4 Plus Charging Port Replacement: passo 8, immagine 3 di 3
    • Use the Spudger to lift up and detach the Main Flex Cable from the Cable Port.

  9. Motorola Moto E4 Plus Charging Port Replacement: passo 9, immagine 1 di 3 Motorola Moto E4 Plus Charging Port Replacement: passo 9, immagine 2 di 3 Motorola Moto E4 Plus Charging Port Replacement: passo 9, immagine 3 di 3
    • Use the Spudger to lift up and detach the Fingerprint Scanner Flux Cable from the Cable Port.

  10. Motorola Moto E4 Plus Charging Port Replacement: passo 10, immagine 1 di 2 Motorola Moto E4 Plus Charging Port Replacement: passo 10, immagine 2 di 2
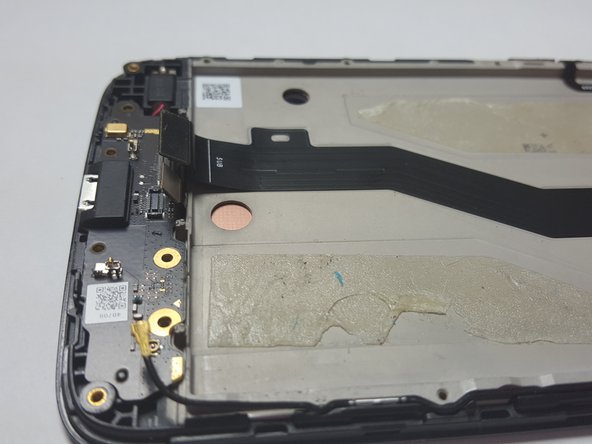
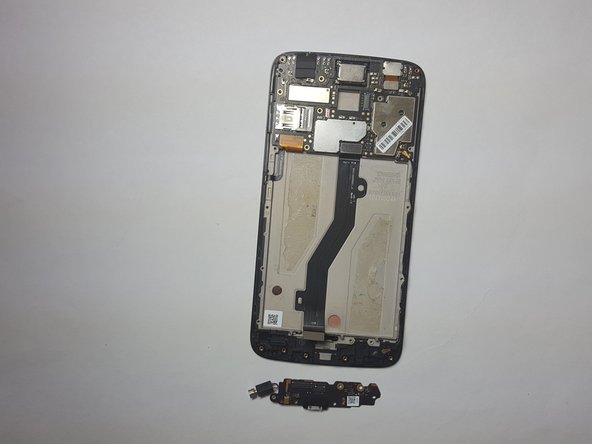
    • Use the Spudger to lift up and remove the Charging Port from the phone. The black box connected to the charging port will lift up with it. Remove the whole piece.

Conclusione

To reassemble your device, follow these instructions in reverse order.

Altre 6 persone hanno completato questa guida.

Jack Haseman

Membro da: 03/19/18

1.396 Reputazione

6 Guide realizzate

Team

Baylor, Team S3-G2, Williams Spring 2018 Membro di Baylor, Team S3-G2, Williams Spring 2018

BU-WILLIAMS-S18S3G2

4 Membri

13 Guide realizzate

0 Commenti

Aggiungi Commento

Visualizza Statistiche:

Ultime 24 Ore: 0

Ultimi 7 Giorni: 0

Ultimi 30 Giorni: 2

Tutti i Tempi: 6,271