Salta al contenuto principale

Motorola MBP667CONNECT Circuit Board Replacement

Cosa ti serve

  1. Motorola MBP667CONNECT Circuit Board Replacement, Circuit Board: passo 1, immagine 1 di 3 Motorola MBP667CONNECT Circuit Board Replacement, Circuit Board: passo 1, immagine 2 di 3 Motorola MBP667CONNECT Circuit Board Replacement, Circuit Board: passo 1, immagine 3 di 3
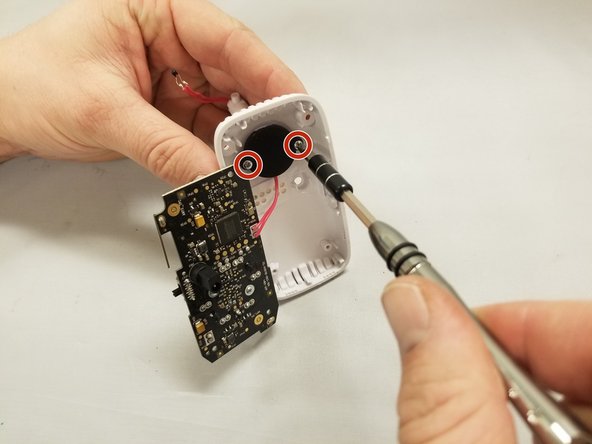
    • Remove the two 5 mm Phillips #1 screws on the back of the camera.

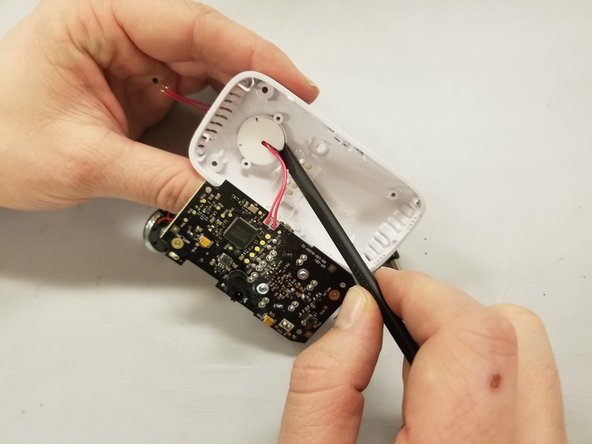
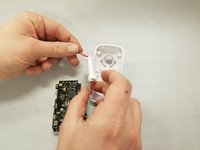
    • Use a nylon spudger to remove the casing.

  2. Motorola MBP667CONNECT Circuit Board Replacement: passo 2, immagine 1 di 3 Motorola MBP667CONNECT Circuit Board Replacement: passo 2, immagine 2 di 3 Motorola MBP667CONNECT Circuit Board Replacement: passo 2, immagine 3 di 3
    • Remove the brackets by the speaker on the front side of the camera using the metal spudger.

    • Continue to use the metal spudger to carefully disconnect remaining brackets from casing.

    • Remove the two 5mm Phillips #1 screws on the backside of the camera.

  3. Motorola MBP667CONNECT Circuit Board Replacement: passo 3, immagine 1 di 3 Motorola MBP667CONNECT Circuit Board Replacement: passo 3, immagine 2 di 3 Motorola MBP667CONNECT Circuit Board Replacement: passo 3, immagine 3 di 3
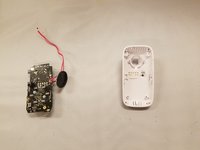
    • Use the nylon spudger to remove the circuit board from the plastic casing for the backside of the camera.

    • Remove the two 5 mm Phillips #1 screws on the black circle receiver housing.

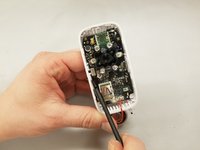
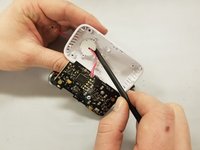
    • Now that the black circle is detached, use a nylon spudger to remove the white plastic circle from the casing.

  4. Motorola MBP667CONNECT Circuit Board Replacement: passo 4, immagine 1 di 2 Motorola MBP667CONNECT Circuit Board Replacement: passo 4, immagine 2 di 2
    • You will now be able to carefully pull the receiver wire through the gap in the casing.

Conclusione

To reassemble your device, follow these instructions in reverse order.

0 Commenti

Aggiungi Commento

Visualizza Statistiche:

Ultime 24 Ore: 0

Ultimi 7 Giorni: 4

Ultimi 30 Giorni: 7

Tutti i Tempi: 378