Introduzione
This guide will provide the steps on how to disassemble a broken or cracked LCD(Liquid Crystal Display) screen for the Motorola K1m cellphone. It will also give you the instructions to replace the broken LCD screen with a new and working one. Once you finish this guide you will have a new working LCD screen.
Cosa ti serve
-
-
Begin by removing the trim piece from around the front face plate.
-
Using your fingers or The Spudger get underneath the trim. Start by applying enough force to pry the trim off.
-
Remove the trim piece.
-
-
-
-
Gently use The Spudger towards the edge of the phone and lift the face plate off.
-
Gently hold the green logic board down as you lift the face plate apart from it.
-
Remove the face plate.
-
-
-
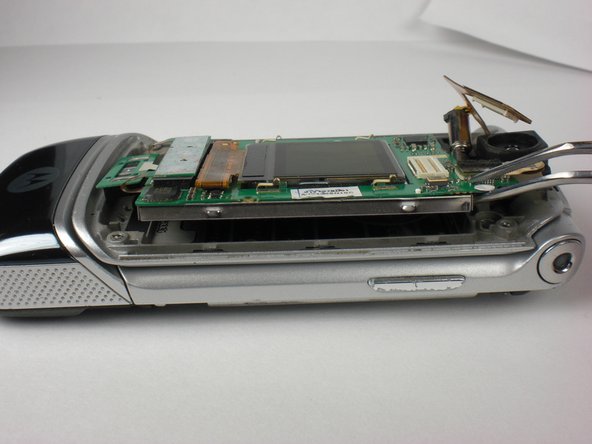
Gently, with your fingers or a tweezer, lift the orange flex cable apart from the pin connector it is connected to.
-
Gently remove the green logic board/LCD (Liquid Crystal Display) screen away from the phone.
-
Replace with new green logic board/LCD screen.
-
To reassemble the phone, follow of the steps in reverse order.
-


To reassemble your device, follow these instructions in reverse order.
To reassemble your device, follow these instructions in reverse order.
Annulla: non ho completato questa guida.
Altre 2 persone hanno completato questa guida.
Team

Cal Poly, Team 11-1, Forte Winter 2010 Membro di Cal Poly, Team 11-1, Forte Winter 2010
CPSU-FORTE-W10S11G1
5 Membri
6 Guide realizzate