Salta al contenuto principale
Unisciti alla Community delle riparazioni - Crea un account
Motorola Defy LCD Replacement

Motorola Defy LCD Replacement

Ebrahem AlRayes

Ebrahem AlRayes e 3 altri collaboratori

Ultimo aggiornamento il 10 ott 2017

15 - 30 minuti
Moderato

Introduzione

Vai al passo 1

This guide will go through the steps of replacing the LCD screen for the Motorola MB525 starting from the tear down of the phone to replacement of the LCD screen itself.

Cosa ti serve

Strumenti

Mostra di più…

  1. Motorola Defy LCD Replacement, Rear Case: passo 1, immagine 1 di 1
    • Using the screwdriver and the T-5 bit, unscrew the seven 5 mm screws around the outside of the phone.

  2. Motorola Defy LCD Replacement: passo 2, immagine 1 di 2 Motorola Defy LCD Replacement: passo 2, immagine 2 di 2
    • Remove the back cover of the phone by sliding the bottom black button to the unlock position and lifting it up.

  3. Motorola Defy LCD Replacement, Battery: passo 3, immagine 1 di 1
    • Use a plastic opening tool to pry the battery out of the phone.

  4. Motorola Defy LCD Replacement, Midframe: passo 4, immagine 1 di 1
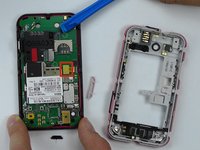
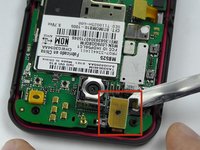
    • Unscrew the two silver screws located at the top of the back of the phone.

  5. Motorola Defy LCD Replacement: passo 5, immagine 1 di 1
    • Use a plastic opening tool to gently pry the midframe from the rest of the phone.

  6. Motorola Defy LCD Replacement, Motherboard: passo 6, immagine 1 di 2 Motorola Defy LCD Replacement, Motherboard: passo 6, immagine 2 di 2
    • Use metal spudger to pry off the middle yellow flap carefully.

  7. Motorola Defy LCD Replacement: passo 7, immagine 1 di 3 Motorola Defy LCD Replacement: passo 7, immagine 2 di 3 Motorola Defy LCD Replacement: passo 7, immagine 3 di 3
    Attrezzo utilizzato in questo passaggio:
    Tweezers
    $4.99
    • Use tweezers again to pry off the second yellow flap carefully.

  8. Motorola Defy LCD Replacement: passo 8, immagine 1 di 1
    • The motherboard is the whole green board. Pry it off carefully with tweezers from the sides and place it aside.

  9. Motorola Defy LCD Replacement, Removing the LCD: passo 9, immagine 1 di 2 Motorola Defy LCD Replacement, Removing the LCD: passo 9, immagine 2 di 2
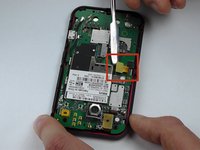
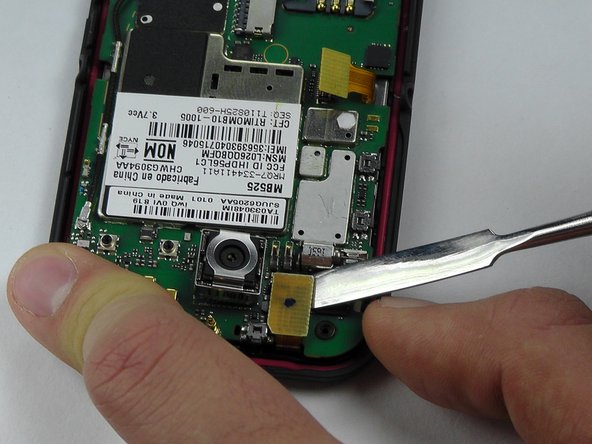
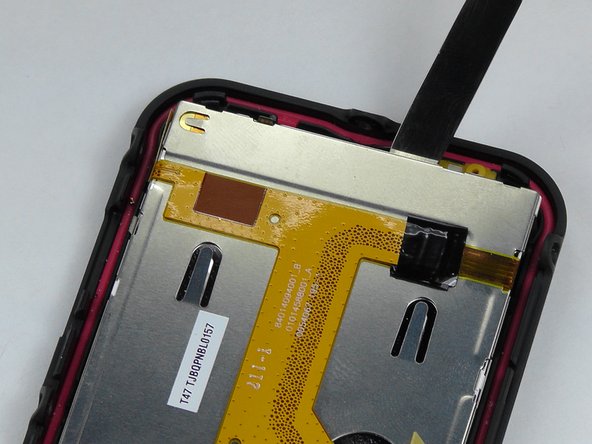
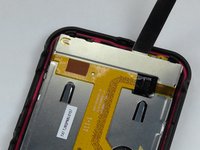
    • Stick the metal spudger in between the LCD screen and the case of the phone.

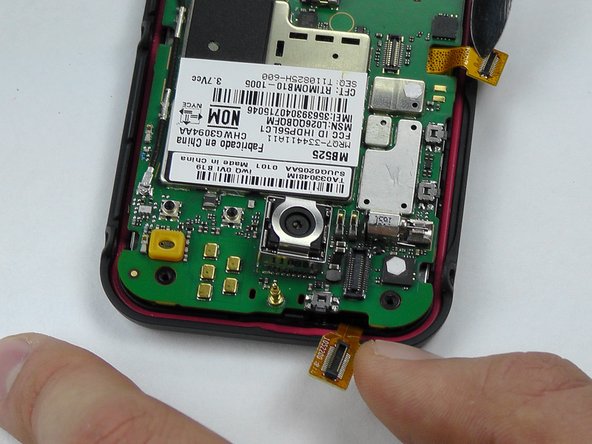
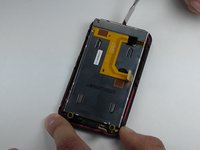
    • Remove the LCD screen and replace with a new one.

Conclusione

To reassemble your device, follow these instructions in reverse order.

Altre 2 persone hanno completato questa guida.

Team

USF Tampa, Team 14-2, Leahy Fall 2014 Membro di USF Tampa, Team 14-2, Leahy Fall 2014

USFT-LEAHY-F14S14G2

4 Membri

6 Guide realizzate

0Commenti sulla guida

Aggiungi Commento

Visualizza Statistiche:

Ultime 24 Ore: 0

Ultimi 7 Giorni: 2

Ultimi 30 Giorni: 4

Tutti i Tempi: 1,193