Introduzione
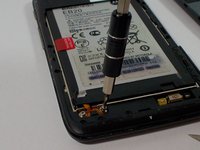
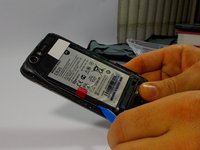
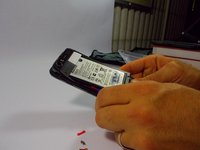
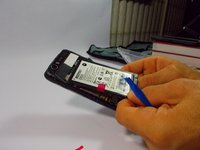
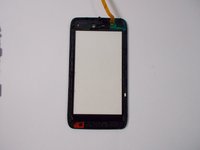
The most common damage to phones today are cracked touchscreens and damaged LCD displays. If your Atrix HD suffered damage to one or both of these items this guide will show you how to replace them. The simplicity of the Atrix HD construction will allow you to replace these components with as little as two tools, a T5 torx driver, and a plastic opening tool.
Cosa ti serve
-
-
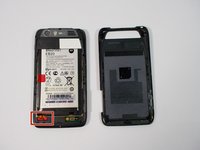
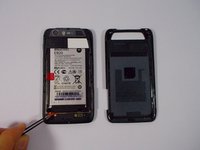
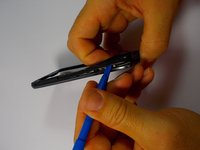
Begin taking apart the device by prying apart the back cover from the assembly using the plastic opening tool.
-
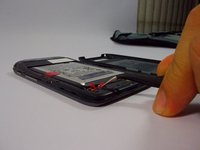
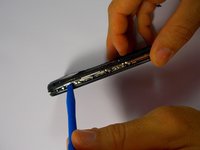
Continue working around the edge of the phone using the plastic opening tool.
-
When all the edges have been lifted apart, use your hands or plastic opening tool to peel the back plate from the battery. There are small adhesive strips between the back cover and the battery, so take care not to crack the back cover while prying open.
-
-
-
-
Begin by removing the back cover using the plastic opening tool. There are adhesive strips attached to the back cover, so take care when prying case to prevent cracking
-
The adhesive strips may stay on the back cover or the battery.
-
-
-
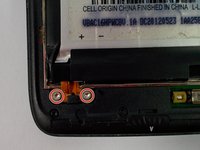
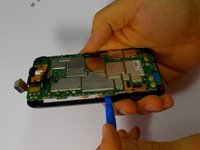
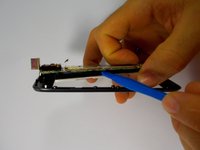
Now with the screws removed, use the plastic opening tool to lift the edges of the front assembly.
-
Continue to use the plastic opening tool around the edges of the device to remove the front assembly.
-
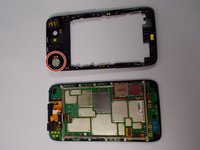
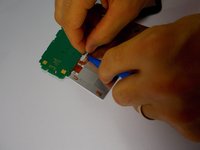
The speaker is located in the upper corner of the case. It it attached with adhesive and can be removed by gently prying with the plastic opening tool
-
-
-
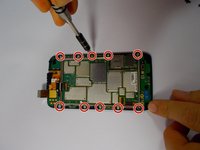
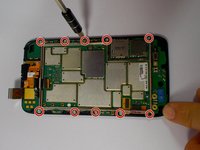
Begin by removing the 10 Torx T5 motherboard baseplate screws
-
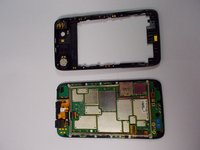
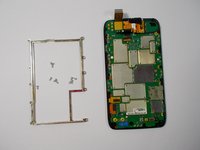
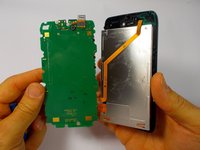
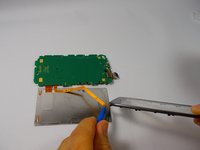
The back chassis can now be removed.
-
To reassemble your device, follow these instructions in reverse order.
Annulla: non ho completato questa guida.
Altre 4 persone hanno completato questa guida.


