Salta al contenuto principale

Milwaukee Rotary Hammer 260520 D14A 2016 Housing Switch Assembly Replacement

Cosa ti serve

  1. Milwaukee Rotary Hammer 260520 D14A 2016 Housing Switch Assembly Replacement, Side Handle Case: passo 1, immagine 1 di 1
    • Remove the battery by sliding it from the base.

  2. Milwaukee Rotary Hammer 260520 D14A 2016 Housing Switch Assembly Replacement: passo 2, immagine 1 di 1
    • Remove two 20.3 mm screws at the right side of the drill base using a Torx T3 screwdriver.

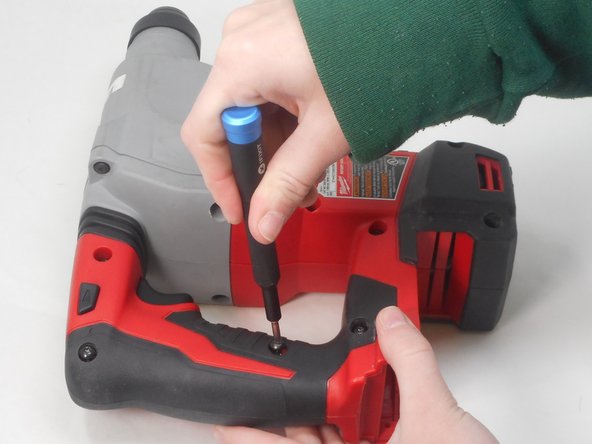
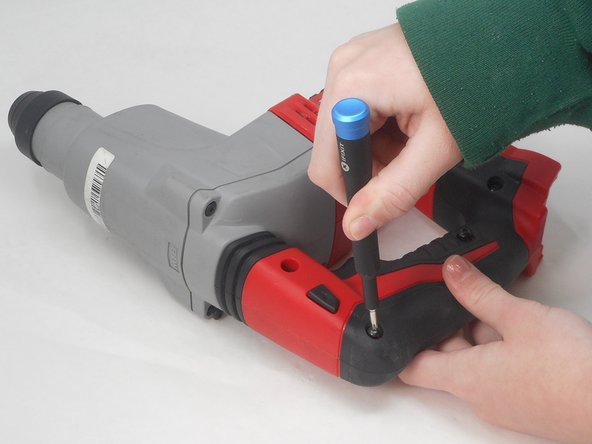
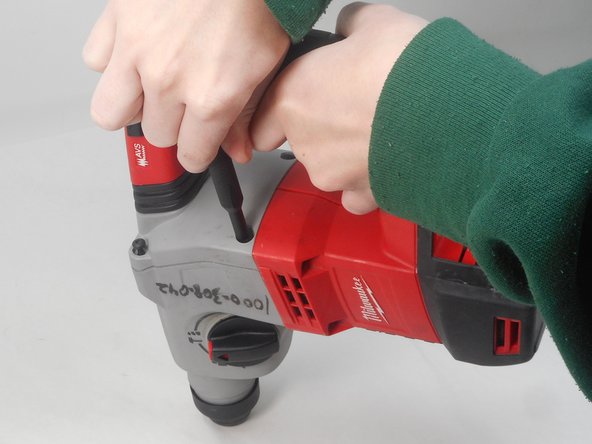
  3. Milwaukee Rotary Hammer 260520 D14A 2016 Housing Switch Assembly Replacement: passo 3, immagine 1 di 3 Milwaukee Rotary Hammer 260520 D14A 2016 Housing Switch Assembly Replacement: passo 3, immagine 2 di 3 Milwaukee Rotary Hammer 260520 D14A 2016 Housing Switch Assembly Replacement: passo 3, immagine 3 di 3
    • Remove five 20.3 mm screws on the right side of the handle using a Torx T3 screwdriver.

  4. Milwaukee Rotary Hammer 260520 D14A 2016 Housing Switch Assembly Replacement: passo 4, immagine 1 di 2 Milwaukee Rotary Hammer 260520 D14A 2016 Housing Switch Assembly Replacement: passo 4, immagine 2 di 2
    • Remove four matte 24 mm screws on the crankcase at the rear cover of the drill (connecting the chuck to the handle) using a Torx T3 screwdriver.

  5. Milwaukee Rotary Hammer 260520 D14A 2016 Housing Switch Assembly Replacement: passo 5, immagine 1 di 1
    • Remove two 24 mm screws on the housing cover beneath the ventilation slots. These screws point into the drill.

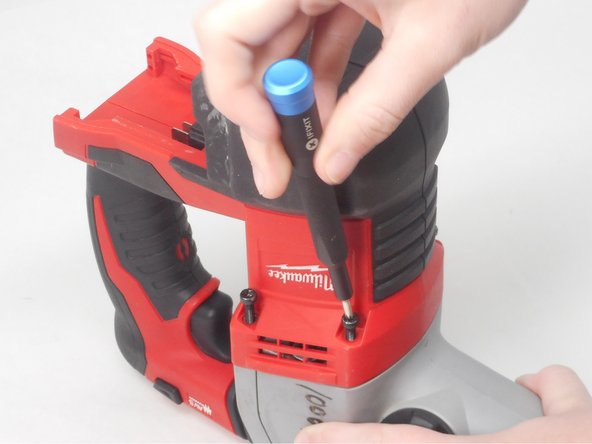
  6. Milwaukee Rotary Hammer 260520 D14A 2016 Housing Switch Assembly Replacement: passo 6, immagine 1 di 2 Milwaukee Rotary Hammer 260520 D14A 2016 Housing Switch Assembly Replacement: passo 6, immagine 2 di 2
    • Using a Torx T5 screwdriver bit, remove two 26.8 mm screws on each side of the drill housing cover, located beneath the ventilation slots. These screws point upwards.

  7. Milwaukee Rotary Hammer 260520 D14A 2016 Housing Switch Assembly Replacement: passo 7, immagine 1 di 1
    • Gently pry apart the covers for the drill handle.

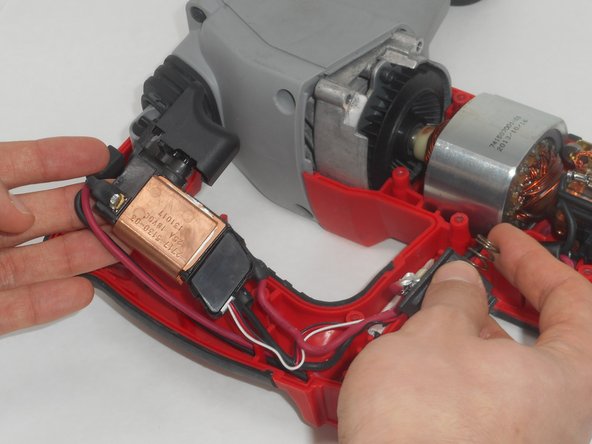
  8. Milwaukee Rotary Hammer 260520 D14A 2016 Housing Switch Assembly Replacement, Housing Switch Assembly: passo 8, immagine 1 di 2 Milwaukee Rotary Hammer 260520 D14A 2016 Housing Switch Assembly Replacement, Housing Switch Assembly: passo 8, immagine 2 di 2
    • Gently remove the housing switch assembly near the drill trigger from the handle.

  9. Milwaukee Rotary Hammer 260520 D14A 2016 Housing Switch Assembly Replacement: passo 9, immagine 1 di 1
    • Insert the replacement housing assembly.

    • Carefully insert the terminal block spring with the block assembly.

Conclusione

To reassemble your device, follow these instructions in reverse order.

Un'altra persona ha completato questa guida.

0 Commenti

Aggiungi Commento

Visualizza Statistiche:

Ultime 24 Ore: 0

Ultimi 7 Giorni: 1

Ultimi 30 Giorni: 5

Tutti i Tempi: 47