Introduzione
In this guide, we will be replacing the thermal component of a Midea WHJ1705B Electric Kettle.
As an electric kettle begins to lose control of its temperature, more often than not it will begin experiencing problems of all kinds. If you notice this problem occurring in your own electric kettle, then rest assured that you have come to the right place! Finding spare parts for electric kettles can be difficult, so having a DIY solution (such as the one we use here) is crucial to repairing kettles such as this one.
Please unplug the kettle before beginning the repair process.
Cosa ti serve
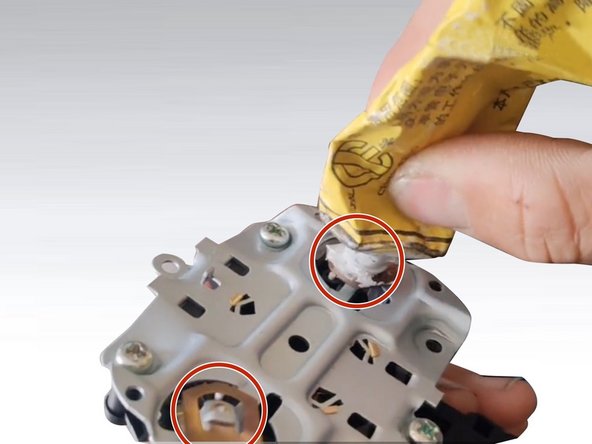
-
-
Use a T5 [Torx] screwdriver to remove the three screws from the base, and remove the bottom cover.
-
-


Congrats! If you have followed all the steps correctly then you have successfully managed to replace the thermal component on your electric kettle! To reassemble your device, refer back to steps 7-9.
Congrats! If you have followed all the steps correctly then you have successfully managed to replace the thermal component on your electric kettle! To reassemble your device, refer back to steps 7-9.
Annulla: non ho completato questa guida.
Altre 2 persone hanno completato questa guida.
Team

York University, Team P-6, Allen Winter 2023 Membro di York University, Team P-6, Allen Winter 2023
YORK-ALLEN-W23SPG6
1 Membro
1 Guida realizzata