Introduzione
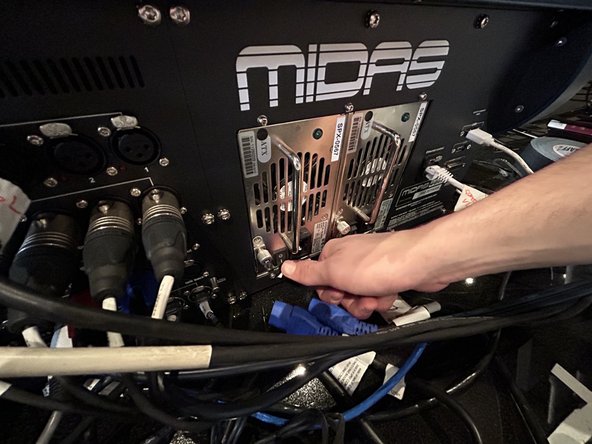
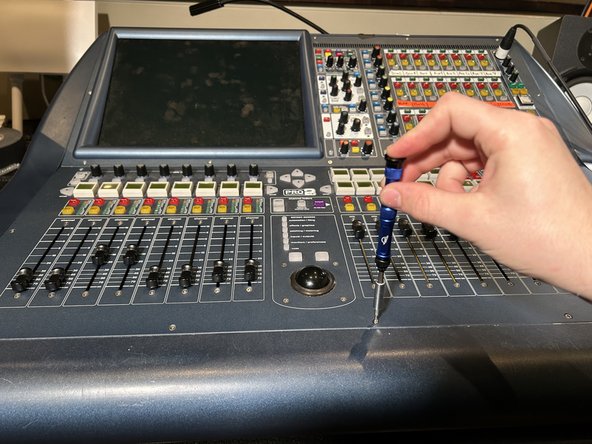
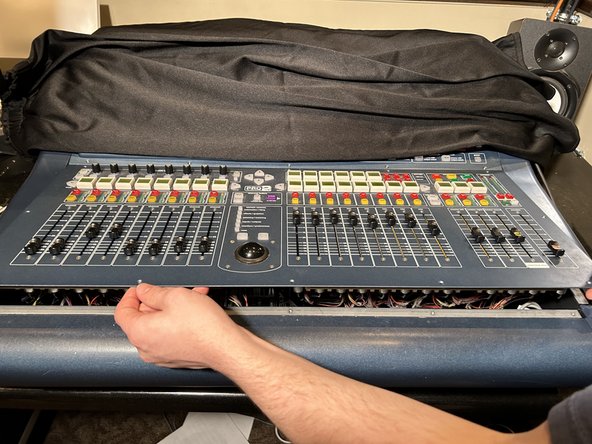
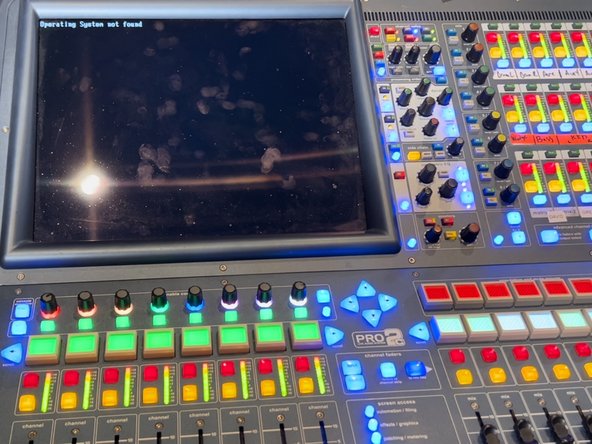
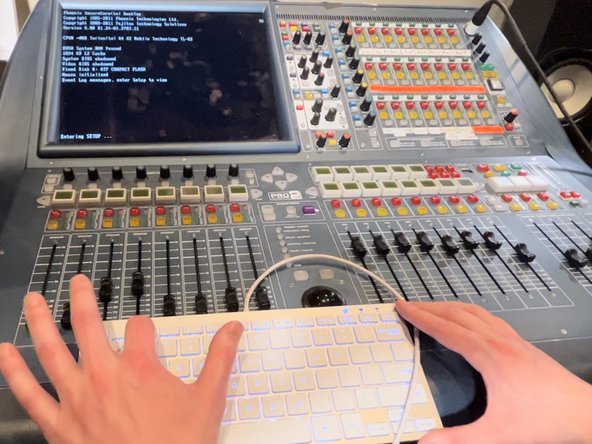
If your Midas Pro 2C Console is producing a screen reading “Operating System Not Found” you may need to replace your CMOS battery. If you are performing the recommended maintenance of replacing it every 3 years, use this guide to replace the CMOS battery.
The CMOS battery is a small battery that allows the computer in the console to remember settings like time and date, and boot sequence order.
When this battery is dead the computer inside of the console is unable to turn on correctly.
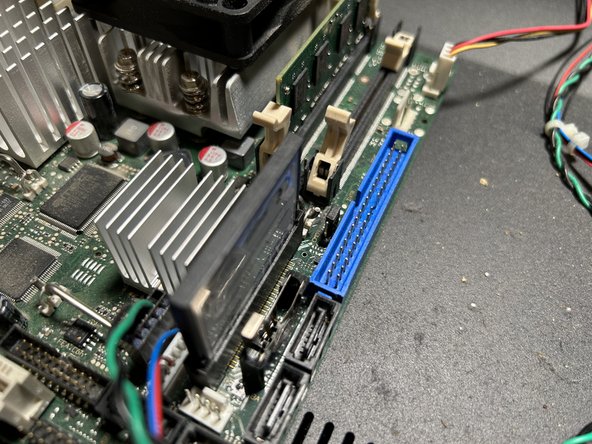
Almost every CMOS battery is a CR2023.
Cosa ti serve


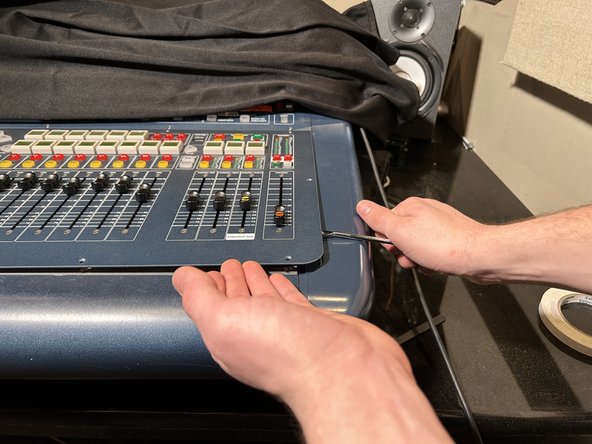

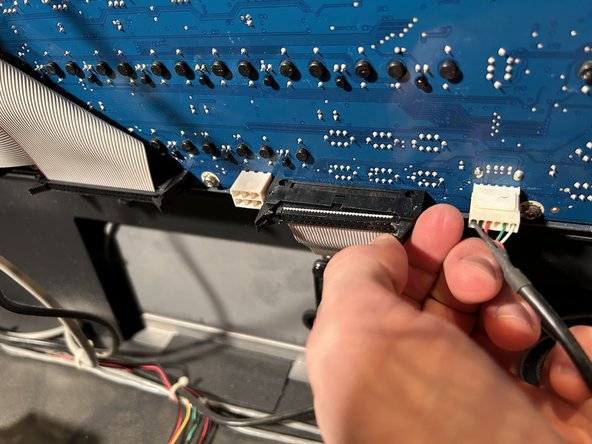
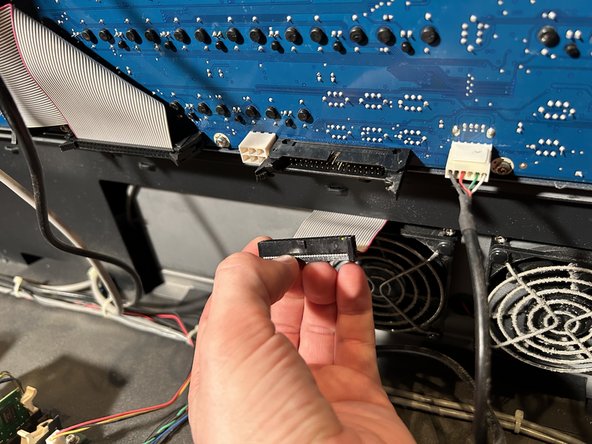


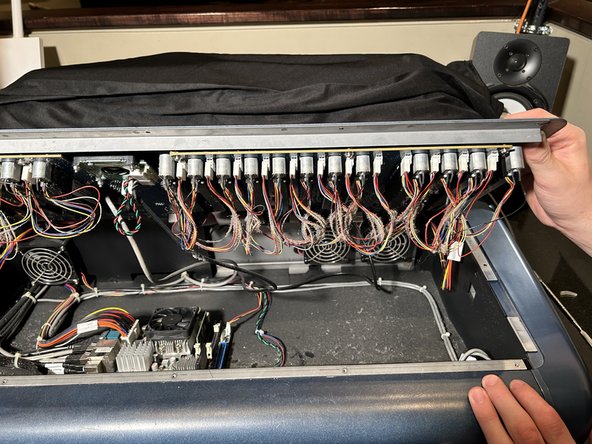
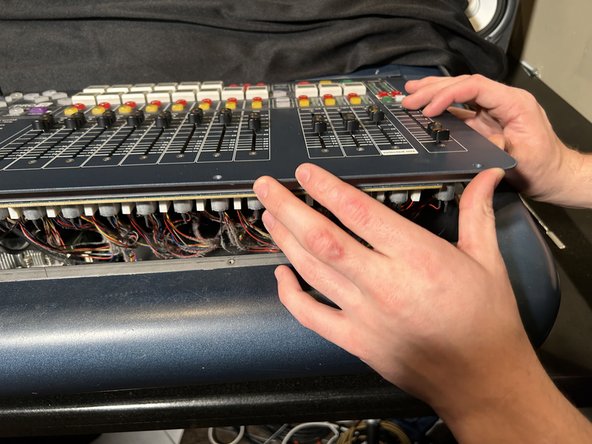


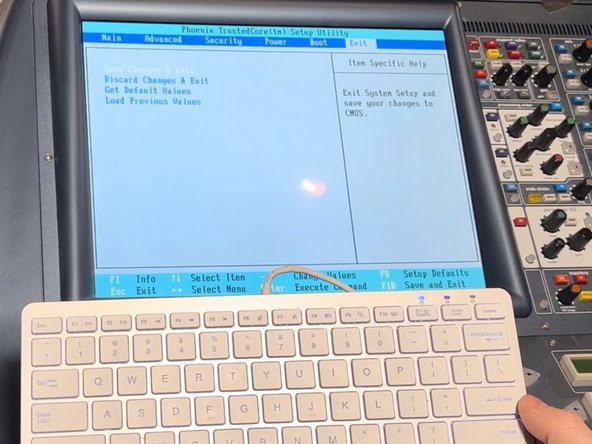
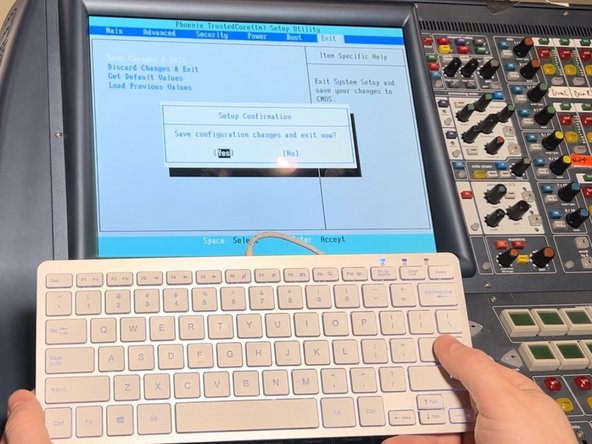

To reassemble your device, follow these instructions in reverse order.
To reassemble your device, follow these instructions in reverse order.
Annulla: non ho completato questa guida.
Altre 5 persone hanno completato questa guida.
Team

University of Memphis, Team 2-69, Cameron Spring 2023 Membro di University of Memphis, Team 2-69, Cameron Spring 2023
UM-CAMERON-S23S2G69
3 Membri
2 Guide realizzate