Salta al contenuto principale

Macintosh Powerbook 5300cs Hard Drive Replacement

Cosa ti serve

  1. Macintosh Powerbook 5300cs Hard Drive Replacement, Battery: passo 1, immagine 1 di 1
    • The battery compartment is located in the front-right side of the laptop.

  2. Macintosh Powerbook 5300cs Hard Drive Replacement: passo 2, immagine 1 di 1
    • To insert the battery, gently slide it into the compartment until it clicks in place.

    • To remove, slide the button highlighted in the red rectangle to the right to release the battery and slide it from the compartment.

    This is not to remove the battery, this is to remove the expansion slot (which has got the floppy disk module in it, in the first picture.

    blrutter - Replica

    Sorry I should have mentioned it in my prior comment. The battery has got a release button on it too, but it’s part of the battery, exposed on the front face of the right front corner when the battery is installed.

    blrutter - Replica

  3. Macintosh Powerbook 5300cs Hard Drive Replacement, Keyboard: passo 3, immagine 1 di 1
    • With the laptop upside down and with the battery removed, use a Torx #9 screw driver to remove the three .84 in. screws shown.

  4. Macintosh Powerbook 5300cs Hard Drive Replacement: passo 4, immagine 1 di 2 Macintosh Powerbook 5300cs Hard Drive Replacement: passo 4, immagine 2 di 2
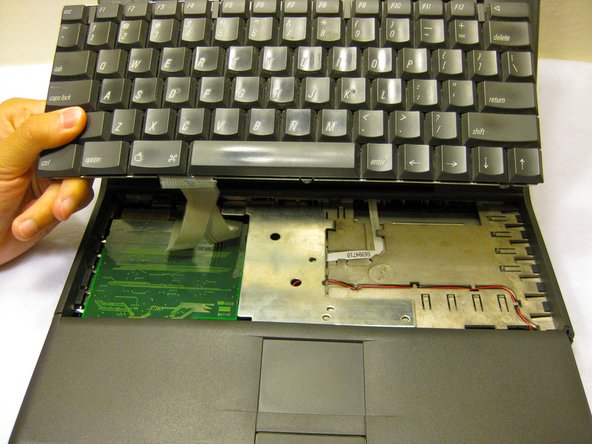
    • Carefully pull up on the front of the keyboard to pop it out from the case.

    • Then slide the back out so the keyboard becomes nearly free.

  5. Macintosh Powerbook 5300cs Hard Drive Replacement: passo 5, immagine 1 di 3 Macintosh Powerbook 5300cs Hard Drive Replacement: passo 5, immagine 2 di 3 Macintosh Powerbook 5300cs Hard Drive Replacement: passo 5, immagine 3 di 3
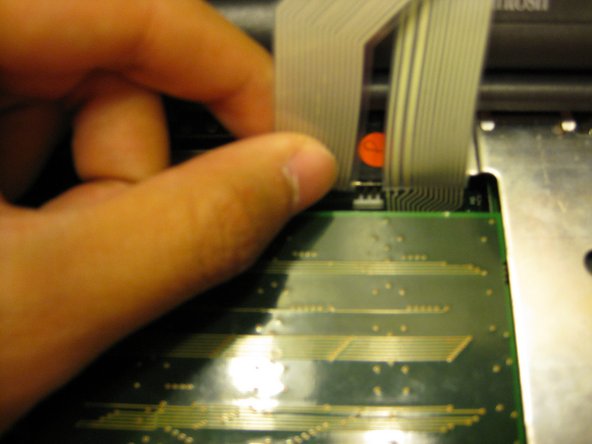
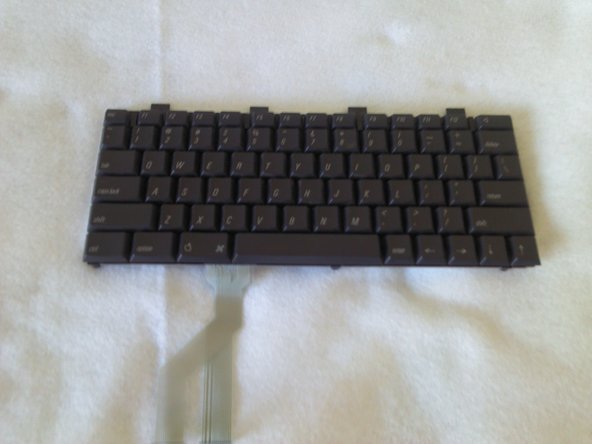
    • Disconnect the ribbon that is connecting the keyboard to the rest of the computer.

    • Pull the keyboard out and repair or replace as needed.

  6. Macintosh Powerbook 5300cs Hard Drive Replacement, Hard Drive: passo 6, immagine 1 di 3 Macintosh Powerbook 5300cs Hard Drive Replacement, Hard Drive: passo 6, immagine 2 di 3 Macintosh Powerbook 5300cs Hard Drive Replacement, Hard Drive: passo 6, immagine 3 di 3
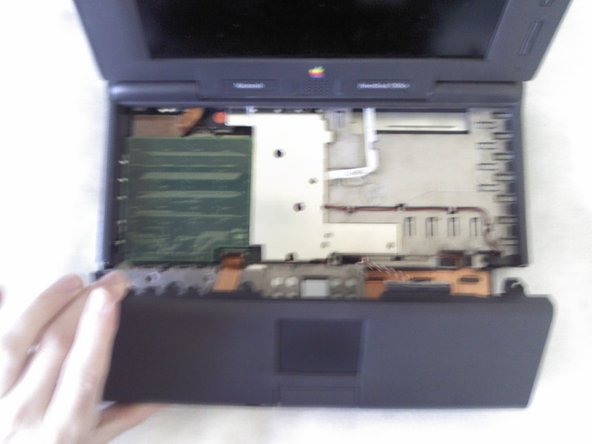
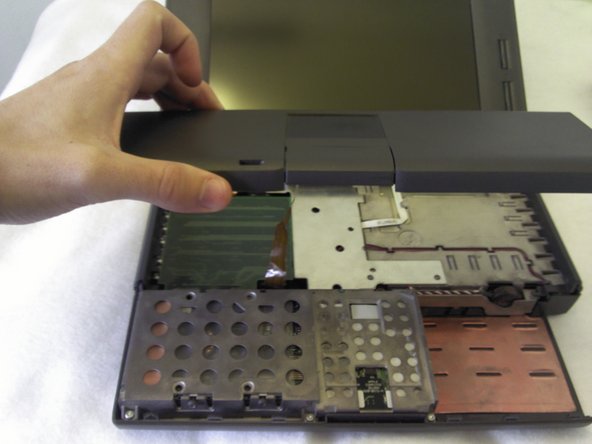
    • Remove the front plastic panel of the laptop by carefully lifting it up.

    If they haven’t been broken off (mine just did break as I was doing this) there is a tab on each side attached to the top housing on either side of the keyboard. These tabs are on top of the tabs for the front top panel, so lifting the front end of those side housings is necessary to prevent breakage (and, given how old these suckers are, it might break anyway).

    blrutter - Replica

  7. Macintosh Powerbook 5300cs Hard Drive Replacement: passo 7, immagine 1 di 1
    • With a Torx #9 screwdriver, remove the three .30 in. screws that hold the metal frame in place.

  8. Macintosh Powerbook 5300cs Hard Drive Replacement: passo 8, immagine 1 di 3 Macintosh Powerbook 5300cs Hard Drive Replacement: passo 8, immagine 2 di 3 Macintosh Powerbook 5300cs Hard Drive Replacement: passo 8, immagine 3 di 3
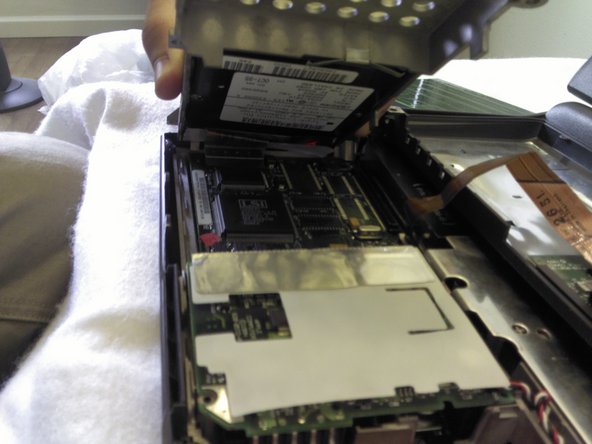
    • Remove the metal chasis that holds the hard drive.

  9. Macintosh Powerbook 5300cs Hard Drive Replacement: passo 9, immagine 1 di 1
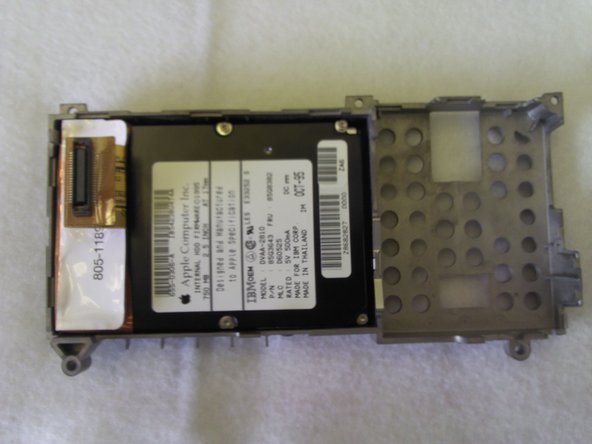
    • In order to remove the hard drive, remove the four .22 in. screws circled in red found on both sides of the metal chassis with a Torx #9 screwdriver.

  10. Macintosh Powerbook 5300cs Hard Drive Replacement: passo 10, immagine 1 di 2 Macintosh Powerbook 5300cs Hard Drive Replacement: passo 10, immagine 2 di 2
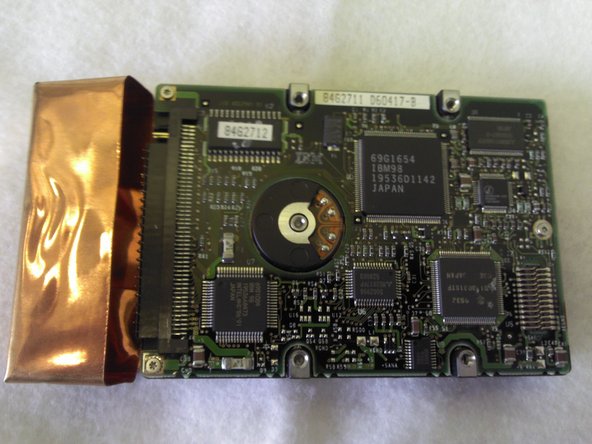
    • Pull the hard drive out.

Conclusione

To reassemble your device, follow these instructions in reverse order.

Altre 2 persone hanno completato questa guida.

Ronan

Membro da: 10/10/11

63 Reputazione

4 Guide realizzate

Team

Cal Poly, Team 6-1, Regan Fall 2011 Membro di Cal Poly, Team 6-1, Regan Fall 2011

CPSU-REGAN-F11S6G1

4 Membri

6 Guide realizzate

0 Commenti

Aggiungi Commento

Visualizza Statistiche:

Ultime 24 Ore: 0

Ultimi 7 Giorni: 2

Ultimi 30 Giorni: 7

Tutti i Tempi: 1,737